Getting Started
Getting Started (Cont)
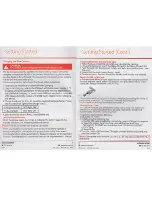
Charging the
Bike
Camera
CAUTION:
Ensure that only
the
supplied
Micro
USB
cable
is
used.
This
device
is
powered
by a 2600mAh lithium
battery. Proper care when
charging
can
optimise the
life
of
the battery.
Before first use,
please make
sure the device
is
fully
charged.
This
operation must be performed indoors,
in a
dry
and
well
ventilated
place.
It is
recommended to
fully
charge the device when recharging.
1.
Please
ensure the device
is
turned
off
when charging.
2.
Plug
in
the charging cable to the
USB
port
with
input power supply.
A
PC
or
laptop
USB
port
is
preferable:the charge time
will
vary
depending
on
the method
of
charging:
i.e.
mains power
USB
(not supplied)
or
computer
USB.
Always
checkthe output
ofthe
USB
mains
adaptor before charging
this
device.
3.
Charge the device
for 2.5
—
4.5
hours
for
maximum battery charge.
Please
see the indication
light for
the charge status.
RED
light
ON
RED
light
OFF
4.
Ensure
the dust cover
is
firmly
closed before
use.
Low
Battery Indication
When
the device beeps four times,
it
indicatesthe battery capacity
has
reached
less
than
25%. Please
recharge the
device.
[NOTE: This
device comes
with
a
Home Safe Mode.
J
When
your battery
is
running
low (25% or less)
the battery capacity
is
smartly managed to save power and get
you
home
safely;
the camera
recording function
will
be automaticallydisabled
in
favour
for
the
rear light
function. The bike light
will
continue to function
for
approximately
1.5
hours.
Charging mode:
Fully
charged:
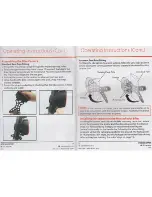
Install
and
Remove
the
Micro SD
Card
1.
Before first use, install
the
Micro
SD
card
into the
bike
camera.
2. Lift
up
the dust
cover,
insert the
Micro
SD
card
to the
Micro
SD
card slot.
3.
Push
the
card into
the
slot until
it
clicks
and
locks
into positionthen
close
the
cover.
4. Ensure
that the dust cover
is
firmly closed.
5.
To
remove, press the
card
down into the
slot until
it
clicks
and
releases.
Repair
the
Micro SD
Card
In
the event the
Micro
SD
card
doesn’t
work or
becomes corrupted, format
the
card With
the use ofa
Micro
SD
adaptor
(not
provided)
directly with
a
computer.
Always
format the
card
in FAT32.
.
For
more detailed instructions
in
now to complete formatting the
Micro
SD
card,
please download ‘50 formatter'
from
the
following
link:
https://www.sdcard.org.downloadsxforrnatterj
Setting Date
/
Time
You can
set the date and time
for
the video
with a
”UVC”
file
in
the root
directory
of
the rovided
8GB
Micro
SD
card.
Files will
be transferred
automatically
w
en the
card
is
inserted.
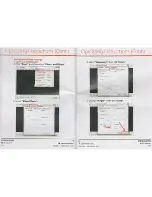
1.0pen
the
Micro
SD
card directory.
2.
Open the
file
"UVC”.
3.
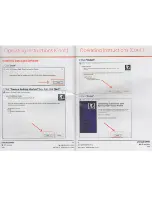
Install usin
the
following
tips
a. Use
the
SB
cable rowded
to connect the
camera
USB
port to computer.
b."Open
the system ate time
Sync, you
will
find the
Host Time
2018-05-01 10:00:00”
and the device time
”2018—05-01
10:00:00”.
c.
Click ”Sync”.
d. Save
the
file.
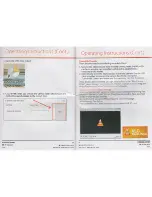
4. Turn
the camera
OFF
and then
ON
again or insert the
Micro
SD
card
and
turn the camera
ON.
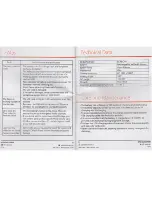
Note: Compatible
with: Window
05:
win
7,
32 bit
and above,
Apple
OS: 10.1
and above
\
AFTER SALES
SUPPORT
9
B
@
1800 269 981
EL
To" free
MODEL:EC-RLC-ol
PRODUG CODE:62232
03/2019
10
AFTER SALES
SUPPORT
‘8‘
®
1800269981
MODELzEC-RLC-Ol
PRODUCTCODE162282
03/2019
Tolllree
u
support@eurocentra.(om.au


