10
WS-10 MicrOpHOne replaceMent
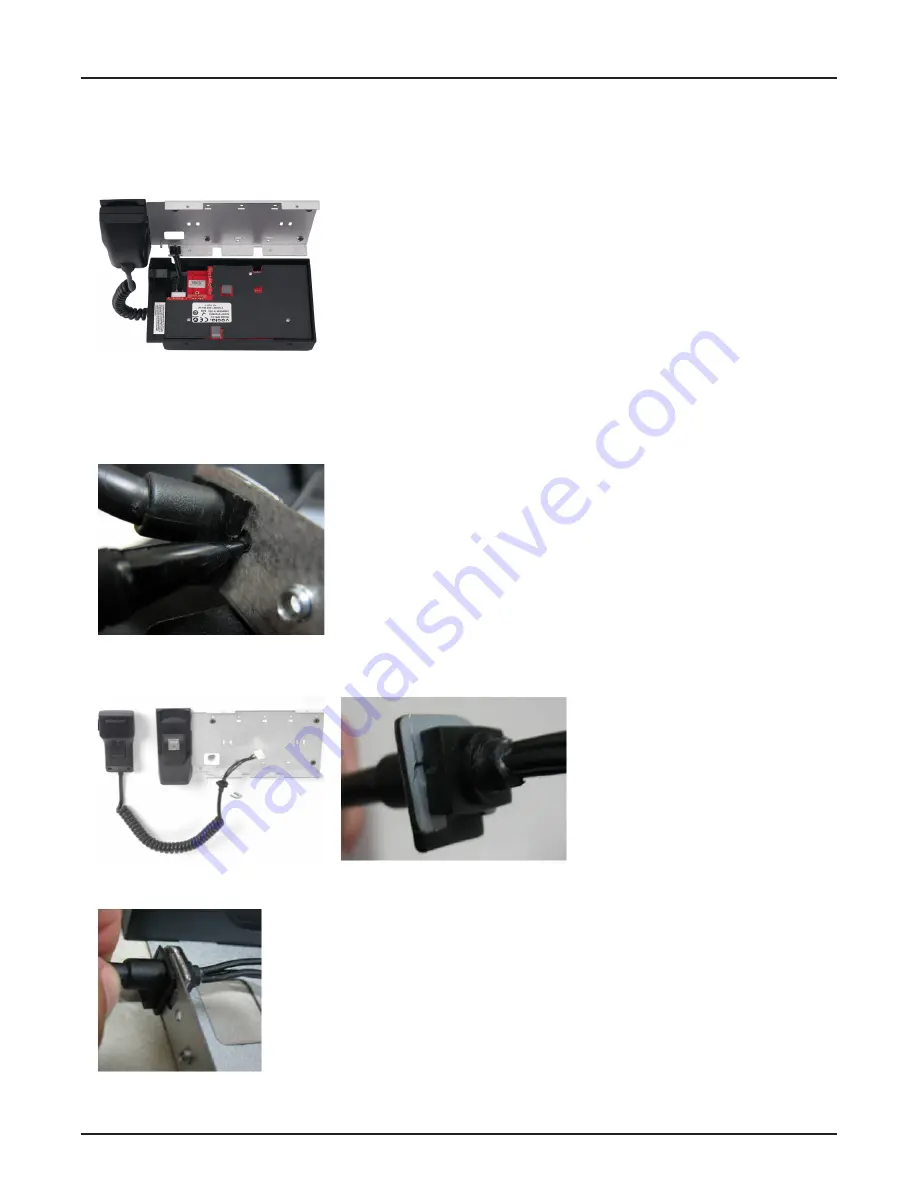
1. Remove microphone from catch. Remove top and bottom screws
from the main body of the wall station with torx screwdriver size 10 (T10).
2. Pull bezel towards you and bend down as shown below.
3. Detach the white microphone connector from the board (and the Ethernet cable if connected).
4. Use a pointed tool to release the catch located to the right of the microphone on the bottom side of the wall station.
Slide the microphone cord to the left and remove the microphone cord.
5. Remove the metal catch from the original microphone.
Place the metal catch on the new microphone cord as shown below.
6. Slide the microphone cable into the groove until the metal catch snaps in.
Summary of Contents for Vocia WS-10
Page 13: ...13 compliance...
Page 14: ...14 compliance...


