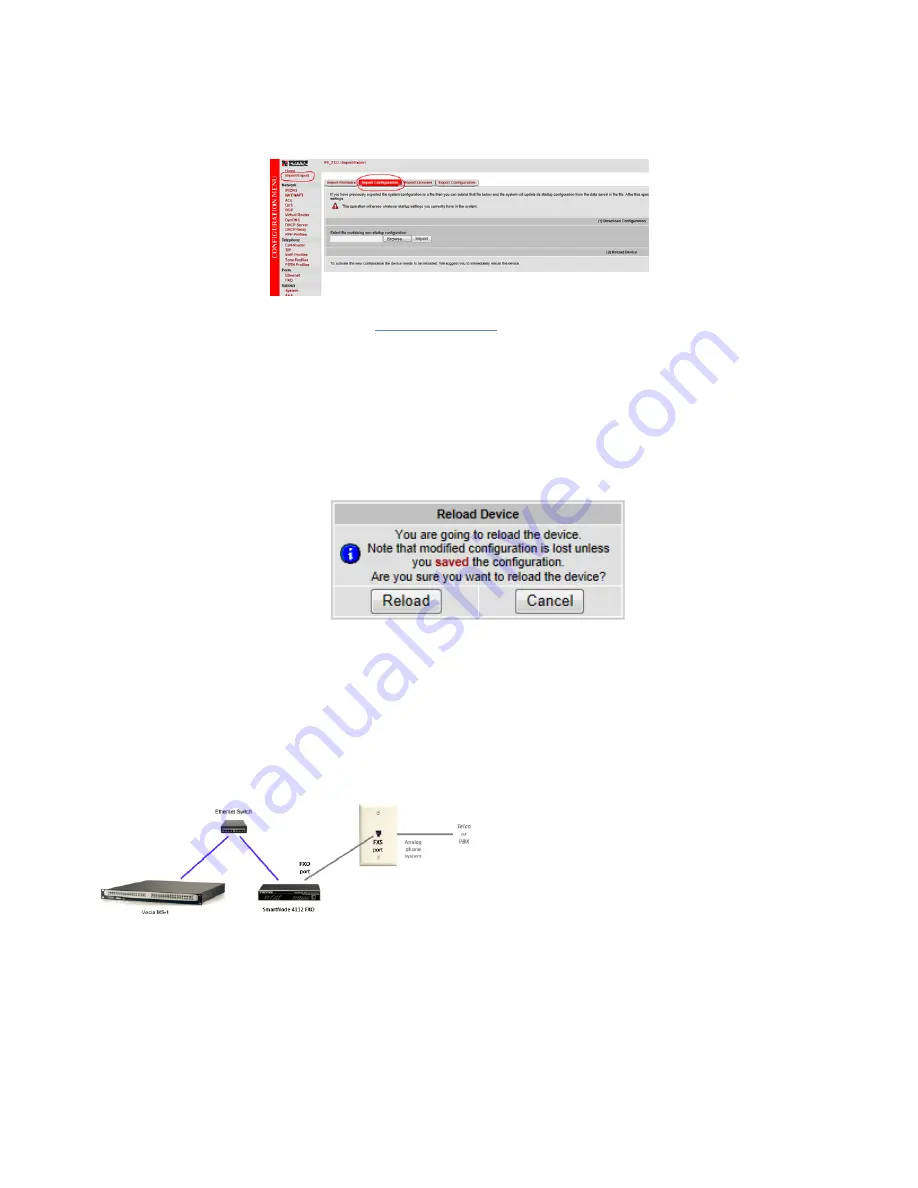
8. In the Configuration Menu on the left side of the screen select the Import/Export Menu.
9. Select the Import Configuration Tab to enter the Import Configuration Screen.
10. Select the Browse button, navigate to the
, and select Open.
11. When the Startup Configuration has been imported successfully select the Reload button to enter the Reload
Device Screen.
12. Select Reload in the Reload Device screen. The SmartNode 4112 device will reboot, this process can take several
minutes and you will not be able to connect to the device in your current web browser. The device will be fully
restarted when the activity light on the front panel begins to flash.
13. The link from the Ethernet Switch to the DHCP Network may now be removed.
14. Connect the VoIP Port of the MS-1 to the Ethernet Switch currently connected to the SmartNode 4112. This
connection will need to remain in place when Vocia phone paging is in use.
15. Connect a phone line to one of the FXO ports on the SmartNode 4112. Two lines may be used to allow two
separate pages to route to the MS-1 at once.
16. Once the SmartNode 4112 Gateway has been rebooted the system will be ready to make pages. Part of the
configuration file that was loaded to the Gateway sets the unit to a static IP Address of 172.16.100.141. If the unit
needs to be accessed again the computer used for configuration will need to be set to an IP Address in the same
subnet as the Gateway.
Copyright 2013-2020 Biamp Systems
http://support.biamp.com/
4


