


D
GB
2.0
Easy
Fit
herzfrequenz pulsuhr
heart rate monitor
F
E
I
cardio fréquencemètre
medidor de pulsaciones
cardiofrequenzimetro
D
GB
F
E
I
D
GB
2.0
Easy
Fit
herzfrequenz pulsuhr
heart rate monitor
F
E
I
cardio fréquencemètre
medidor de pulsaciones
cardiofrequenzimetro
D
GB
F
E
I
D
GB
2.0
Easy
Fit
herzfrequenz pulsuhr
heart rate monitor
F
E
I
cardio fréquencemètre
medidor de pulsaciones
cardiofrequenzimetro
D
GB
F
E
I
Easy
Fit 2.0
EASY
FIT INSTALLATION
1. Place the CD-ROM supplied in the drive and
choose the CD drive in Windows Explorer or
on the desktop of your PC.
2. Double-click the “setup.exe” fi le to run it.
3. Choose your language and follow the instal-
lation instructions. Confi rm with “Next” or
“Install” as appropriate.
4. When you click “Finish”, the software starts.
5. Enter your personal details under “New reg-
istration” in the EasyFit program and click
“Save” to confi rm.
DRIVER INSTALLATION
Basic information:
t
Always use the same USB port
on your PC
for data transfer.
t %JTDPOOFDUBOEDPOOFDUUIFIFBSUSBUFNPO
itor from/to the PC
every
time you do a data
transfer.
t #FGPSFBEBUBUSBOTGFSEJTDPOOFDUBOZ
scan-
ners connected to your PC via a USB
cable.
t /PUF UIF JOGPSNBUJPO VOEFS i%FBMJOH XJUI
problems”.
1. First, close any applications that may be
running.
2. Place the CD-ROM supplied in the drive and
choose the CD drive in Windows Explorer or
on the desktop of your PC.
3. Open “Vista Driver” respectively “XP
Win2000 Driver” subfolder in the “Software”
folder.
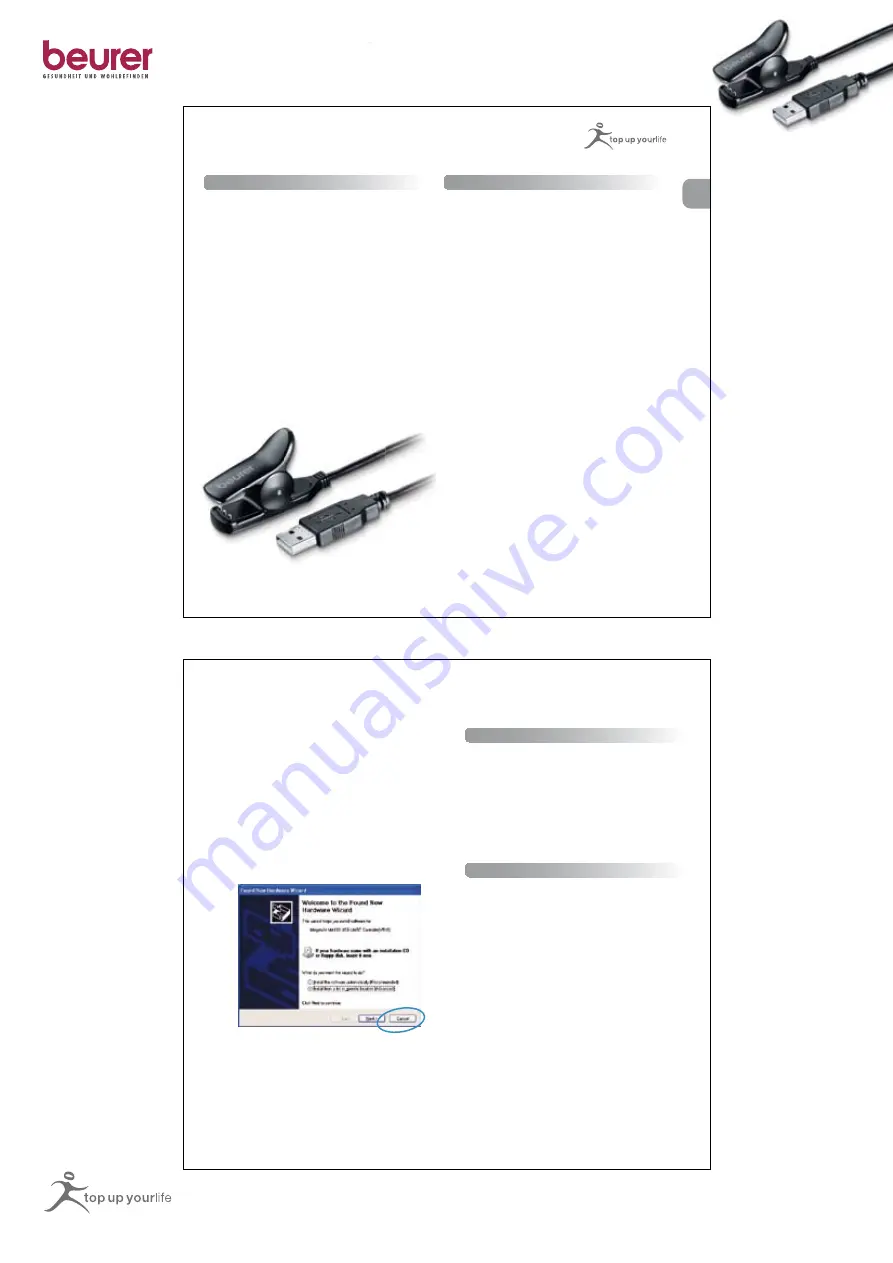
4. Then connect the PC-Clip to the heart rate
monitor and after that connect the USB plug
to the PC. Be sure to connect the three pins
of the clip correctly to the three contacts on
the back of the heart rate monitor. The heart
rate monitor display now shows “PC Link”.
GB
Windows 2000:
5. If the “Required files” window appears, close
it with “Cancel”.
6. Then double-click the file “DriverInstall.exe”
(see step 3). After a few seconds, installa-
tion is complete. Click “OK” in the installa-
tion window.
Windows XP / Vista:
5. If the “Found New Hardware Wizard” win-
dow appears, close it with “Cancel”.
6. Then double-click the file “DriverInstall.exe”
(see step 3).
7. Depending on the settings of your PC, the
“Hardware installation” and/or “Software in-
stallation” may appear on the screen. These
refer to the Windows logo test. Ignore these
warnings and click “Continue installation” to
end the installation.
DATA TRANSFER
1. Start EasyFit.
2. Go to the “Data Manager” menu and click
the “Transfer data” button.
3. Now connect the heart rate monitor to your
PC as described above. Stored data are
now transferred from the heart rate monitor
to the PC.
DEALING WITH PROBLEMS
Error message “Transmission failed”:
Click “OK” in the message window and dis-
connect the USB cable from the PC. Start
data transfer again. As soon as the time
and date appear on the heart rate monitor,
connect the heart rate monitor to the PC.
Always remember to establish a new con-
nection between the heart rate monitor and
the PC for every data transfer.
If the driver has already been installed, the
“Find new hardware” wizard appears:
Use the same USB port for data transfer as
you used when installing the driver, or re-in-
stall the driver again (see “Driver installation”)
for the desired USB port.


