background image

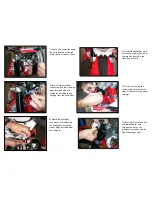
7) Attach  the computer using 
the bolts located on the top 
triple clamp. Torque to 10nm.

8) Insert all the electrical 
connectors into the matching 
plugs located below the 
computer including those 
hanging from the handle bar.

10) Install the headlight mask 
bottom by inserting the lower 
tab into slot located in the 
front fender brace.

11) Finish by securing the 
rubber straps located on the 
sides of the mask to the upper 
fork legs.

12) Press the front brake line 
and speedometer wire 
through the slot on the 
grommet located on the left 
side of headlight mask.

9) Attach the headlight 
connectors located behind 
the headlight mask to the 
proper plugs located below 
the computer.

Summary of Contents for 250-300 RR

Page 1: ...2013 2014 250 300 RR Set Up Instructions 8 2013 ...

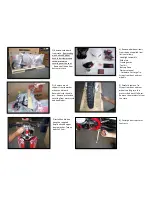
Page 2: ... handle bar 3 Install handle bars using the supplied 8mm bolts and upper clamp bracket Torque bolts to 25 nm 4 Remove additional items from the box supplied Item list is as follows Headlight assembly Skid plate Frame guards Tool kit Battery Strap Owners manual Hardware Cut Large Tie Straps from front and rear wheels 5 Carefully remove Tie Straps from front and rear wheels making sure the motorcycl...

Page 3: ...he headlight mask bottom by inserting the lower tab into slot located in the front fender brace 11 Finish by securing the rubber straps located on the sides of the mask to the upper fork legs 12 Press the front brake line and speedometer wire through the slot on the grommet located on the left side of headlight mask 9 Attach the headlight connectors located behind the headlight mask to the proper ...

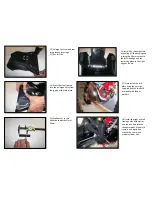
Page 4: ... rubber buffers by peeling off the backing and sticking the 50mm section to the left side edge and the remaining piece to the right edge as shown 17 Next install the skid plate using the nut clips supplied and the two 6x16 mm bolts with fender washers 18 Install the right and left frame guards with zipties and the one bolt into the swingarm pivot Make sure there is one ziptie tied around the rear ...

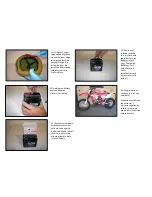
Page 5: ...ned up with Battery holes and foil cell covers are punctured allowing liquid to drain into the Battery 22 Firmly push solution cover on so it sits flush with top of Battery Let Battery sit for 1 hour Charge the Battery at 1 or 2 Amps for 6 to 8 hours Install battery and fill the motorcycle with oil 19 Using your finger apply a bead of grease around the inner edge to help keep dirt from passing thr...

Reviews: