background image

AFS8009

 v 010416-09

750W, 220-240V ~ 50/60Hz

NL

DE

IT

Istruzioni per l'uso sandwich maker

FR

Mode d'emploi de croque-monsieur 

ES

Manual del usuario sandwichera

EN

Sandwich maker user's instructions

Gebrauchsanweisung Sandwichgerät

Gebruikershandleiding sandwichmaker

Summary of Contents for AFS8009

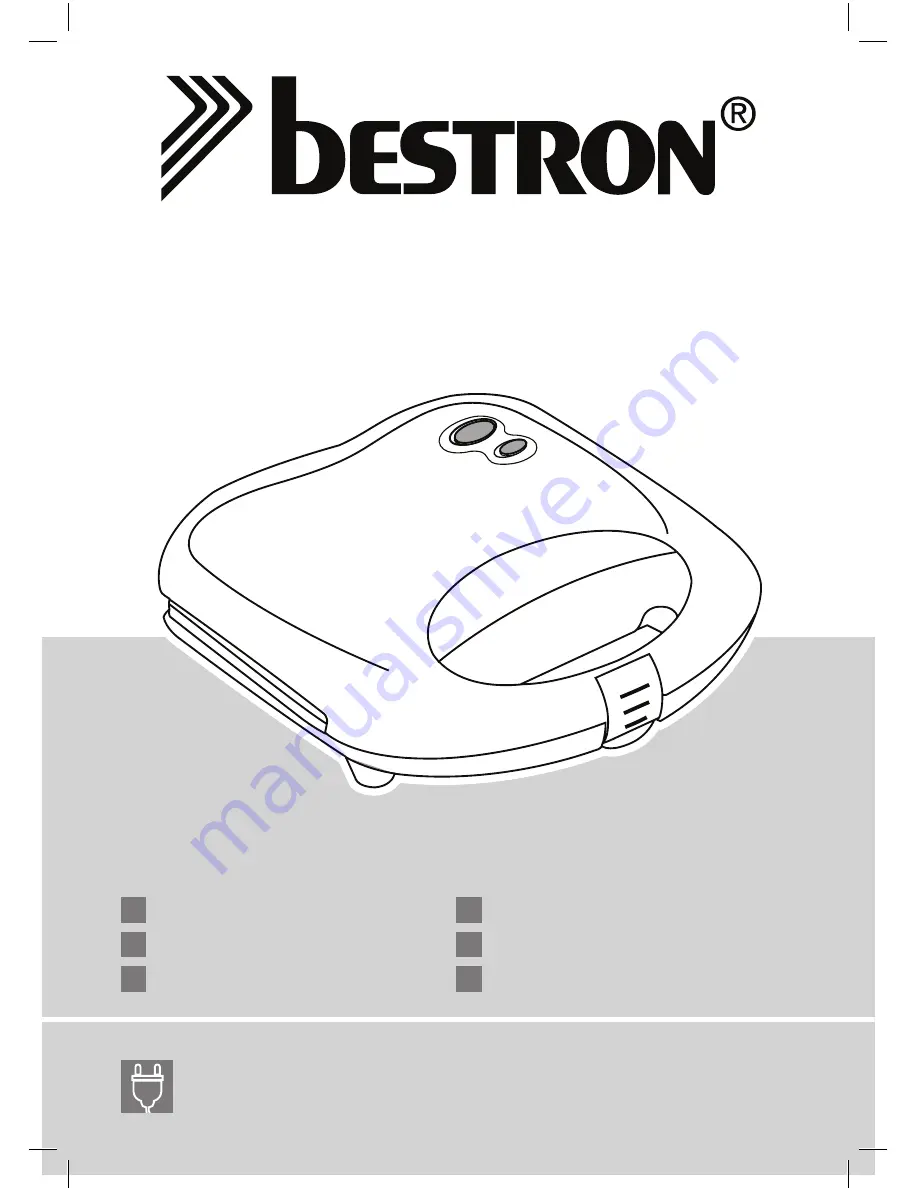
Page 1: ...0V 50 60Hz NL DE IT Istruzioni per l uso sandwich maker FR Mode d emploi de croque monsieur ES Manual del usuario sandwichera EN Sandwich maker user s instructions Gebrauchsanweisung Sandwichgerät Gebruikershandleiding sandwichmaker ...

Page 2: ...het typeplaatje van het apparaat voordat u het apparaat gebruikt Controleer of de contactdoos waarop u het apparaat aansluit geaard is Haal altijd de stekker uit het stopcontact wanneer u het apparaat niet gebruikt Als u de stekker uit het stopcontact neemt trek dan aan de stekker zelf niet aan het snoer Controleer regelmatig of het snoer van het apparaat nog intact is Gebruik het apparaat niet al...

Page 3: ...d of nog warm is Schakel het apparaat eerst uit Gebruik geen scherpe voorwerpen op de bakplaat Deze beschadigen de antiaanbaklaag Tijdens gebruik worden delen van het apparaat heet Gebruik daarom altijd de handgreep om het deksel te openen en te sluiten Gebruik het apparaat niet in de nabijheid van een vogelkooi Bij het verwarmen van de anti aanbaklaag op de bakplaten kan een stof vrijkomen die hi...

Page 4: ...ontact Het rode indicatielampje power gaat branden ten teken dat het apparaat aanstaat 2 Neem vier sneden brood die in de sandwichmaker passen Is het brood te groot snijd dan rondom een rand weg zodat het wel past 3 Laat de sandwichmaker in gesloten toestand opwarmen 4 Beleg twee sneden met een plak ham en of kaas en leg de resterende twee sneden erbovenop Zorg ervoor dat het beleg niet buiten de ...

Page 5: ...kker uit het stopcontact en laat het apparaat afkoelen Eet smakelijk Reiniging en onderhoud 1 Zorg dat de stekker uit het stopcontact is en dat het apparaat volledig is afgekoeld 2 Reinig de bakplaten met een vochtige doek en eventueel wat afwasmiddel Zorg ervoor dat er geen zeepresten achterblijven Droog de bakplaten grondig af 3 Reinig de behuizing met een vochtige doek en droog deze vervolgens ...

Page 6: ...ectievelijk bescherming 7 Op deze garantiebepalingen zal geen aanspraak gemaakt kunnen worden bij a verliezen die zich tijdens het transport voordoen b het verwijderen of wijzigen van het serienummer van het apparaat 8 Uitgezonderd van garantie zijn snoeren lampen en glazen onderdelen 9 De garantie geeft geen enkel recht op vergoeding van eventuele schade buiten de vervanging respectievelijk repar...

Page 7: ...bereinstimmt Kontrollieren Sie ob die Steckdose an die Sie das Gerät anschließen geerdet ist Ziehen Sie immer den Stecker aus der Steckdose wenn Sie das Gerät nicht benutzen Ziehen Sie beim Entfernen des Steckers aus der Steckdose am Stecker und nicht am Kabel Überprüfen Sie regelmäßig ob das Gerätekabel noch intakt ist Benutzen Sie das Gerät nicht wenn das Kabel beschädigt ist Lassen Sie ein besc...

Page 8: ...lls in eingeschaltetem Zustand oder wenn es noch warm ist Schalten Sie das Gerät immer zuerst aus Verwenden Sie für die Backbleche keine scharfen Gegenstände Diese beschädigen die Antihaftschicht Teile des Geräts können während der Benutzung heiß werden Verwenden Sie zum Öffnen und Schließen des Deckels darum immer den Handgriff Benutzen Sie das Gerät nicht in der Nähe eines Vogelkäfigs Bei der Er...

Page 9: ...chtet und zeigt an dass das Gerät eingeschaltet ist 2 Nehmen Sie vier Scheiben Brot die in den Sandwichmaker passen Wenn das Brot zu groß ist dann schneiden Sie rundherum einen Rand weg sodass es hineinpasst 3 Heizen Sie den Sandwichmaker in geschlossenem Zustand vor 4 Belegen Sie zwei Brotscheiben mit einer Scheibe Schinken und oder Käse und legen Sie die übrigen zwei Brotscheiben darüber Achten ...

Page 10: ...Sie den Stecker aus der Steckdose und lassen Sie das Gerät abkühlen Guten Appetit Reinigung und Wartung 1 Sorgen Sie dafür dass das Gerät nicht an eine Steckdose angeschlossen und das Gerät vollständig abgekühlt ist 2 Reinigen Sie die Backflächen mit einem feuchten Tuch und eventuell etwas Spülmittel Achten Sie darauf dass keine Spülmittelreste zurückbleiben Trocknen Sie die Backflächen gründlich ...

Page 11: ... 7 Auf diese Garantiebestimmungen kann kein Anspruch erhoben werden im Falle von a Verlusten die während des Transports auftreten b Entfernung oder Änderung der Geräteseriennummer 8 Ausgenommen von der Garantie sind Kabel Lampen und Glasteile 9 Außer einem Ersatz bzw einer Reparatur der schadhaften Teile räumt die Garantie kein Recht auf Erstattung eines eventuellen Schadens ein Der Importeur kann...

Page 12: ...r la plaquette type de l appareil Assurez vous que la prise sur laquelle vous branchez l appareil est raccordée à la terre Débranchez toujours l appareil lorsque vous ne l utilisez pas Lorsque vous débranchez la fiche saisissez la fiche elle même ne tirez pas sur le cordon Vérifiez régulièrement que le cordon de l appareil est intact N utilisez pas l appareil si vous constatez que le cordon est en...

Page 13: ...e ni s il est encore chaud Coupez au préalable l alimentation de l appareil N utilisez pas d ustensiles acérés sur la plaque Ceci peut endommager le revêtement antiadhésif Certaines parties de cet appareil peuvent s échauffer fortement pendant l utilisation Ouvrez et fermez donc toujours l appareil uniquement à l aide de la poignée N utilisez pas l appareil trop près d une source de volière Lorsqu...

Page 14: ...ge s allume indiquant que l appareil est sous tension 2 Prenez quatre tranches de pain d une taille convenant au Sandwichmaker Si le pain est trop grand coupez les croûtes 3 Laissez le Sandwichmaker fermé pendant qu il se réchauffe 4 Garnissez deux tranches de pain avec une tranche de jambon et ou de fromage et couvrez des deux autres tranches de pain La garniture ne doit pas dépasser des tranches...

Page 15: ...antiadhésif 7 Si vous avez fini de griller vos sandwichs débranchez la prise et laissez le grille pain se refroidir Bon appétit Nettoyage et entretien 1 Vérifiez que la fiche n est pas branchée sur le réseau et que l appareil est entièrement refroidi 2 Nettoyez les plaques avec un chiffon humide et éventuellement un peu de détergent pour la vaisselle Veillez à ne pas laisser de restes de détergent...

Page 16: ...ection et l emballage appropriés 7 Les présentes conditions de garantie ne peuvent pas être invoquées dans les cas suivants a pertes survenues pendant le transport b effacement ou modification du numéro de série de l appareil 8 Les cordons ampoules et pièces en verre ne sont pas couverts par la garantie 9 La garantie ne donne aucun droit d indemnisation pour des dommages éventuels autres que le re...

Page 17: ...re use Make sure that you always use an earthed wall socket to connect the appliance Always remove the plug from the socket when the appliance is not in use Remove the plug from the wall socket by pulling the plug not the power cord Check the appliance s power cord regularly to make sure it is not damaged Do not use the appliance if the power cord is damaged Have a damaged power cord replaced by a...

Page 18: ... switched on or is still hot Switch off the appliance before moving it Do not use sharp implements on the griddle plate these will damage the non stick coating Parts of the appliance will become hot during use Therefore always hold the handle to open and close the lid Never use the appliance in the vicinity of a bird cage Fumes released from the non stick coating when the baking plates are hot can...

Page 19: ...luminate to show that the appliance is on 2 Take four slices of bread that fit in the sandwich maker Cut the edges off slices that are too large so that they fit in the appliance 3 Allow the sandwich maker to heat up in the closed position 4 Lay two slices of ham and or cheese on two slices of bread and cover with the other two slices of bread Make sure that the ham and or cheese does not project ...

Page 20: ...es remove the plug from the wall socket and allow the appliance to cool Enjoy your meal Cleaning and maintenance 1 Make sure the plug has been removed from the wall socket and that the appliance has cooled completely 2 Clean the baking plates with a damp cloth if necessary with an additional couple of drops of washing up liquid Make sure no traces of detergent remain on the plates Dry the baking p...

Page 21: ...rd parties f Careless transport i e without suitable packaging materials or protection 7 No claims may be made under this warranty for a Losses incurred during transport b The removal or changing of the appliance s serial number 8 The guarantee does not cover power cords lamps or glass parts 9 No claims can be submitted under this warranty for damage other than the repair or replacement of faulty ...

Page 22: ...ndicata sulla targhetta identificativa dell apparecchio Verificare che la presa cui si collega l apparecchio sia provvista di messa a terra Disinserire sempre la spina dalla presa quando l apparecchio non è in uso Quando si toglie la spina dalla presa esercitare la trazione sulla spina stessa e non sul cavo Verificare regolarmente l integrità del cavo dell apparecchio Non utilizzare l apparecchio ...

Page 23: ...utilizzare oggetti taglienti o acuminati sulla piastra di cottura onde evitare di danneggiare il rivestimento antiaderente Durante l utilizzo alcune parti dell apparecchio sono soggette a surriscaldamento Assicurarsi pertanto di aprire e di chiudere il coperchio del prodotto agendo sempre sull apposita maniglia Evitare di utilizzare l apparecchio in prossimità di gabbie in cui sono contenuti uccel...

Page 24: ...rendere 4 fette di pane adatte a essere tostate nelle piastre della tostiera Qualora le fette di pane risultino troppo grandi per le piastre dell apparecchio ridurne le dimensioni eliminandone il contorno 3 Lasciare riscaldare la tostiera elettrica richiudendone le piastre 4 Farcire due fette di pane con del prosciutto e o del formaggio e collocare le altre due fette sopra la farcitura Assicurarsi...

Page 25: ...ivestimento antiaderente 7 Qualora non si desideri preparare più alcun toast estrarre la spina dalla presa di corrente e lasciare raffreddare completamente l apparecchio Buon appetito Pulizia e manutenzione 1 Assicurarsi che la spina sia disinserita dalla presa di rete e che l apparecchio si sia completamente raffreddato 2 Pulire le piastre di cottura con un panno umido ed eventualmente del deterg...

Page 26: ... f trasporto eseguito in modo improprio privo dell imballaggio o delle protezioni idonee 7 Le presenti condizioni di garanzia non si applicano inoltre in caso di a perdite che si verificano durante il trasporto b rimozione o modifica del numero di serie dell apparecchio 8 Sono esclusi dalla garanzia i cavi le spie luminose le lampade e i componenti in vetro 9 La garanzia non riconosce alcun diritt...

Page 27: ...d a la que va a conectar el aparato tenga conexión a tierra Retire siempre el enchufe de la toma de alimentación cuando no esté utilizando el aparato Al retirar el enchufe de la toma de pared asegúrese de tirar del enchufe y no del cable Verifique regularmente que el cable del aparato esté en buenas condiciones No utilice el aparato si el cable está averiado Haga sustituir el cable deteriorado por...

Page 28: ...Apague primero el aparato No use ningún accesorio con filo para dar vuelta a los alimentos en la plancha de asado Éstos dañan la capa antiadherente Algunas partes del aparato se calientan demasiado durante el uso Por tal motivo use siempre la empuñadura para abrir y cerrar la tapa No use el aparato cerca a la jaula de los pájaros Al calentarse la capa antiadherente la placa de asado puede desprend...

Page 29: ...rriente El testigo luminoso de color rojo se enciende indicando que el aparato está encendido 2 Tome cuatro rebanadas de pan de un tamaño que quepa en la sandwichera Si el pan es demasiado grande corte los bordes al tamaño del aparato 3 Deje cerrada la sandwichera mientras se calienta 4 Coloque una rebanada de jamón y o de queso sobre el pan y cúbralo con la otra rebanada Asegúrese de que el jamón...

Page 30: ... o tenedores metálicos Éstos dañan la capa antiadherente 7 Si no desea asar más sandwiches retire el enchufe de la toma de corriente y deje enfriar el aparato Buen apetito Limpieza y mantenimiento 1 Retire el enchufe de la fuente de alimentación y deje enfriar el aparato 2 Retire la bandeja recogemigas del aparato véase la figura 2 y saque las migas restantes 3 Limpie la parte exterior del aparato...

Page 31: ...in el embalaje o protección adecuados 7 No podrá apelarse a estas disposiciones de garantía en los siguientes casos a pérdida ocurrida durante el transporte b remoción o modificación del número de serie del aparato 8 La garantía no cubre los cables las bombillas ni las partes de cristal 9 La garantía no concede derecho a reclamar indemnización alguna por daños diferente a la sustitución o reparaci...

Page 32: ......

Reviews: