A
A
B
B
X
X
X
X
X
X
X
X
X
X
X
X
Step 7
Assemble Front Wall Continued
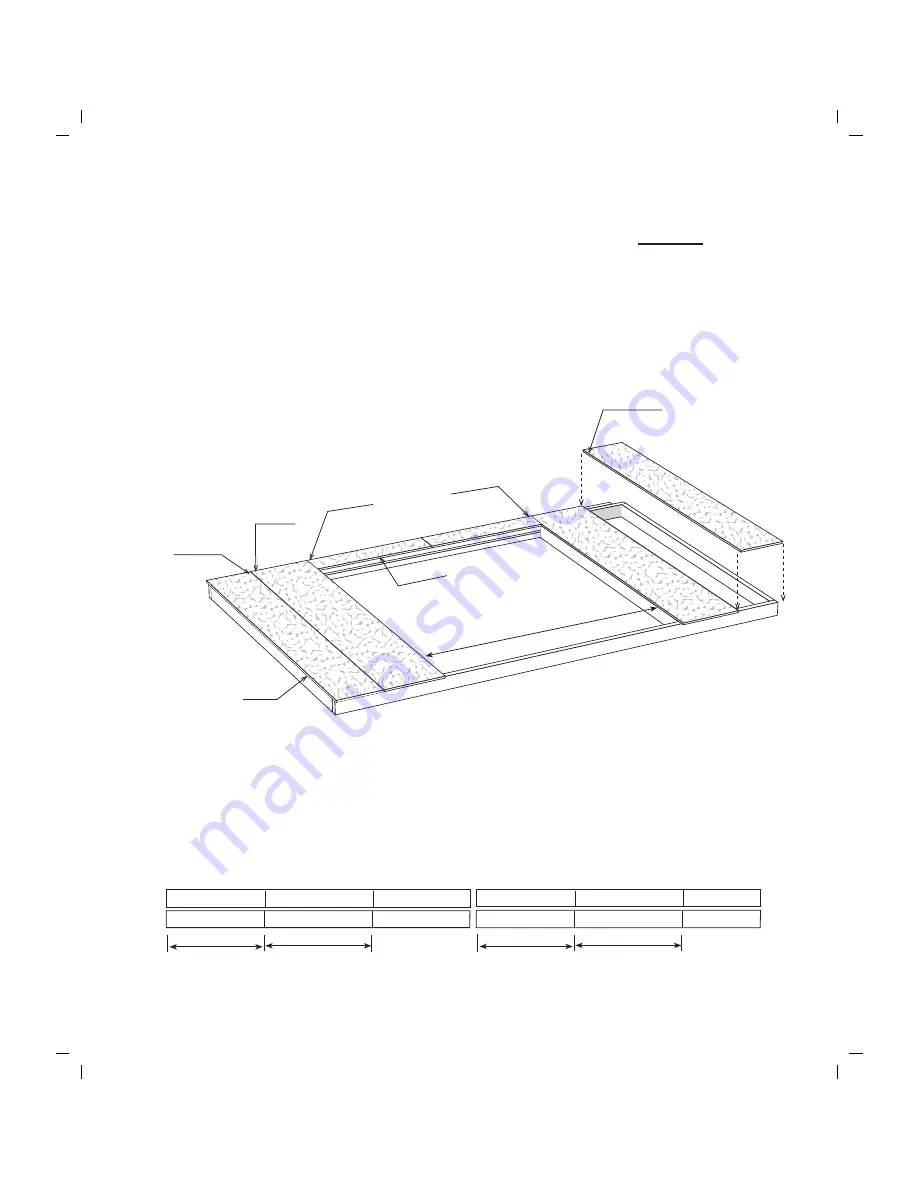
Siding Extends
Below Header
Cut Edge
Butt Square E
dges
Together
Cut Edge
Tongue Edge
LAP Edge
5.
Locate a 16" x 77-1/4" siding panel that has a 'LAP' edge. Position the 'cut' edge flush with
the left side of the door opening. Do not nail the LAP edge until the other siding is applied.
6.
Locate the 12-3/4" wide siding with a 'tongue edge' and install on the left end of the front wall.
7.
Install (2) two 6" siding panels over the door opening, flush with the top plate.
8.
Install another 16" wide siding panel with the 'cut' edge flush with the side of the door opening.
9.
Install the last siding panel..
LAP Edge
Step 8A Assemble Side Walls
1.
Position 68-1/2" and 65-1/2" long 2x4 boards together and indicate where the wall studs
will be located. Mark the ends that will butt together with the letters 'A' and 'B'.
68-1/2" Wall Plate
24"
19-3/4"
24"
23-1/4"
65-1/2" Wall Plate


