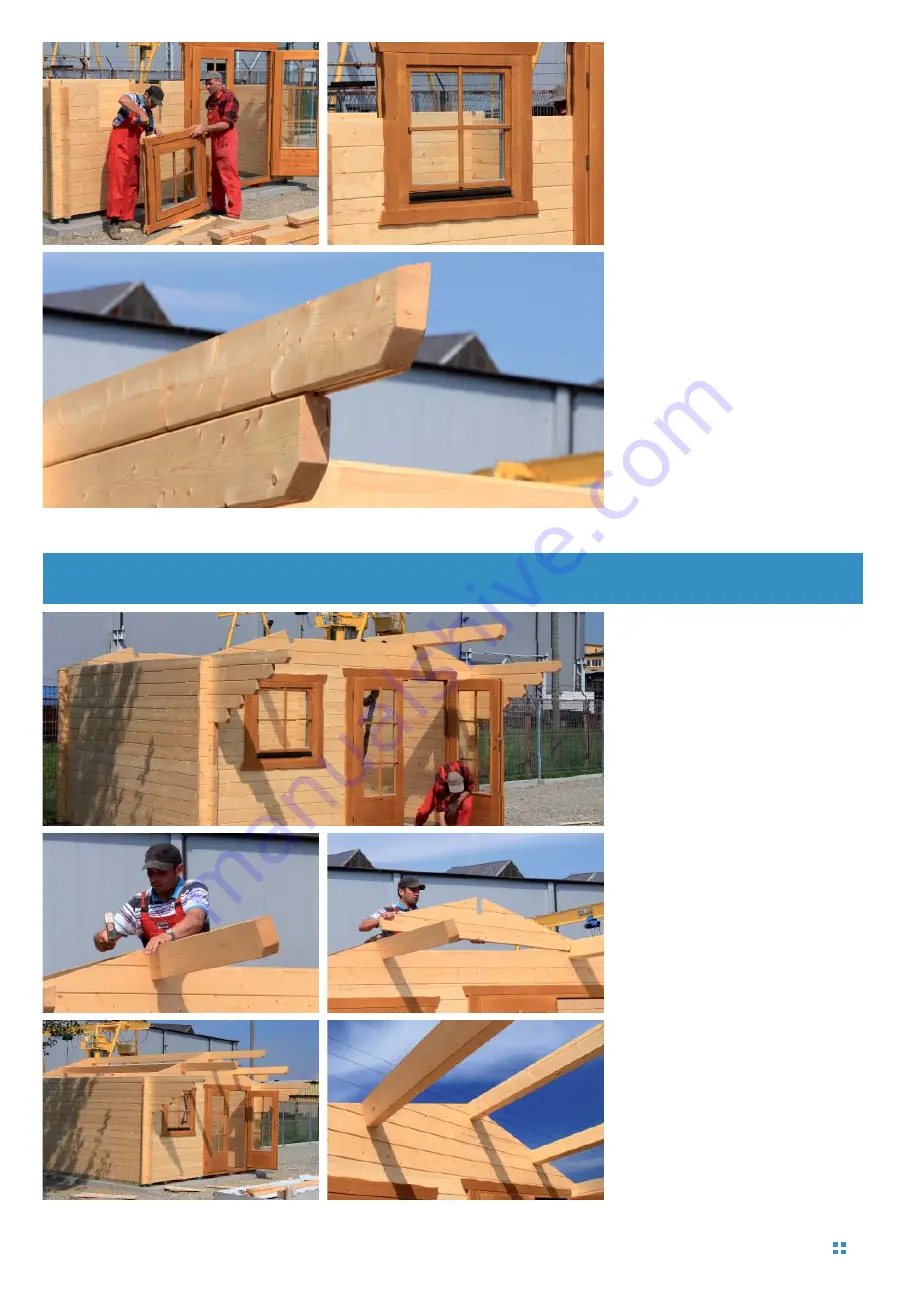
Always check the number of wood pro-
file rows to be built by comparing this
with the drawing.
Complete the walls according to the
drawing.
The last plank on the left and right-
hand side of the summer house is
slanted on the top and therefore adjus-
ted to the roof pitch.
The ridge planks for the front and rear
part of the summer house are already
preassembled. Take the
fi
rst two pie-
ces and set them on the exterior walls
in the front and back. Make sure the
planks are attached properly. If neces-
sary, tap the left and right-hand side of
the gable with a hammer to make sure
it is attached properly to the wall. This
also applies for the rear gable.
Insert the two centre purlins into the
slots in the gable. Make sure the be-
ams (purlins) are
fl
ush and at the same
angle with the gable. Adjust them with
a hammer if necessary. Now set the
second (smaller) piece of the gable
between the two centre purlins and
on the already assembled front part of
the gable. Repeat this step for the rear
gable. Then insert the ridge purlin into
the upper slots of the gable.
S
TEP
4
Setting up the ridge
5
Contact your specialist supplier if you experience any problems during assembly.


