


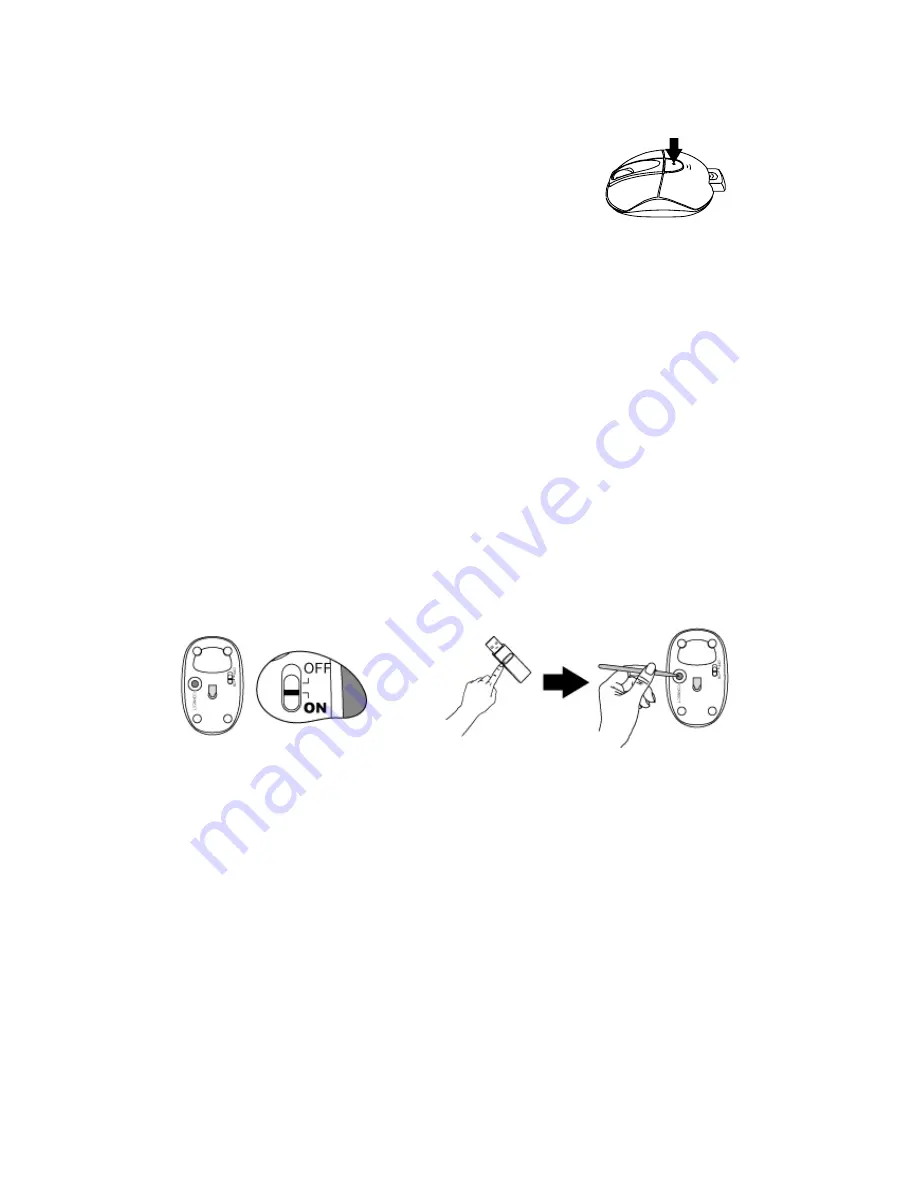
Hardware Installation
Step 1: Press the front wireless USB mini receiver eject button
located on the battery cover as indicated, then pull out
and remove the wireless USB mini receiver from the
mouse.
Step 2: With your computer turned on, plug the wireless USB mini receiver into an
available USB port on your computer.
Step 3: The system will automatically detect the new hardware and install the device
ready for use.
Step 4: Proceed to 'Establishing a Wireless Connection' to complete the installation.
Establishing a Wireless Connection
Once the wireless USB mini receiver is connected to your PC, a wireless connection
will need to be established between it and the mouse. Please perform the following
steps in order to establish a proper wireless connection:
Step 1: Be sure to power on the power switch of mouse base.
Step 2: Ensure the mouse and wireless USB mini receiver are set up as described in
‘
Battery Installation
’ and ‘
Hardware Installation
’.
Step 3: Press the
CONNECT
button on the wireless USB mini receiver, then press
the
CONNECT
button on the mouse base.
NOTE:
1. To ensure correct operation, please make sure that the wireless USB mini receiver
is properly installed at least 20 cm (8 inches) away from electromagnetic devices
such as monitors or speakers. Also please make sure that the wireless USB mini
receiver is installed at least no more than 1 meter away from the mouse.
2. If the mouse does not activate, please repeat Step 2 and 3.
3. It is also necessary to repeat Step 2 and 3 after any loss of power from battery
replacement.
Multiple Power-Saving Modes
‧
The mouse can be manually set to sleep mode by simultaneously pressing all three
buttons (both the Left and Right mouse buttons and the Scroll Wheel button at the