


6
Setting Up Your KMX-4911 Multiviewer
Physical Setup
The Status LED on the selected card flashes orange, and the associated local menu and
navigation controls appear on the frame’s control panel touch display.
2 On the local control panel, touch the [–] button, until RESOLUTION appears on the
display.
3 Touch the SEL button.
HEAD 1 appears on the control panel’s touch display.
4 Touch the SEL button again.
5 The current resolution for the display that is connected to the multiviewer’s output
head 1 (i.e. through the MV OUT 1 connector) appears on the display.
6 Touch the [+] and [–] buttons, to navigate to a suitable output resolution for your
display.
7 Touch SEL to apply the value shown on the display.
The selected resolution is applied to the display.
8 Touch ESC to return to the previous level in the local control menu.
HEAD 1 appears again on the display.
Note:
You can navigate the menu by using the four virtual buttons on the
touch display:
• Touch the [+] and [–] buttons, to navigate between menu options or
between parameter values.
• Touch SEL to access the next menu level. When a parameter value is
shown on the display, modify the value by using the [+] and [–] buttons,
and then touch SEL to apply the new value.
• Touch ESC to go back to the previous menu level.
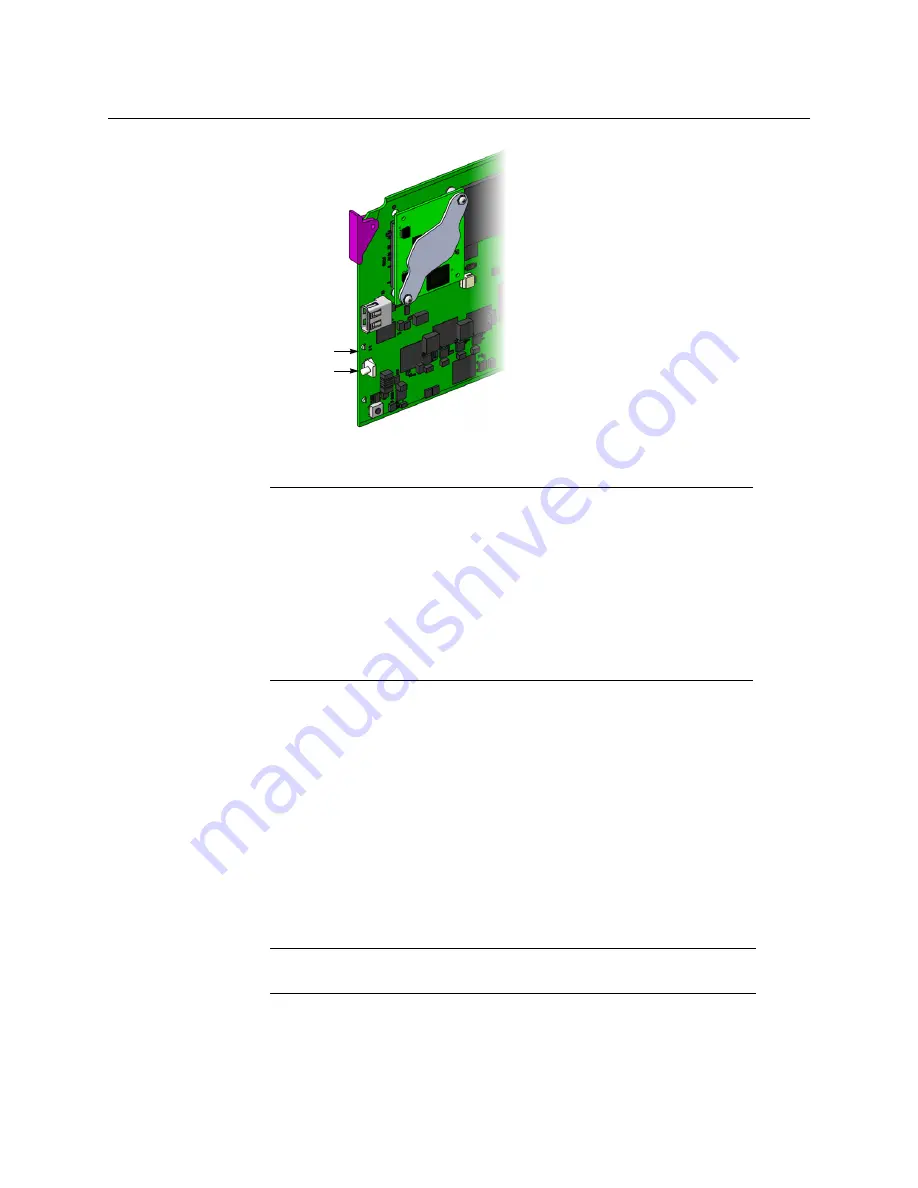
• Once you have completed your changes, press the Select button
on the
front edge of the KMX-4911 card
to exit the control menu.
Note:
If the output resolution you selected is associated with a refresh rate
that is different from the reference signal’s refresh rate, the latter applies.
Select
button
Status LED


