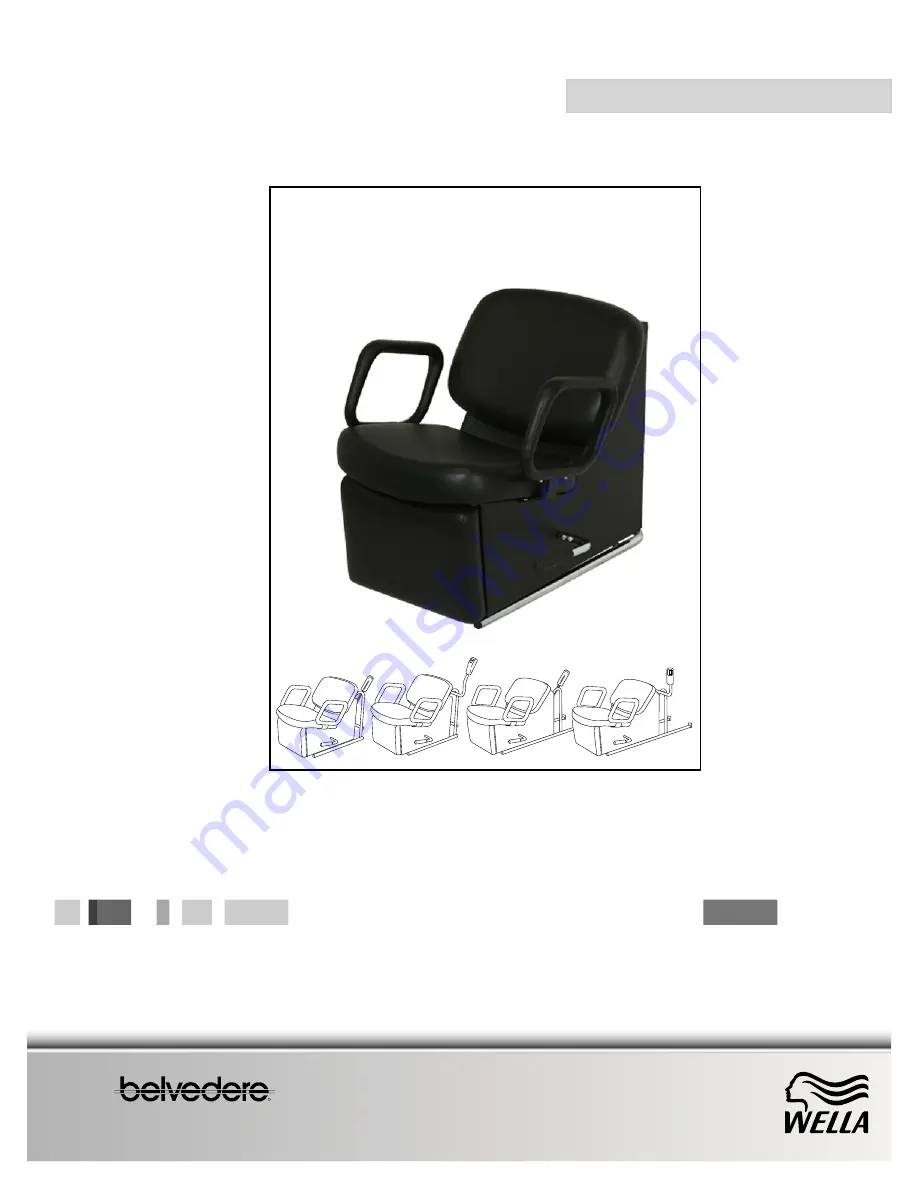
Siesta Chairs
SIESTA
Perfect design. Personal service.
User Instructions and Assembly
R
UPUP
DOWN
DO
WN
4000978
Page 1: ...Siesta Chairs SIESTA Perfect design Personal service User Instructions and Assembly R UP UP DOWN DOWN R UP UP DOWN DOWN R 4000978...
Page 2: ...t the client You or the client may raise the legrest Grasp the handle and pull back Caution The legrest is spring loaded Note Clients wearing dresses may want a towel or cape over their legs Now pull...
Page 3: ...WN DOWN R REMOTE CONTROL UP UP DOWN DO W N R 3 When the shampoo is complete push the down button on the remote to move the chair to the lowest position Push the lever handle forward to lower the legre...
Page 4: ...Phillips head screw J Hook 2 Hanger Loop 8 x 1 1 4 Pan head Phillips screw 2 Wood screw or other fastener suitable for wall or bulkhead construction SR14 SR34 only obtain locally 4 2 1 Tools hardware...
Page 5: ...holding the top of the lift mechanism to the chair frame 5 Pull the retaining clip out of the pin and remove the pin from the bracket on the chair 6 To connect the lift mechanism to the chair a Have a...
Page 6: ...34 electric Siestas come with a 10 foot power cord The unit must be plugged into a GFCI Ground Fault Circuit Interrupter circuit or outlet The GFCI should be installed by a qualified electrician The o...
Page 7: ...6 apart at a convenient location Fasten the hanger loop with two screws provided SIESTA CHAIR INSTALLATION 7 The SR24 and SR34 electric Siestas come with a 10 foot power cord The unit must be plugged...
Page 8: ...vided or your fasteners through the holes in the mounting plates and into the bulk head or wall 8 UP UP DO WN DO W N R BE SURE CHAIR FRAME IS CENTERED UNDER BOWL SCREWS 2 MOUNTING PLATES 2 The SR24 an...