20
21
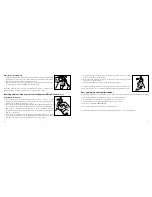
Removing your instrument
• Using your thumb and index finger gently pull the hearing instrument (not
the battery door) from your ear. CIC instruments often have a thin plastic
pullout cord. Use this. Never pull the battery door.
• Removal may be easier if you open and close your mouth while simultane-
ously pulling your ear backward with your other hand.
Take some time at home to practice inserting and removing your instrument. It
may be helpful to position your elbows on a table and use a mirror.
Inserting and removing your custom instrument (Mic in Helix devices)
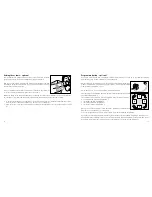
Inserting the instrument
• The insertion process varies with the shape of your ear canal. A fairly
straight ear canal allows easy insertion. However, some ear canals have
sharper curves and may require more care.
• Take the hearing instrument between thumb and index finger and position
its ‘point’ in your ear canal. If available the colour dot must point upwards.
• Now slide the instrument all the way into your ear canal with a gentle,
twisting motion. Insertion can be easier if you gently pull your ear backward
with your other hand.
• Move the instrument up and down with your index finger and press gently
to ensure it is positioned correctly. Opening and closing your mouth can aid
insertion. You will feel when the instrument is inserted correctly.
• After the hearing instrument has been properly seated in the ear canal,
locate the microphone and tubing.
• Gently push the microphone into the creased area of the ear that is located
above the ear canal entrance.
• After the microphone is in place, push the tubing into place.
It is important that the microphone tube fits correctly in your ear. If the micro-
phone tube irritates your ear, please contact your hearing care professional.
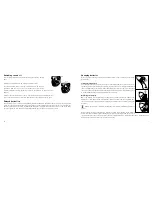
Recognising left and right instrument
Your hearing instrument is custom-made to fit your ear. Therefore, right and left instruments differ in shape.
Your hearing instrument is marked with either a left or right indication:
• A left instrument has a blue wax guard, blue shell, or a blue dot;
• A right instrument has a red wax guard, red shell, or a red dot.
This is easy to remember:
R
ed =
R
ight.
The colour dot must point upwards on your instruments.
Your hearing instruments are not interchangeable between ears so do not swap them.


