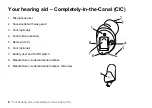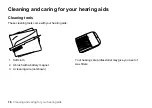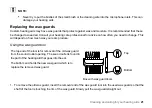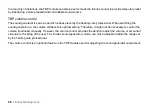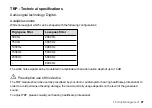
2. To insert the new wax guard, gently press the replacement end of the wax guard tool straight into the hole of
the sound outlet until the outer ring lies flush with the outside of the receiver. Pull the tool straight out - the new
wax guard should remain in place.
NOTE:
Pressing on the new wax guard with the flat side of the wax guard tool can ensure that the wax
guard is correctly in place.
For information on obtaining more wax guards contact your hearing care professional to ensure you get
the correct wax guards for your hearing aids.
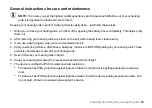
CAUTION:
Use only original consumables from the manufacturer, e.g. wax guards.
22
Cleaning and caring for your hearing aids
Summary of Contents for Imagine Custom
Page 1: ...User guide Beltone Custom hearing aids ...
Page 4: ...4 ...
Page 45: ...Notes Additional information 45 ...
Page 46: ...Notes 46 Additional information ...

