background image


18

Main Menu


Image Setup


Main Disp 

Brightness 

Brightness 

Image Setup 

Contrast 


Audio Setup 

Sharpness 

  -                61               + 

TV Setup 

Color 

Press 

Enter/Menu

Language Anti-Flicker 


Recall 

Press 

Enter/Menu


Return 


Use the   and   to adjust 

the setting. Then press the 

menu button again to Return.

Quit 


NOTE:  

Use the 

 and 

  to move between the options, Then press the Menu button again to confirm. 


All values on the gauge bar only for reference. For actual values please refer to factory defaults.


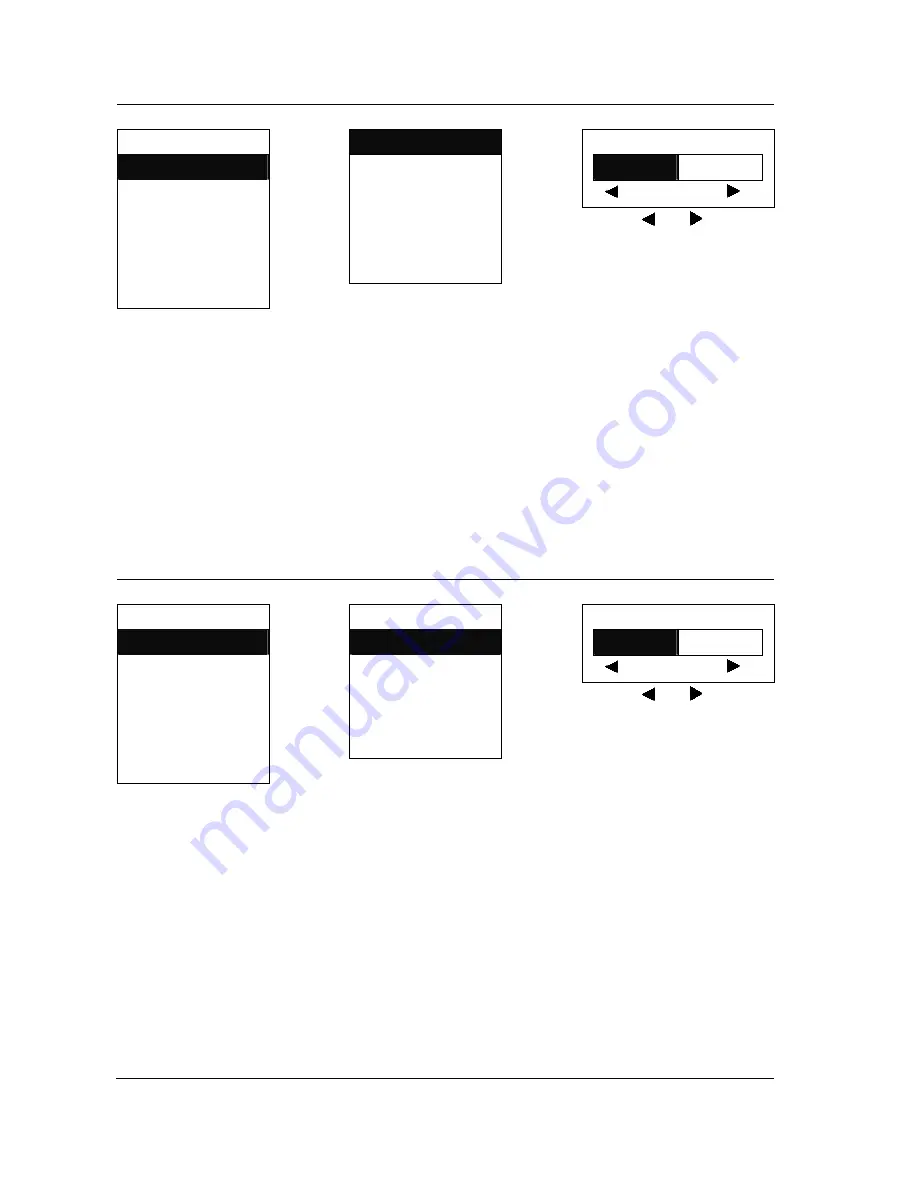
Image Setup Operating Instructions - Contrast 

Level1  Level2  

Level3 

Function 

Main Menu


Image Setup


Main Disp 

Brightness 

Contrast 

Image Setup 

Contrast 


Audio Setup 

Sharpness 

  -                60               + 

TV Setup 

Color 

Press 

Enter/Menu

Language Anti-Flicker 


Recall 

Press 

Enter/Menu


Return 


Quit 


Use the   and   to adjust 

the setting. Then press the 

menu button again to Return.


NOTE:  

Use the 

 and 

  to move between the options, Then press the Menu button again to confirm. 


Image Setup Operating Instructions - Sharpness 

Level1  Level2  

Level3 

Function 

Summary of Contents for LT 2033

Page 1: ...USER MANUAL Color TFT LCD TV ...

Page 2: ...product is operated Retain Instructions The safety and operating instructions should be retained for future references Heed Warnings All Warnings on the product and in the operation instructions should be adhered to Follow Instructions All Operating and user instructions should be followed Cleaning Unplug this product from the wall outlet before cleaning DO NOT use liquid cleaners or aerosol clean...

Page 3: ... Cord Protection Power supply cords should be routed so that they are not likely to be walked on or pinched by items placed upon or against them Pay particular attention to cords at plugs convenience receptacles and the point where they exit from the product UL Safety Remark AC Adaptor This product is intended to be supplied by a listed power unit marked class 2 Limited Power Source or LPS and out...

Page 4: ...ctric shock or other hazards Safety Check Upon completion of any service or repair to this product ask the service technician to perform safety checks to determine that the product is in proper operating condition Heat The Product should be situated away from heat source such as radiators heat registers stoves or other products including amplifiers that produce heat Mounting DO NOT place this prod...

Page 5: ...eterioration can be limited by observing the following steps Reduce the brightness contrast setting to a minimum viewing level DO NOT display the fixed image for extended periods of time Turn the power off when not in actual use Recycling This product utilizes tin lead solder and has a fluorescent lamp containing a small amount of mercury Disposal of these materials may be regulated in your commun...

Page 6: ...uct Features 7 Package Contents 8 2 SYSTEM SETUP 9 Front Panel Remote Control Function 9 Input Output Signal Connections 11 3 LCD TV OPERATING INSTRUCTIONS 15 TV and AV Operating Instructions 17 4 Reference 26 LCD Monitor Display Angle 26 Troubleshooting 27 5 APPENDIX 27 Specifications 27 ...

Page 7: ...eration of TFT LCD incorporates a high quality display in a lightweight module as such the unit has power saving capabilities There are many benefits from this TFT LCD namely comfort safety and environmental protection Other outstanding features include freedom from video oscillations and selection of various choices of digital video and audio signal inputs In addition the TFT LCD display allows O...

Page 8: ...ntal 160º Vertical 160º y Low Power Consumption Saving 50 Power Than Conventional TV y Full Frequency Channel Receive Capability y AV Terminal Input and S Video Inputs For High Quality Pictures y Slim Space Saving Design 70 Smaller Than CRT Monitors y 500 1 High Contrast Ratio Provides Optimum Picture Quality y Multiple Input Terminals offers Greater Convenience y User Friendly On Screen Display F...

Page 9: ...8 Package Contents Please check the LCD TV Package to make sure it contains the following items Remote Control ...

Page 10: ...emote Control Buttons 1 POWER Power on or off 2 NUMBER KEYS Press these buttons to select items Support TV and Teletext function 3 MUTE Turns volume off 4 CHRTN Recalls the last channel that was viewed Only for TV 5 Audio Switch the Audio source 6 Exit Menu When the OSD On Screen Display displayed press this button to exit the main menu 7 CH Increase TV channel setting With the OSD On Screen Displ...

Page 11: ...NA 21 NA 22 Update Update the information of the Teletext page Only for Teletext function 23 Size Select the size of the current Teletext page Only for Teletext function used 24 EQ 5 preset sound theme Switch between POP Classic Jazz Voice Flat 25 BRIGHT For 3 step Brightness adjustment Dark Standard Light 26 CH decrease TV channel setting With the OSD On Screen Display displayed press this button...

Page 12: ... The environmental restrictions of your country Remote Control Operating Instruction The Remote Control Transmission consists of an Infrared IR Signal Make sure the line of sight between Remote Control and LCD is clear of objects that could interfere with the remote IR signal Always point the Remote Control directly at the LCD sensor Input Output Signal Connections ...

Page 13: ...CART INPUT 2 RIGHT AUDIO INPUT 3 LEFT AUDIO INPUT 4 ANT CABLE INPUT 5 POWER ADAPTER INPUT 6 EARPHONE OUTPUT 7 AV INTPUT 8 D Sub For Service 9 Y 10 Cr 11 Cb 12 S Video INPUT 13 POWER SWITCH Connecting TV Cable ...

Page 14: ...13 DC Power Socket Connecting to AV terminal equipment such as DVD VCR and Gaming Console ...

Page 15: ...14 Connecting to S Video terminal equipment such as DVD VCR or Gaming Console ...

Page 16: ...15 3 LCD TV OPERATING INSTRUCTIONS ...

Page 17: ...the up down button on the remote control to choose the country where you are using the TV Use the and to move between the options Then press the Menu button again to confirm Auto Program Yes Press Enter After selecting the country the Auto Program menu should be showing on the screen Press Enter and the automatic channel search starts The TV Tuner will automatically scan all cable or air TV freque...

Page 18: ...which can be found under the Main Menu Display TV and AV Operating Instructions Press the Enter Menu button to display the following Main Menu Main Disp Operating Instructions Level1 Level2 Level3 Function Main Menu Main Disp Main Disp TV 1 TV TV Input Signal Image Setup AV 2 AV A Video Input Signal Audio Setup SV 3 SV S Video Input Signal TV Setup Y Cb Cr 4 Y Cb Cr Component Input Signal Language...

Page 19: ...uge bar only for reference For actual values please refer to factory defaults Image Setup Operating Instructions Contrast Level1 Level2 Level3 Function Main Menu Image Setup Main Disp Brightness Contrast Image Setup Contrast Audio Setup Sharpness 60 TV Setup Color Press Enter Menu Language Anti Flicker Recall Press Enter Menu Return Quit Use the and to adjust the setting Then press the menu button...

Page 20: ... Menu button again to confirm Image Setup Operating Instructions Color Level1 Level2 Level3 Function Main Menu Image Setup Main Disp Brightness Color Image Setup Contrast Audio Setup Sharpness 74 TV Setup Color Press Enter Menu Language Anti Flicker Recall Press Enter Menu Return Use the and to adjust the setting Then press the Menu button again to Return Quit NOTE Use the and to move between the ...

Page 21: ...ween the options Then press the Menu button again to confirm Audio Setup Operating Instructions Balance Level1 Level2 Level3 Function Main Menu Audio Setup Main Disp Balance Balance Image Setup Equalizer Audio Setup Return 16 TV Setup Press Enter Menu Language Recall Press Enter Menu Quit Use the and to adjust the setting Then press the Menu button again to Return NOTE Use the and to move between ...

Page 22: ...button again to confirm TV Setup Operating Instructions TV SYSTEM Level1 Level2 Level3 Function Main Menu TV Setup TV SYSTEM Main Disp TV SYSTEM PAL BG Image Setup Auto Program PAL I Audio Setup Erase CH PAL DK TV Setup Manual Press Enter Menu SECAM L Language Reset TV Return Recall Press Enter Menu Child Lock Return Back to TV Setup Quit Scart AutoSW Return NOTE Use the and to move between the op...

Page 23: ...1 Level2 Level3 Function Main Menu TV Setup Erase CH Main Disp TV SYSTEM No Yes Image Setup Auto Program Audio Setup Erase CH Press Enter Menu TV Setup Manual Use the and to adjust the setting Then press the Menu button again to Return Language Reset TV Recall Press Enter Menu Child Lock Quit Scart AutoSW Return NOTE This function can erase the channel which is being viewed Once erase all channels...

Page 24: ... Press Enter Menu Return TV Setup Manual Language Reset TV Pr 2 Fr 125 4 Recall Press Enter Menu Child Lock Quit Scart AutoSW Return If you select the Preset Function in the manual menu a small windows will appear on the screen which shows the frequency e g Fr 125 4 TV channel NBC and the program position on the list e g Pr 2 It is possible to change the NBC TV channel using the number button on t...

Page 25: ...on the power again you will return to the initial setup Use the and to move between the options Then press the Menu button again to confirm TV Setup Operating Instructions Child Lock Level1 Level2 Level3 Function Main Menu TV Setup Main Disp TV SYSTEM Enter Password Image Setup Program Audio Setup Erase CH Press Enter Menu Default code is 3308 TV Setup Manual Language Reset TV Set Password Recall ...

Page 26: ...W Return NOTE Return Back to Main Menu Use the and to move between the options Then press the Menu button again to confirm Language Operating Instructions Level1 Level2 Main Menu Language Main Disp English Image Setup Deutsch Audio Setup Italiano TV Setup Spanish Language French Recall Press Enter Menu Russian Quit Return Return Back to Main Menu NOTE Use the and to move between the options Then p...

Page 27: ...the options Then press the Menu button again to confirm Quit Operating Instructions Level1 Function Main Menu Main Disp Image Setup Audio Setup Quit Exit the on screen menu controls TV Setup Language Recall Press Enter Menu Quit NOTE Use the and to move between the options Then press the Menu button again to confirm 4 Reference LCD Monitor Display Angle Vertical Up 30 Down 5 ...

Page 28: ... cable is plugged in securely Screen bounces or has wavy oscillations 1 Check Video input range V sync Max 60Hz H sync Max 48 08KHz 2 Make sure Video cable connections are secure No sound 1 Check speaker line connections 2 Sound might be muted try adjusting the volume Only one speaker operates 1 Check audio wire connections with source device 2 Check the unit s speaker wires are securely connected...

Page 29: ...channels TV Function Teletext Brightness 500 cd m2 Scanning Backlight Life 50 000 hr Viewing Angle H Position 160 V Position 160 Audio Amplifier 3W 2 Input Terminal AV Input Terminal Input AV S Video Componet Y Cb Cr Composite SCART ANT DIN H P earphone 3 5Φ Hole Display Language English German Italian Spanish French Power Adapter AC Input 100 240V DC Output 12V 5 0A Enclosure Remote Control Batte...

Reviews: