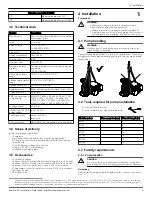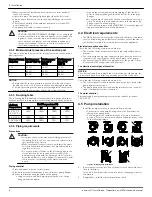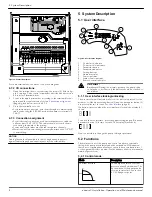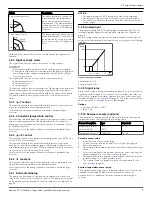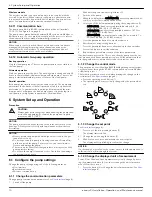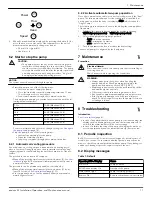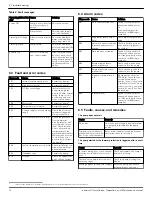
• Make sure that the installation area is protected from any fluid
leaks, or flooding.
• If possible, place the pump slightly higher than the floor level.
• Provide shut-off valves on the suction and discharge sides of the
pump.
• The relative humidity of the ambient air must be less than 95%
non-condensing.
• This pump is suitable for indoor use only.
CAUTION:
CAUTION: PROPERTY DAMAGE HAZARD. It is not advisable
to install circulators in an attic or upper floor over finished liv-
ing space. If the circulator must be installed over head, or
over expensive equipment, provide adequate drainage in
the event of leakage. Failure to follow these instructions
could result in property damage.
4.3.2 Minimum inlet pressure at the suction port
The values in the table below are the inlet pressures above the atmos-
pheric pressure.
Nominal Suction
Diameter
Fluid tempera-
ture 77°F (25°C)
Fluid tempera-
ture 203°F
(95°C)
Fluid tempera-
ture 230°F
(110°C)
1½”
4.5 PSI
16 PSI
25 PSI
2”
4.5 PSI
16 PSI
25 PSI
3”
7.5 PSI
19 PSI
28 PSI
NOTICE:
• Ensure that the suction pressure is never below the values speci-
fied above, as this could cause cavitation and damage the pump.
• The inlet pressure plus the pump pressure against a closed valve
must be lower than maximum admissible system pressure.
4.3.3 De-rating table
The following table indicates percent decrease in input power draw,
with the increase in temperature of circulating water and the ambient.
Ambient
temperature
Fluid Temperature (°C)
-10
60
95
110
32°F–77°F
(0°C–25°C)
100%
100%
100%
100%
86°F (30°C)
100%
100%
80%
70%
104°F (40°C)
100%
100%
70%
55%
4.3.4 Piping requirements
Precautions
CAUTION:
• Use pipes suited to the maximum working pressure of
the pump. Failure to do so can cause the system to rup-
ture, with the risk of injury.
• Make sure that all connections are performed by quali-
fied installation technicians and in compliance with the
regulations in force.
• Do not use a shut-off valve on the discharge side in the
closed position for more than a few seconds. If the
pump must operate with the discharge side closed for
more than a few seconds, a bypass circuit must be instal-
led to prevent overheating of the water inside the
pump.
Piping checklist
• Pipes and valves must be correctly sized.
• Pipe work must not transmit any load or torque to pump flanges.
• Be sure to minimize any pipe-strain on the pump:
• Support suction and discharge piping by the use of pipe
hangers near the pump.
• Line up the vertical and horizontal piping so that the bolt-
holes in the pump flanges match the bolt-holes in the pipe
flanges.
• Do not attempt to spring the suction or discharge lines in po-
sition. This may result in unwanted stress in the pump body,
flange connections and piping.
• The code for pressure piping (ANSI B31.1) lists many types of
supports available for various applications.
4.4 Electrical requirements
• The NEC and local codes must be followed at all times. If a branch
circuit is fitted with ground fault circuit breaker, ensure that the cir-
cuit breaker is suitable for use with inverter-driven appliances.
Electrical connection checklist
Check that the following requirements are met:
• The electrical wires are protected from high temperature and vi-
brations.
• The current type and power supply voltage connection must cor-
respond to the specifications on the name plate on the pump.
• Use wires at least 14 AWG to supply power to the pump. Follow
all local and NEC wiring codes and practices.
The electrical control panel checklist
NOTICE:
The electrical supply must match the electrical rating of the pump. Im-
proper combination could fail to guarantee protection of the unit.
Check that the following requirements are met:
• The control panel circuit breaker be sized properly to protect the
pump against short-circuit.
• The pump has built in overload and thermal protection, no addi-
tional overload protection is required.
The motor checklist
Electrical supply and grounding wires must be suitable for at least
194°F (90°C).
4.5 Pump installation
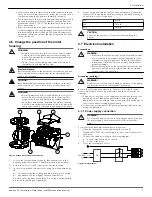
1.
Install the pump according to the liquid flow direction.
• The arrow on the pump housing shows the flow direction
through the pump body.
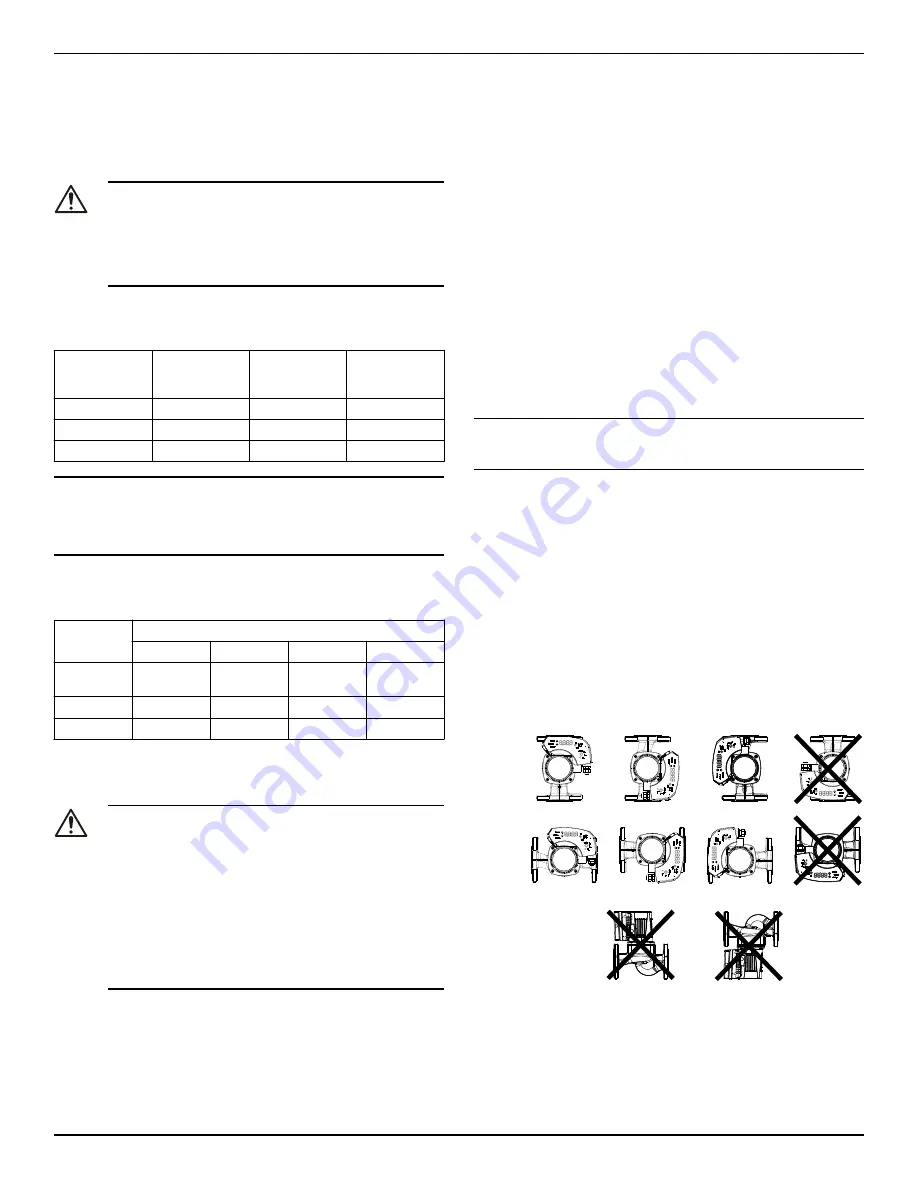
• The pump must be installed with the motor in a horizontal
position. For more information about allowed positions, refer
to the following image:
Figure 1: Allowed pump installation
2.
If necessary, rotate the position of the motor for better visibility of
the user interface.
Section 4.6 below describes the procedure of changing of motor
orientation.
3.
If applicable, install the thermal insulation shells.
4 Installation
6
ecocirc XL Installation, Operation, and Maintenance manual


