FORMAT THE USB 2.0 EXTERNAL DRIVE
14
IMPORTANT
Be sure that you select option 5 and change the “Current
Fixed Disk” from “Disk 1” to the disk number assigned to your
External Drive. If your computer is equipped with only one
internal drive, your new External Drive will be identified as
“Disk 2”. If your computer is equipped with two internal disk
drives, your new External Drive will be identified as “Disk 3”.
Failure to follow this step will result in the loss of all data on
your primary internal hard disk.
6.
In the steps that follow, you must specify if you want to
create one partition equal to the maximum capacity of
your external disk drive, or if you want to create
multiple partitions.
7.
After completing the disk partition procedure, exit FDISK
and restart Windows. Any new drives created through the
disk partition procedure must now be formatted using the
Windows disk format utility.
Partition under Windows 2000/XP
1.
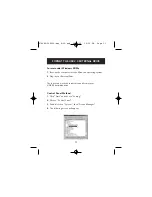
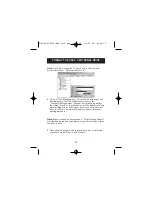
To partition the USB 2.0 hard disk drive under Windows
2000, please plug in the USB 2.0 External Drive, then click on
“Start”, choose “Settings”, then choose “Control Panel”.
Double-click the “Administrative Tools” icon, then
double-click the “Computer Management” icon. You will see
the screen on the next page.
Note:
In Widows XP, click on “Start”, choose “Control Panel”,
click on the “Performance & Maintenance” icon, click on the
“Administrative Tools” icon, then click on the “Computer
Management” icon.
P74080-F5U209-man_8-02.qxd 8/26/02 12:36 PM Page 14

