BA405C intrinsically safe 2-wire 4/20mA manual set point station
issue 6
Issue: 6
17
th
November 2009
Page 1: ...BA405C intrinsically safe 2 wire 4 20mA manual set point station issue 6 Issue 6 17th November 2009 ...
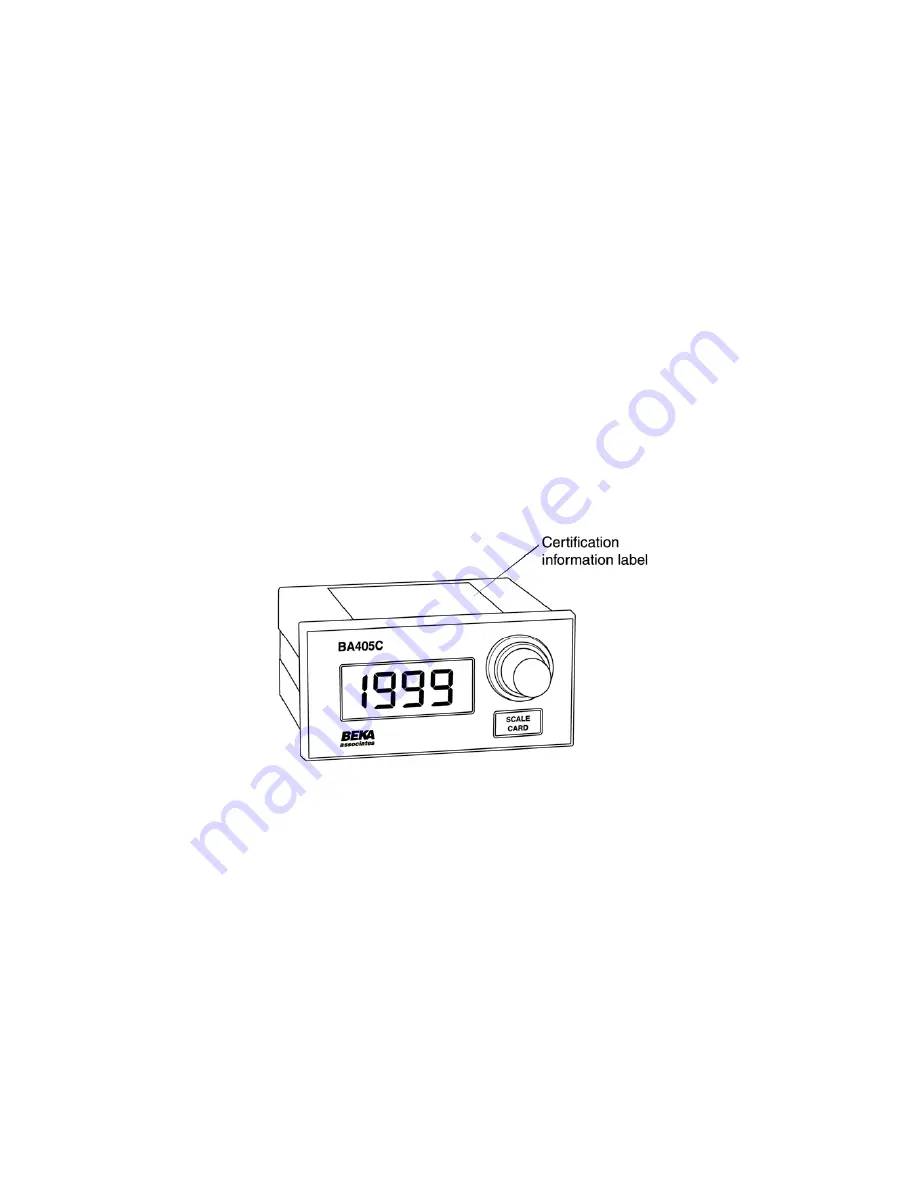
Page 2: ...n 5 1 Location 5 2 Installation procedure 5 3 EMC 6 Calibration 6 1 Internal display 6 1 1 Zero adjustment 6 1 2 Span adjustment 6 1 3 Decimal point 6 1 4 Reverse action 6 1 5 Calibration example 6 1 6 Over under range 7 Maintenance 7 1 Fault finding during commissioning 7 2 Fault finding after commissioning 7 3 Servicing 7 4 Routine maintenance 7 5 Guarantee 7 6 Customer comments 8 Accessories 8 ...
Page 3: ...hanges in the supply voltage Caution The 4 20mA output should not be used for critical safety applications The 3 digit internal indicator can easily be calibrated on site to show the loop current in engineering units For example in an application where the BA405C is being used to adjust the set point of a speed controller the internal indicator may be calibrated to display the requested speed in R...
Page 4: ...alent capacitance and inductance Ci 30nF Li 0 01mH 3 4 Zones Gas Groups and T rating The BA405C and both the optional display backlights have been certified as Group II category 1G apparatus EEx ia IIC T5 When powered via a compatable Zener barrier or galvanic isolator the BA405C manual set point station may be installed in Zone 0 explosive gas air mixture continuously present Zone 1 explosive gas...
Page 5: ...ish that the maximum voltage drop caused by the manual set point station both Zener barriers the load and cable resistance is always less than the minimum supply voltage Fig 2 Typical application using barriers In this example Minimum operating voltage of BA405C 6 1V Maximum voltage drop caused by 28V 6 8V 93mA 0 65W Zener barrier 340Ω end to end resistance x 20mA Maximum voltage drop caused by 1 ...
Page 6: ... 30nF Li 0 01mH Any Zener barrier or isolator certified EEx ia IIC by an EEC approved body which has output parameters equal to or less than the maximum input parameters specified above may be used Most installations would use a 28V 93mA 0 65W 28V 300Ω device as shown in Fig 4 The display brilliance depends upon the current flowing through the backlight which is determined by the supply voltage an...
Page 7: ...lease refer to BEKA associates if high vibration is anticipated Fig 6 shows the enclosure dimensions and the recommended panel cut out sizes 5 2 Installation Procedure a Insert the BA405C set point station into the panel aperture from the front Ensure that the gasket is correctly positioned under the bezel b Fix two panel mounting clips to opposite sides of the instrument and tighten until the ind...
Page 8: ...ed between 1000 and 1000 The zero potentiometer has two ranges 0 to 500 and 500 to 1000 Tthe polarity of the zero is defined by the position of the suppression elevation links Fig 9 shows the position of the zero links and zero potentiometer Suppression elevation links Elevation Positive zero 0 to 1000 or Suppression Negative zero 0 to 1000 Zero link 0 to 500 or 500 to 1000 6 1 2 Span adjustment S...
Page 9: ...A dummy decimal point is required between the least two significant digits therefore the decimal point link should be placed in the 00 0 position Step 5 Adjust the BA405C front panel control until the output current measured by external ammeter is 4 000mA The zero potentiometer at the rear of the BA405C should then be adjusted until the BA405C displays 25 0 Step 6 Adjust the BA405C front panel con...
Page 10: ...as clearance certificate is available If a BA405C fails after it has been functioning correctly the following procedure should be followed Symptom Cause Solution No loop Wiring or power Check wiring current supply fault and power supply Unstable Insufficient Check that voltage loop supply between terminals current voltage 1 3 is greater than 6 1 or 10V between terminals 1 13 if fitted with a loop ...
Page 11: ...to the shaft Loosen the collet by turning the brass split screwhead anti clockwise and then carefully pull the control knob from the shaft c Pull the electronic assembly from the rear of the enclosure d Remove the blank scale card s and mark with the required legend Replace scale card s taking care to align them within the front panel window e Slide the electronic assembly into the rear of the enc...
Page 12: ...es Intrinsic Safety Division 1 or 2 Class I Group A B Group C Group D Zone 0 1 or 2 Class 1 Group IIC Group IIB Group IIA The FM entity parameters are similar to the ATEX parameters The intrinsically safe systems shown in this manual may therefore be used for installations in the USA providing the Zener barriers or galvanic isolators are FM Approved All installations must comply with BEKA associat...
Page 13: ...13 ...
Page 14: ...14 ...
Page 15: ...15 ...
Page 16: ...16 ...