


10
Step 5:
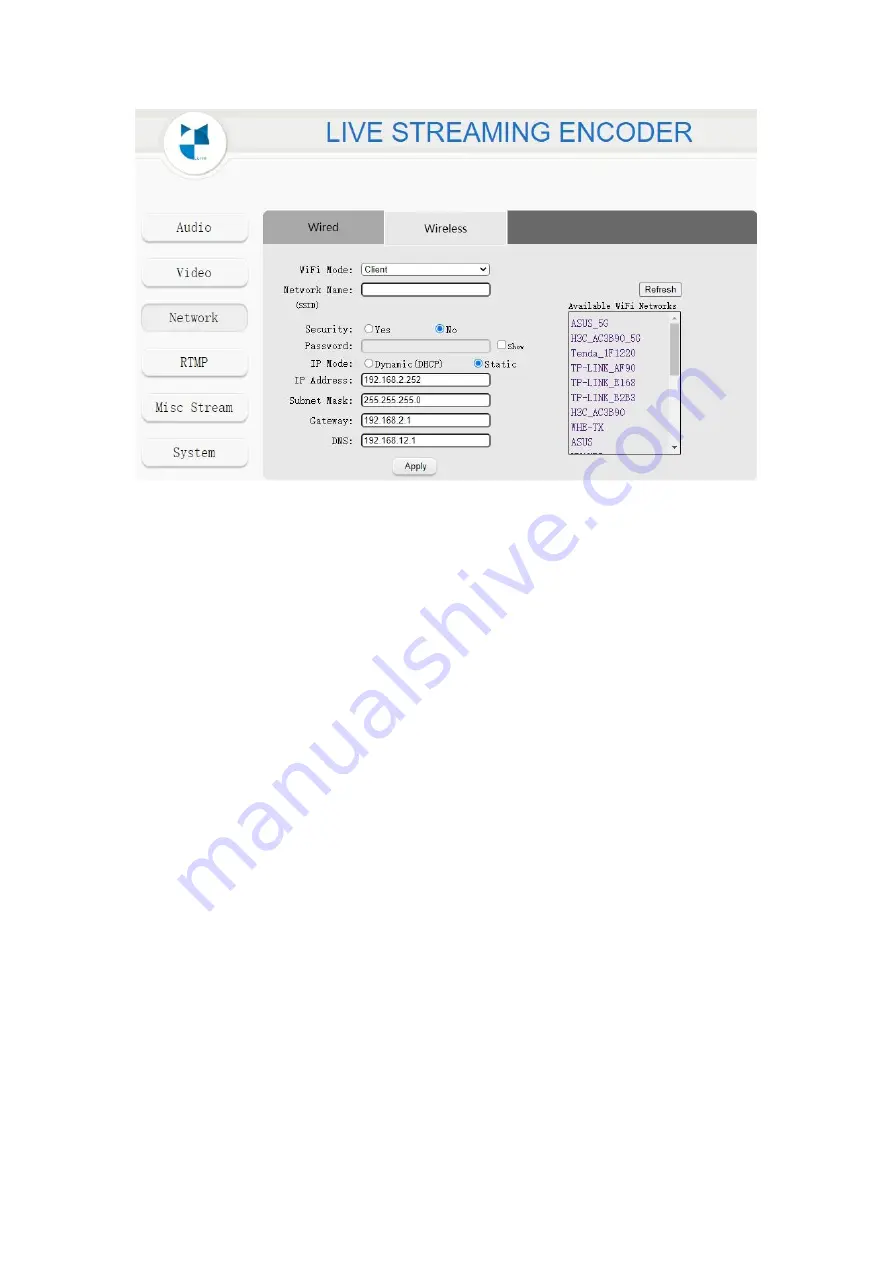
Set IP Mode. You can enable either DHCP or Static. Note that this is the IP
address in Client mode, when the encoder works in Client mode, please enter this
address to login to the Web UI. It is recommended to enable DHCP, the router will
automatically assign an IP Address for your HEV-10W; Or you can select Static IP,
please note that the static address and the router connected to the encoder should be
in the same network segment. C
lick “Apply” and the encoder will switch to Client
mode automatically. L1(green) and L2(green) are both keeps on when HEV-10W is
successfully connected to the network.
Step 6
: Open your wireless networking utility on your laptop or mobile devices to
search SSID of the router that connects to the encoder and access to it. Then open a
web browser and enter the Client IP address (the static address that you have set or
the dynamic IP address that the router assigns to the HEV-10W). Login to the
interface
with the default user name and password as “admin”.
Note:
If the IP address of the Client mode is set to dynamic DHCP, you need to check
what IP address the router assigned to the encoder. Two ways are as below.
A. Hold down the Set button about 3s to let the encoder switch back to AP mode,
use a mobile device to
search SSID called “HEV-10W” and access to it, then access
the encoder's webpage, navigate to the Network Configuration interface and choose
the WiFi Mode as Client under Wireless, then check what IP the encoder is assigned
to in the Network interface.
B. Use the device to access the management interface of the router, find the encoder
in the client list of the management interface, and see what IP address the encoder is
assigned to.