12
CE500D
Quick Start Guide
13
CE500D Getting started
(EN)
Step 3: Getting
started
(ES)
Paso 3: Puesta en
marcha
(FR)
Etape 3 : Mise en
oeuvre
(DE)
Schritt 3: Erste
Schritte
(PT)
Passo 3: Primeiros
Passos
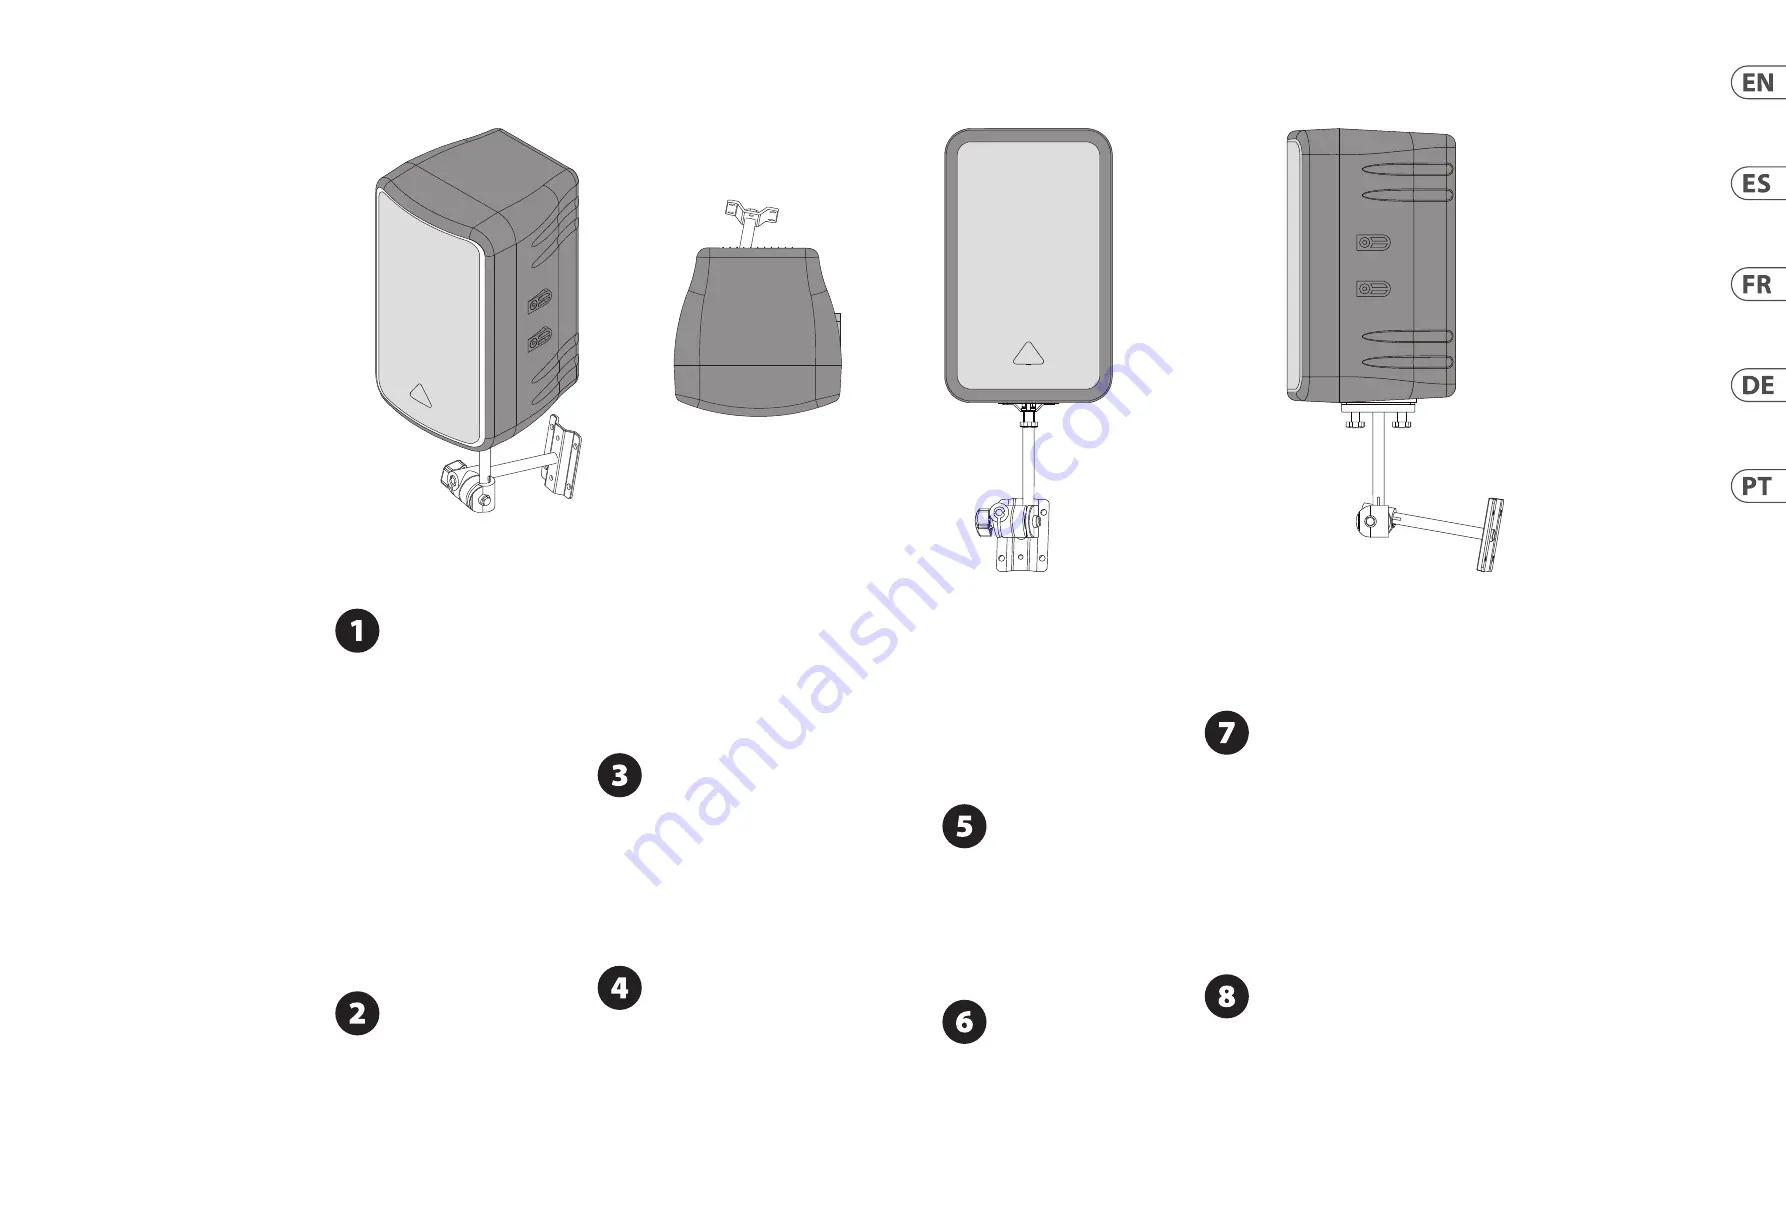
(EN)
Mount the speaker(s) in desired
locations, either on a wall or microphone
stand. (See Mounting Instructions section
for details.)
(ES)
Coloque el altavoz(es) en la ubicación que
quiera, tanto si es instalado en una pared como en
un soporte de micro. (Vea la sección de instrucciones
de montaje para más detalles).
(FR)
Installez les enceintes où vous le souhaitez,
sur un mur ou sur un pied de micro (consultez la
section sur les instructions de montage pour de plus
amples détails).
(DE)
Montieren Sie die Lautsprecher an der
gewünschten Stelle, entweder an der Wand oder
auf einem Mikrofonständer (weitere Einzelheiten im
Abschnitt Montageanleitungen).
(PT)
Monte os alto-falantes no locais desejados,
tanto em uma parede quanto em um suporte
de microfone. (Veja as seções de Instruções de
Montagem para mais detalhes.)
(EN)
Connect the included IEC POWER
CABLE to the speaker and to a mains
outlet. DO NOT turn the power on yet!
(ES)
Conecte el CABLE DE ALIMENTACION IEC incluido
al altavoz y a una salida de corriente alterna.
¡NO ENCIENDA el altavoz todavía!
(FR)
Connectez les cordons secteur IEC fournis entre
les enceintes et les prises secteur. Veillez À NE PAS
ENCORE placer les enceintes sous tension !
(DE)
Verbinden Sie das mitgelieferte IEC-NETZKABEL
mit dem Lautsprecher und einer Netzsteckdose.
Schalten Sie das Gerät noch NICHT ein!
(PT)
Conecte o CABO de FORÇA IEC incluso ao
alto-falante e à saída da central de energia.
NÃO ligue a força ainda!
(EN)
Connect the audio source to the
speaker using either XLR or 1⁄8" cables.
(ES)
Conecte la fuente de audio que vaya
a usar al altavoz por medio de un cable XLR o 1⁄8".
(FR)
Connectez la source audio aux enceintes à l’aide
de câbles XLR ou 1⁄8".
(DE)
Schließen Sie die Audioquelle über XLR- oder
1⁄8"-Kabel an den Lautsprecher an.
(PT)
Conecte a fonte de áudio ao alto-falante usando
tanto cabos XLR quanto 1⁄8".
(EN)
If necessary, add extra speakers by
connecting the LINK OUTPUT of one
speaker to the MIC/LINE INPUT of the
additional speaker using an XLR cable.
(ES)
Si es necesario, añada altavoces extra
conectando la salida LINK OUTPUT de un altavoz a
la entrada MIC/LINE INPUT del altavoz adicional por
medio de un cable XLR.
(FR)
Si nécessaire, ajoutez d’autres enceintes
en reliant la sortie LINK OUTPUT d’une enceinte
à l’entrée MIC/LINE INPUT de l’enceinte
supplémentaire à l’aide d’un câble XLR.
(DE)
Fügen Sie nötigenfalls weitere Lautsprecher
hinzu, indem Sie die LINK OUTPUT-Buchse des
Lautsprechers über ein XLR-Kabel mit der MIC/LINE
INPUT-Buchse des Zusatzlautsprechers verbinden.
(PT)
Se necessário, adicione alto-falantes extras
conectando o LINK OUTPUT de um alto-falante ao
MIC/LINE INPUT do alto-falante adicional usando um
cabo XLR.
(EN)
Turn on your audio source
(CD player, mixer).
(ES)
Encienda la fuente de señal audio
(reproductor de CD, mesa de mezclas).
(FR)
Placez la source en lecture (lecteur de CD,
console de mixage, etc.).
(DE)
Schalten Sie Ihre Audioquelle ein
(CD Player, Mischer).
(PT)
Ligue sua fonte de áudio (CD player, mixer).
(EN)
Turn on your speaker(s) by fl ipping
the POWER SWITCH. The POWER LED will
light up.
(ES)
Encienda el altavoz(es) por medio del
INTERRUPTOR POWER. El piloto POWER se iluminará.
(FR)
Placez les enceintes sous tension à l’aide
de l’interrupteur secteur POWER. La Led
POWER s’allume.
(DE)
Schalten Sie Ihre Lautsprecher mit dem
POWER-SCHALTER ein. Die POWER LED leuchtet.
(PT)
Ligue seu(s) alto-falante(s) ligando o
interruptor de energia POWER SWITCH. A lâmpada
POWER LED acenderá.
(EN)
Play your audio source or speak into
your microphone at a normal to
loud level.
(ES)
Inicie la reproducción de su fuente audio o
hable/cante en el micrófono a un nivel entre normal
y alto.
(FR)
Lancez la lecture audio ou parlez dans le micro à
un niveau normal et fort.
(DE)
Spielen Sie Ihre Audioquelle ab oder sprechen
Sie mit normaler oder erhöhter Lautstärke
ins Mikrofon.
(PT)
Toque sua fonte de áudio ou fale ao microfone
de um nível normal à alto.
(EN)
Adjust the LEVEL knob to desired
volume level. If the CLIP LED fl ashes,
turn the LEVEL knob back down. If using
multiple speakers, the LEVEL knob must be adjusted
on each speaker.
(ES)
Ajuste el mando LEVEL hasta conseguir el nivel
de volumen que quiera. Si el piloto CLIP parpadea,
reduzca el ajuste del mando LEVEL. Si está usando
varios altavoces, deberá realizar este ajuste del
mando LEVEL en cada uno de ellos.
(FR)
Réglez le bouton LEVEL pour obtenir le
niveau sonore souhaité. Si la Led CLIP s’allume,
baissez le bouton LEVEL vers la gauche. Si vous
utilisez plusieurs enceintes, vous devez régler le
bouton LEVEL de chaque enceinte.
(DE)
Stellen Sie den LEVEL-Regler auf die
gewünschte Lautstärke ein. Wenn die CLIP
LED blinkt, drehen Sie den LEVEL-Regler etwas
zurück. Beim Einsatz mehrerer Lautsprecher
müssen Sie den LEVEL-Regler bei jedem
Lautsprecher einstellen.
(PT)
Ajuste o botão LEVEL para o nível de volume
desejado. Se o CLIP LED piscar, gire o botão
LEVEL para baixo. Se estiver usando alto-falantes
múltiplos, o botão LEVEL deve estar ajustado em
cada alto-falante.


