


Page 6
www.becs.com
9487 Dielman Rock Island Ind Dr, St. Louis, MO 63132
Operation and Maintenance Manual
Rev: L13
A – 3.3: The Lock Screen Key
When not in a menu (i.e. viewing the normal
display), pressing the lock screen key will prevent
the controller from paging the screen to show
more inputs, alarms, and other status information.
See Section B: The Normal Display for more info
about using the lock screen key in the normal
display.
While within any menu, if the user does not press
a key within sixty seconds of the last key press, the
current user is logged out and the screen is
returned to the normal display. To prevent the
controller from timing out, you may lock the
screen.
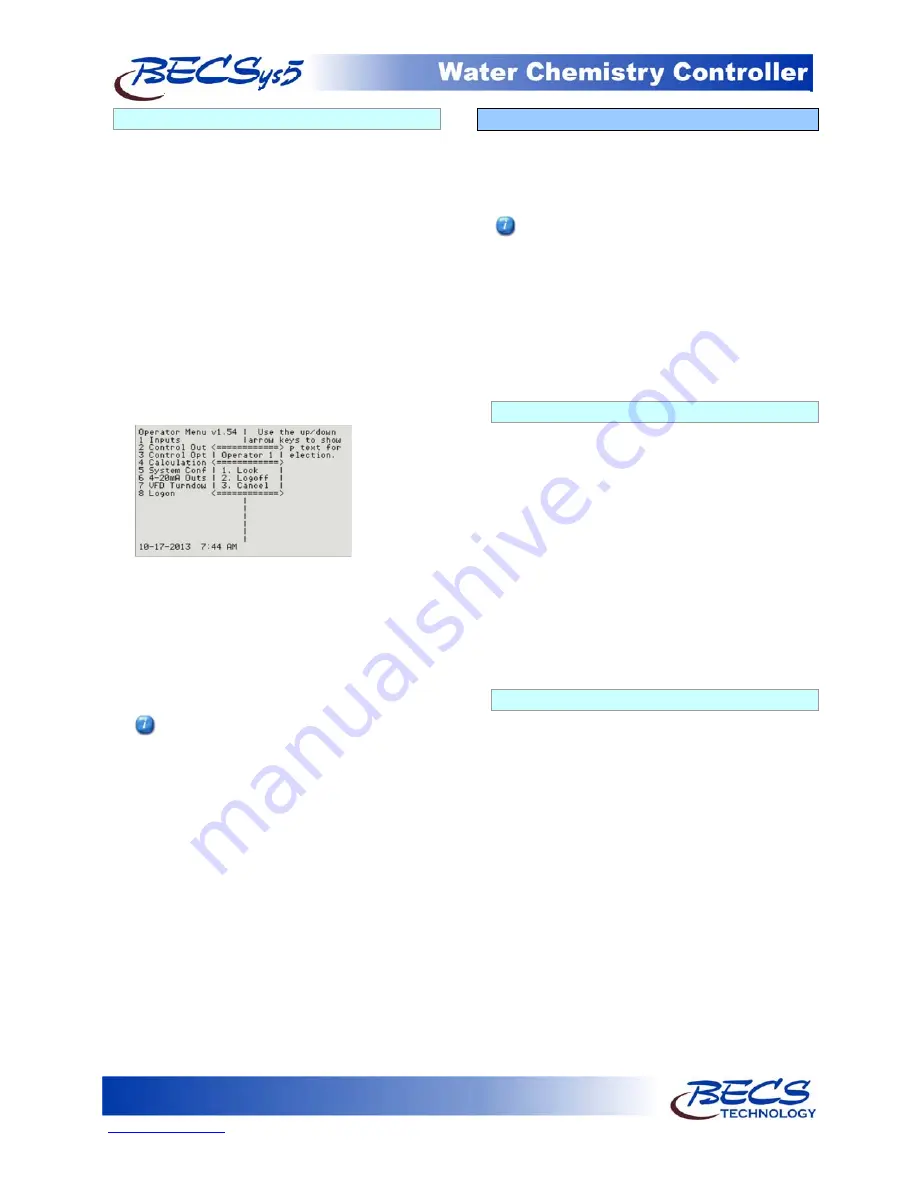
While within a menu, pressing the Lock Screen key
will bring up a popup menu:
The first option on the popup will be either to
lock or unlock the screen depending on the
current lock state. While the screen is locked, key
presses normally are ignored. However, in some
instances certain keys are given special functions
while the screen is locked, such as using the up
and down arrows to scroll the help text if all of the
help text cannot be displayed at once.
You can also lock/unlock the screen without
bringing up the popup menu by holding down
the lock button for one second. The
controller will acknowledge this action with a
triple beep and the yellow Lock Screen light
will turn on.
The Lock button popup menu also identifies who
is currently logged on, and provides an option for
the user to log off. You can also select cancel if
you pressed the lock button in error.
A – 4: Inputs
To enter the program menu, press the Menu button
on the front face panel of your controller. This will
allow the viewing of the Main Menu where the
programming options are displayed.
The Cl inputs, Cl Inventory Input, Chlorine
Control, and Chlorine booster control are all
displayed as either Chlorine and Cl or Bromine
and Br depending on the chemical selected in the
Cl feed menu. This manual is written using the
Chlorine setting. If you select Bromine as the
sanitizing chemical, the controller will display
Bromine and Br instead of Chlorine and Cl, but
the menus and functions are otherwise exactly the
same as shown.
A – 4.1: pH Setup
If your controller is configured to monitor pH,
you will have the following options:
High Alarm (Op):
The high alarm will activate
when the pH reaches or rises above this setting.
You may disable this alarm by holding down the
+/- key for 1 second.
Low Alarm (Op):
The low alarm will activate
when the pH reaches or falls below this setting.
You may disable this alarm by holding down the
+/- key for 1 second.
Alarm Hysteresis (Mgr):
This value sets the
amount that the pH reading has to rise above the
high alarm or fall below the low alarm before the
alarm will shut off.
A – 4.2: ORP Setup
If your controller is configured to monitor ORP,
you will have the following options:
High Alarm (Op):
The high alarm will activate
when the ORP reaches or rises above this setting.
You may disable this alarm by holding down the
+/- key for 1 second.
Low Alarm (Op):
The low alarm will activate
when the ORP reaches or falls below this setting.
You may disable this alarm by holding down the
+/- key for 1 second.
Alarm Hysteresis (Mgr):
This value sets the
amount that the ORP reading has to rise above the
high alarm or fall below the low alarm before the
alarm will shut off.