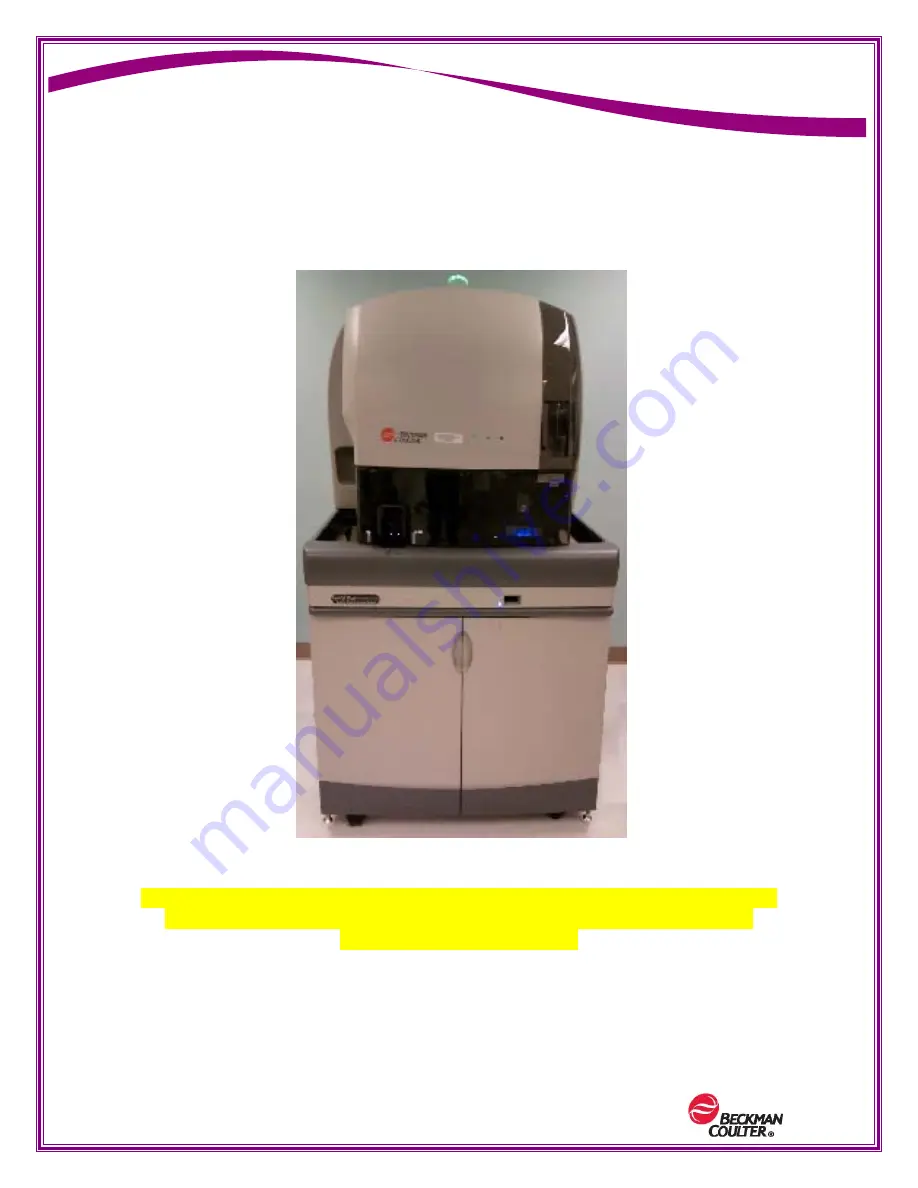
Beckman Coulter UniCel DxH User Manual Download Page 1

PN: B11956AA (March 2012)                

Page 1 of 46 

Professional Development 


UniCel

®

 DxH Slidemaker Stainer 

Coulter

®

 Cellular Analysis System 

Training Modules 


This document is not intended to replace the information in your Instrument Instructions 

for Use Manual (IFU). Information in the Instructions for Use Manual supersedes 

information in any other manual. 


Summary of Contents for UniCel DxH

Page 1: ...DxH Slidemaker Stainer Coulter Cellular Analysis System Training Modules This document is not intended to replace the information in your Instrument Instructions for Use Manual IFU Information in the Instructions for Use Manual supersedes information in any other manual ...

Page 2: ...roper tools are used for troubleshooting To avoid injury Keep doors covers and panels closed and secured in place while the instrument is in use Take full advantage of the safety features of the instrument Do not defeat safety interlocks and sensors Acknowledge and act upon instrument alarms and error messages Keep away from moving parts Report any broken parts to your Beckman Coulter Representati...

Page 3: ...o COULTER DxH TruColor and UniCel are trademarks of Beckman Coulter Inc COULTER and UniCel are registered in the USPTO All other trademarks service marks products or services are trademarks or registered trademarks of their respective holders Copyright Beckman Coulter Inc 2012 All Rights Reserved ...

Page 4: ...PN B11956AA March 2012 Page 4 of 46 Professional Development THIS PAGE HAS BEEN INTENTIONALLY LEFT BLANK ...

Page 5: ... 1 Select the Log off icon at the top right of the screen 2 On the Log off screen select the Log off button 3 You are now logged off from the System Manager To Log On to the System Manager 1 On the Log On screen type in the Operator ID press tab case sensitive 2 Type in the Password case sensitive 3 Select the Log On button or Press Enter 4 You are now logged on to the System Manager ...

Page 6: ...dd button at the bottom of the display 5 You may now refer to this topic any time you select Favorites 6 To delete a topic from Favorites highlight it and select Remove 7 The Help screen may be moved and resized to place it in a better position on the screen while you are working 8 The font icon at the top of the Help screen allows you to increase or decrease the size of the font used to make it e...

Page 7: ...al Development UniCel DxH Slidemaker Stainer Coulter Cellular Analysis System Home Screen 1 Navigation Icons 5 Utility Icons 2 Status Area 6 System Icons 3 Global Menu Button 7 Status Bar 4 Alert Status Icons 8 Local Navigation Bar 2 3 4 5 6 7 8 1 ...

Page 8: ...56AA March 2012 Page 8 of 46 Professional Development UniCel DxH Slidemaker Stainer Coulter Cellular Analysis System System Overview 1 DxH Slidemaker Stainer 2 System Manager 3 Handheld Bar Code Scanner 1 2 3 ...

Page 9: ...Slidemaker Stainer Coulter Cellular Analysis System System Overview 1 Front Cover 6 Cassette Input Buffer 2 Beacon 7 Power Switch 3 Status Indicators 8 Single Tube Station 4 Ejector Door 9 Cassette Output Buffer 5 Slide Chute 10 Input Output I O Drawer 1 2 3 4 5 6 7 8 10 9 ...

Page 10: ...System Overview Left side of the Slidemaker Stainer Right side of the Slidemaker Stainer 1 Front Cover 2 Input Output I O Drawer Open Close Button 3 I O Drawer 4 Transport Shield 1 Front Cover 2 Slide Stack 3 Transport Shield 4 Floor Stand 5 Slide Printer Cover 6 Cartridge Cover 7 Upper Right Side Cover 2 3 4 1 1 2 3 4 5 6 7 ...

Page 11: ... Analysis System System Overview Optional Floor Stand 1 Deionized Water 7 Cleaner Reagent 2 Supply 4 S4 8 Stain Waste 3 Supply 3 S3 9 Diluent 1 Container 4 Supply 2 S2 10 Diluent 2 Container 5 Supply 1 S1 11 Biohazard Waste 1 Container 6 Extra Cleaning 12 Biohazard Waste 2 Container 1 2 3 4 5 7 8 9 10 11 12 6 ...

Page 12: ...PN B11956AA March 2012 Page 12 of 46 Professional Development THIS PAGE HAS BEEN INTENTIONALLY LEFT BLANK ...

Page 13: ...ble click on the instrument picture on the screen Active online and ready Inactive offline and not ready Disabled maker or stainer not available for use Enabled maker and or stainer available for use LIS Status Green LIS Interface ON Gray LIS Interface OFF Alert Status Icon color meaning Red error Yellow warning Neutral OK Displays if unit is Online Offline in Diagnostics or Stopped Printer Status...

Page 14: ...ay be Online if processing samples Offline for special cycles and procedures Diagnostics or Standby for certain diagnostic tests Stopped when system is commanded by the operator to stop the process or Disconnected when the system is powered off 5 Select the Daily Checks alert status icon or Menu QA Daily Checks 6 Select Daily Checks from the local navigation bar DATE TIME of last DAILY CHECK and S...

Page 15: ...een 8 This cycle will take approx 3 minutes Viewing Daily Checks Information Step Action 1 Look at the Daily Checks alert status icon If it is neutral all is well If it is red then something failed and needs review You can view the daily checks result information for the Summary SMS and Supplies Note The Daily Checks must pass or be reviewed in order to run specimens If Daily Checks passes the Rev...

Page 16: ...clear any system failures and to return to neutral 3 Select the View Log button to review the Daily Checks tab of the History Log Note When you click Review for failed results you are acknowledging the failure and the need to repeat the Daily Checks Be sure to document per your regulatory requirements You could add a comment in the History Log 4 After resolving the cause repeat Daily Checks 6 A di...

Page 17: ...select the radio button Perform daily checks after shutdown from the set up screen 4 If you selected Perform daily checks after shutdown select OK to save your selection or If you selected Perform daily checks at a specified time select a time and a day and select OK to save your selection Viewing Past Results Adding Comments Step Action 1 Select the View Log button from the Local Navigation Bar 2...

Page 18: ...n 3 Once highlighted in blue select the Details button below to view all tabs of those results Select View Log to return to the log or the large back arrow on the upper left to go back one screen 4 With any date highlighted select the Comments button below to add a comment ...

Page 19: ...o edit it as well Printing Auto Printing Step Action 1 You may manually print individual results by selecting the print icon from the utility area at the upper right 2 On the daily checks screen you may print the Daily Checks Auto Report If you are on Daily Checks View Log Log Type Data Summary Logs you may print Entire log All filtered or Selected entries by clicking the print icon from the utili...

Page 20: ...y Checks print automatically 4 To do this return to the Daily Checks screen by selecting the Daily Checks icon 5 Select the Auto Report button from the Local Navigation bar This opens the Daily Checks Auto Report window 6 You may select to print automatically by checking the Enable auto report generation box ...

Page 21: ...sentation LIS Bidirectional Download to Pending Step Action 1 Place the instrument online The instrument will automatically begin cycling the cassettes 2 Ensure your specimens have been collected and stored properly 3 Load the specimens into the cassette 4 Place the cassettes into the input buffer and slide the cassette forward until the green light is on ...

Page 22: ... of the bar code Note Move the label closer if the bar code scanner does not read the information Once the bar code is read you will hear a beep 4 Press Enter 5 Place the tube in the correct cradle position The left lavender position adapts to both open and closed vial tubes from 12 to 13 mm in diameter The right green position holds microtainer tubes The cradle retracts and the instrument process...

Page 23: ...Order button from the local navigation bar 3 On the Add Order screen enter the specimen ID manually or by using the bar code scanner 4 Select the desired radio buttons for Make or Make and Stain 5 Select the number of slides to be made and or made and staining using buttons or editing the default value of 1 6 If desired select the Patient button and Add Patient from the local navigation bar to add...

Page 24: ...l navigation bar to view the Basket Management screen On this screen you can manage baskets or get basket information anywhere in the Stainer module and Basket Transport Module 4 Select Basket Details from the local navigation bar to display the Basket Details dialog box containing specific patient information for the slides in the selected location 5 View the details and select OK when you are do...

Page 25: ...ker Stainer Status screen or double click on the instrument icon 3 Select Basket Management from the local navigation bar to view the Basket Management screen 4 Select the basket to advance 5 Select Advance Basket from the local navigation bar to display the Basket Details dialog box Note The baskets slides may be wet if you select Advance Basket before the pre stain drying cycle is complete 6 On ...

Page 26: ...display the System Status screen 2 Select the Details Status from the local navigation bar 3 Select Basket Management from the local navigation bar to view the Basket Management screen 4 Select the basket to stain next 5 Select Stain Next from the local navigation bar to display the Stain Next dialog box 6 Select OK to save you changes or Select Cancel to go back to the previous screen ...

Page 27: ...ides in the basket elevator will advance to the I O drawer Step Action 1 Select to display the System Status screen 2 Select the Details Status from the local navigation bar 3 Select Basket Management from the local navigation bar to view the Basket Management screen 4 Select Cancel Staining from the local navigation bar to display the Cancel Staining dialog box 5 Select OK to save your changes or...

Page 28: ...has ended before pulling the I O drawer Step Action 1 Press the round lighted button to access the input output I O drawer 2 Once the drawer has stopped moving it may take a few seconds pull the handle towards you until it clicks 3 Remove and or load the baskets The indicator lights are Blinking green when the basket is ready for you to remove it Steady green when the basket is ready to be used by...

Page 29: ...void skin contact Some samples may require manual staining such as small blood draws pediatric taken with microcollection devices Follow these steps to manually stain a sample Step Action 1 Fill in an empty basket with slides ready to stain painted end on top so as not to stain the sample information 2 Place the basket back in the I O drawer in any open empty position from 1 to 6 3 Press the numbe...

Page 30: ...en slides in accordance with your local regulations and acceptable laboratory practices Risk of contamination The prepared smears contain biohazardous materials Handle with care and avoid skin contact Follow these steps to make slides that do not require staining Step Action 1 Select Make Slide on the Default Test Order for the applicable cassette or single tube presentation or Add or edit a test ...

Page 31: ... interrupted just cancel and then request a Daily Checks cycle Step Action 1 From the Daily Checks screen select the Shutdown button to display the Manual shutdown dialog box 2 3 Select the Perform Daily Checks After Shutdown check box to automatically begin Daily Checks after shutdown is completed 4 Type a number in the Time in Cleaner Hours and Minutes check boxes to determine the time in cleane...

Page 32: ...ble Automatic Shutdown to enable running Shutdown automatically on your system 3 In your Laboratory you may set up shutdown as follows Type the time for automatic shutdown in Hour and Minutes in the text box Select Daily or select specific days of the week to run Shutdown automatically Type the time the cleaner should remain in the DxH Slidemaker Stainer during the shutdown procedure in Hours and ...

Page 33: ... System Supplies For any non Beckman Coulter reagent select Setup Other and manually enter the bar code information You can enter up to five supplies Step Action 1 Select to display the Supplies screen or Select Menu Supplies Slidemaker tab 2 On the Supplies screen select the Setup button from the local navigation bar ...

Page 34: ...ning from 5 to 15 When this occurs the Supplies Alert Status Icon is yellow If a supply is out the icon is red Step Action 3 On the Setup Supplies dialog box scan or manually enter the bar codes into Bar Code fields 1 and 2 and select OK Note The fields on the Supplies screen are automatically populated from the bar code information The percent remaining of each supply appears on the bottle graphi...

Page 35: ...lter reagent select Setup Other and manually enter the bar code information You can enter up to five supplies Follow these steps to set up reagents for the stainer Step Action 1 Select to display the Supplies screen or Select Menu Supplies Stainer tab 2 On the Supplies screen select the Setup button from the local navigation bar ...

Page 36: ...up on the System Step Action 3 Scan or manually enter the barcodes into Bar Code fields 1 and 2 and select OK 4 On the Supply field choose the reagent to be replaced from the drop down list 5 On the displayed message select OK to verify that the reagent has been replaced or Select Cancel to go back to the previous screen 6 You would repeat steps 3 to 5 above for each remaining supply 7 Select Deta...

Page 37: ...e to avoid skin puncture Clean up any broken glass or blood spill as quickly as possible Dispose of all contaminated disposable cleaning materials and broken slides in accordance with your local regulations and acceptable laboratory practices NOTE There are 2 sensors on the slide chute One of the sensors checks the slide inventory below approx 75 slides When this happens the Supplies Icon will be ...

Page 38: ...ssional Development Step Action 3 Load the slides into the slide chute with the painted side up and to the right Note You can load up to 172 slides Be aware that slides exposed to high humidity may stick together 4 Close the slide ejector door ...

Page 39: ...Coulter Cellular Analysis System System Components Front Side Mix Stations Aspiration Probe Dispense Probe Hemasphere Slide Chute Input Buffer Output Buffer Blood Detector Smear Shuttle I O Drawer Stain Drawer Single Tube Presentation Bar Code Reader Bar Code Reader Printer Ribbon Printer Head ...

Page 40: ...Slidemaker Stainer Coulter Cellular Analysis System System Components Right Side Slide Printer Printer Ribbon Print Head Ribbon Drive Motor Print Shuttle Basket Elevator Front Printer Ribbon Print Head Print Shuttle Ribbon Drive Motor Basket Elevator Rear Smear Shuttle Motor ...

Page 41: ...41 of 46 Professional Development UniCel DxH Slidemaker Stainer Coulter Cellular Analysis System System Components Left Side Input Output I O Drawer Button I O Drawer Aspiration Probe Dispense Probe Overflow Chamber Output Buffer ...

Page 42: ...niCel DxH Slidemaker Stainer Coulter Cellular Analysis System System Components Slide Stainer Stain Drawer Dispense Probe Aspiration Probe Over Flow Sensor Fill Probe Bath Hemasphere Lee Valve Drain Probe Tube Bath Tray Access Handle Blood Detector Bar Code Reader ...

Page 43: ...ct YES when the system displays You have requested to temporarily disable a module Do you want to continue with the request Enable the Stainer Step Action 1 Select to display the System Status screen 2 Select Details Status 3 Select Module Disable Stainer from the local navigation bar 4 On the Disable Module dialog box deselect the check box and select OK to enable the stainer 5 Select YES when th...

Page 44: ...ect YES when the system displays You have requested to temporarily disable a module Do you want to continue with the request Enable the Maker Step Action 1 Select to display the System Status screen 2 Select Details Status 3 Select Module Disable Maker from the local navigation bar 4 On the Disable Module dialog box deselect the check box and select OK to enable the maker 5 Select YES when the sys...

Page 45: ...rm this procedure You can use batching when you want to analyze all your specimens with the same default test panel for example when the LIS is down 1 Select to display the System Status screen 2 Select the Details Status from the local navigation bar 3 Select the Batching from the local navigation bar 4 Select the checkbox to enable Batching or deselect the checkbox to disable Batching Note All r...

Page 46: ...ar Analysis System Configure Auto Stop Settings Step Action 1 Select System Status More 2 Select Auto Stop from the local navigation bar 3 On the Configure Auto Stop Settings dialog box select from the following options 4 Select OK to confirm your selection or Select Cancel to go back to the previous screen ...

Reviews: