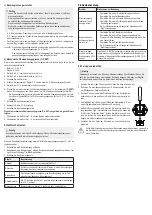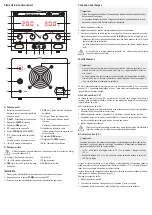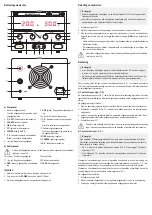
c) Setting the current limit
Important
• Read section “Connecting loads” before attempting to set any current limits.
• You need to switch a connected load and the lab power supply on to be able to set
the exact current limit.
• You can only read the current limit value during operation.
• First adjust the permissible operating voltage of the connected load using the two
voltage controls.
•
Set C.C (fine): this control knob should be in the mid-position.
• Set C.C (coarse): adjust the output current limit to the approximate desired current.
• The current value increases when the knob is rotated clockwise and decreases when the
knob is rotated counter-clockwise.
If both voltage adjustment knobs are turned all the way counter-clockwise, the volt-
age display shows “00.0” volts.
The lab power supply is in the current-controlled state if both output current limit
knobs are turned all the way to the left.
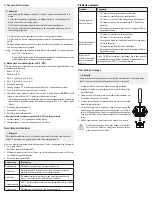
d) Mechanical over voltage limit (O.V. SET)
This is a mechanical setting via potentiometer and will be fixed until a new value has been set:
• Range: 1.5 - 35 V
• Default: 33.5 V
1.
Set C.C (coarse/fine) to min. (0 A)
2.
Set C.V. (coarse/fine) to min. (0 V)
3. Turn power ON.
4. Slowly increase C.C. coarse dial until the C.V. mode indicator lights up.
5.
Adjust C.V. (coarse/fine) to set a voltage.
6.
Use a small flathead screwdriver to rotate the O.V. potentiometer
(O.V. SET)
all the way
anti-clockwise until the O.V. (over voltage indicator triggers)
- The voltage supply will cut off when the working voltage of the load is greater than the set
value. The power supply voltage will drop to 0 - 0.5 V (no output).
7. Switch the lab power supply OFF.
8. Lower the C.V. setting.
9. Switch the lab power supply ON.
If the mechanical over voltage limit (O.V. SET) is triggered:
1. Repeat steps 7 -9 to start working again.
2. Repeat steps 1 - 9 to set a new value.
Protection mechanisms
Important
Safety mechanisms are integrated into the product. If a protection mechanism is trig-
gered, switch the power OFF immediately!
If a protection mechanism is triggered, the power supply voltage will drop to 0 - 0.5 V (no output)
1. Switch the power OFF immediately.
2. Remove the condition(s) triggering the protection mechanism. Allow the product to com-
pletely cool down if needed.
3. Switch the power back ON.
Protection
Description
Overload
Working current of load > than set value.
Over-current
Protection against excessive currents or current beyond the accept-
able current rating of the lab power supply.
Short circuit
The lab power supply has a protection circuit which will limit the cur-
rent in the event of a short circuit.
Over-temperature O.T. indicator lights up when the inner temperature of power supply
reaches to 75 °C.
Over-voltage
Working voltage of load > greater than set value.
Troubleshooting
Problem
Suggestions
Power supply does
not work/display is
blank.
• Check the power switch is ON.
• Check the power cable connection
• Check that the proper mains voltage is applied.
• Check if the fuse has blown fuse. See “Replacing the fuse”.
• Protection mechanism has been triggered. See section “Pro-
tection mechanisms”.
Connected loads do
not work.
• Check polarity of the connection sockets.
• Check if the current limit is set.
• Reduce the lab power supply load by removing a load.
•
Check the specifications of the loads.
• Protection mechanism has been triggered. See section “Pro-
tection mechanisms”.
Power is cut off
before the coarse
voltage is ≥32 V
If the O.V. SET potentiometer has been adjusted it, it may have
been set too low. See section “Operation, d) Mechanical over
voltage limit (O.V. SET)” for further information.
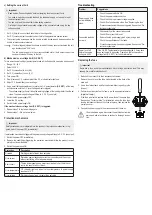
Replacing the fuse
Important
Never use a fuse with other specifications. Never bridge a defective fuse! This may
cause a fire or a fatal electric shock!
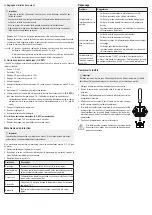
1.
Switch off the product first, then disconnect all cables!
2. Remove the cover over the fuse holder located at the back of the
main unit.
3.
Use a blunt object such as a flat head screwdriver to gently pry the
fuse out.
4. Perform a continuity test on the fuse, e.g. with an appropriate meter
(digital multimeter).
5. If the fuse is defective, replace it with a new fuse of the same type.
See section “Technical data” for information about the fuse type.
Insert a replacement fuse until it clicks into place, then replace the
protective cover.
6. Connect the power supply to the mains and switch it back on.
If the fuse blows again, disconnect the workstation from the
mains and ask a technician to conduct a thorough inspec-
tion.


