21170D
610189
Original-Gebrauchsanleitung
V1/0916
Page 1: ...21170D 610189 Original Gebrauchsanleitung V1 0916 ...
Page 2: ... Packaging 42 3 3 Storage 42 4 Technical data 43 4 1 Overview of parts 43 4 2 Functions of display and buttons 44 4 3 Technical specification 46 5 Installation and operation 47 5 1 Installation 47 5 2 Guidelines for cooking with the microwave oven 48 5 3 Suitable dishes for use in the microwave oven 49 5 4 Operation 50 6 Cleaning 61 7 Possible Malfunctions 63 8 Waste disposal 64 Bartscher GmbH Fra...
Page 3: ...aintenance or cleaning Please keep these instructions and give them to future owners of the device 1 Safety This device is designed in accordance with the presently applicable technological standards However the device can pose a danger if handled improperly and inappropriately All persons using the device must follow the recommendations and instructions in this instruction manual 1 1 Key to symbo...
Page 4: ...ears old and must be done under supervision Children under the age of 8 years old must be kept away from the device and its power cord Never leave the device unattended when in use Only use the device indoors This device may only be operated in technically proper and safe condition Never use the device when empty The device may be damaged Prevent access of children to the package materials like pl...
Page 5: ...lace the device or other objects on the power cable Do not lay the power cable over carpets or other inflammable materials Do not cover the cable Keep away the cable from operating range and do not immerse it into water Check the power cord regularly for damage Do not use the appliance if the power cord is damaged If this cable is damaged it must be replaced by customer service or a qualified elec...
Page 6: ...fety instructions presented below Do not turn the microwave oven on when the door is open as an excess of damaging electromagnetic waves may be emitted by the device Never change the safety locks It is extremely important to not damage the door and that it can be closed properly Example of damage to the door which may be unsafe include the following 1 warping and indentations 2 cracked and or prop...
Page 7: ...mperature in which case the guarantee may be voided WARNING Burn hazard To avoid effects of this risk follow the safety instructions presented below Do not fry any food products in the device Hot oil can lead to skin burns or damage the device Food products prepared in the device are heated unevenly Also containers are usually hotter than the food products inside Carefully check the temperature of...
Page 8: ...azard To avoid the effects of this risk follow the safety instructions presented below Never heat any flammable objects in the device Do not prepare any food products which contain alcohol Do not place any objects inside the device cookbooks sponges etc Sudden activation of the device can cause damage to such objects and even burn them When heating or cooking food products in containers from flamm...
Page 9: ...ch as in kitchens for store or office employees or in similar business areas in agricultural farms by guests of hotels motels and other typical places of accomodation in Bed and Breakfast facilities The microwave oven is intended only for heating and defrosting of food products using appropriate dishes The microwave oven cannot be used for industrial and laboratory purposes storage of kitchen uten...
Page 10: ...d by violation of advice concerning operation and cleaning use other than designed alterations made by user use of inadequate spare parts We reserve the right to make technical changes for purposes of developing and improving the useful properties 2 2 Copyright protection The instruction manual including any texts drawings images or other illustrations is copyright No part of this publication may ...
Page 11: ...r The outer and inner packing material should be removed completely from the device before installation NOTE If you liked to dispose the packing consider the regulations applicable in your country Supply re usable packing materials to the recycling Please inspect the device upon completeness In case any part is missing please contact our customer service center immediately 3 3 Storage Keep the pac...
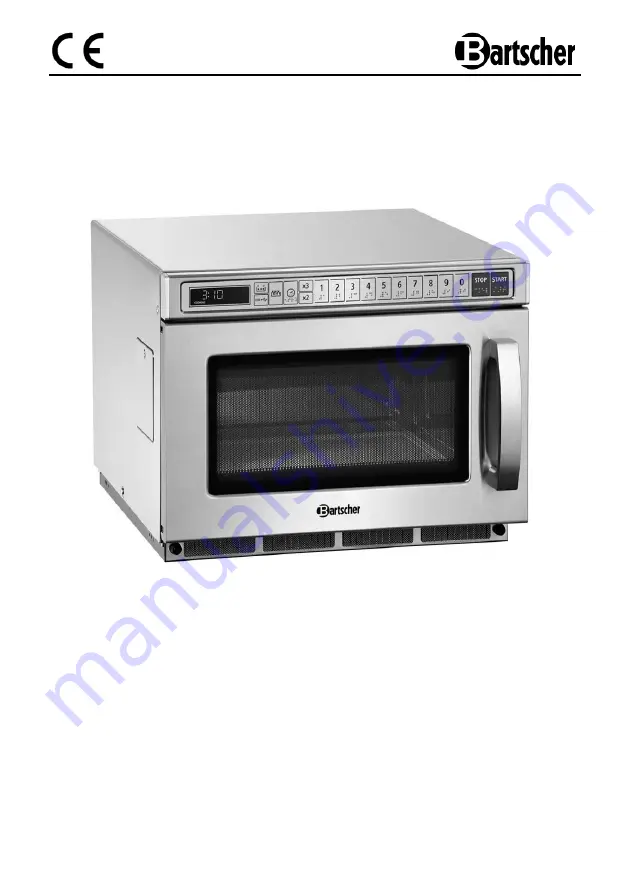
Page 12: ...arts 1 Safety lock system 2 Door handle 3 Glass door 4 Cooking compartment lighting 5 Cooking compartment 6 Upper anti splash cover 7 Control panel 8 Cooking compartment ceramic bottom 9 USB port 10 Housing 11 Filter 1 2 3 8 11 5 7 4 9 6 10 ...
Page 13: ...7 Button X3 8 10 Numeric buttons 9 STOP button 10 START button 1 The digital display shows the preset cooking time and power level as well as selected cooking programs options current mode Example 5 5 20 5 min 5 seconds 20 of power 2 USB button That button updates data on pendrive 3 Defrosting program button That button selects and starts the defrosting program 1 3 2 4 6 7 5 8 10 9 ...
Page 14: ...vels during the multi level cooking program 6 Button x2 That button increases cooking time 7 Button x3 That button increases cooking time 8 10 Numeric buttons Those buttons allow for starting the cooking programs saved in the programming mode In the manual entering mode they allow for selecting the power levels 9 STOP button That button is used for interrupting or resetting the current cooking pro...
Page 15: ...y interior lighting tactile buttons Microwave power output 2 1 kW Power levels 10 Number of magnetrons 2 Timer digital Time adjustment up to 60 minutes 10 presets manual settings Programs for setting 10 optionally from USB memory Power supply 3 2 kW 230 V 50 Hz Capacity 17 litres Dimensions Cooking compartment W 330 x D 308 x H 160 mm Device W 420 x D 555 x H 340 mm Weight 31 75 kg We reserve the ...
Page 16: ...tioning the device must have sufficient ventilation For this reason it is necessary to maintain the following safe distances see figure below above the device 30 cm at the rear 10 cm on the right 10 cm leave free on the left side Do not place any objects on the left side of the device in order to ensure sufficient air ventilation Never block the ventilation holes The device must maintain a minimum...
Page 17: ...d paper As these materials do not contain water grease or oil they are not heated by the microwaves Simply put the microwaves directly reach the food product causing molecules of water grease and oil to vibrate friction results in the creation of heat which is used for defrosting heating or cooking During cooking with microwaves heat remains inside the product being prepared in opposition to the p...
Page 18: ...tal If such containers are used sparks and even fire may result 5 Dishes of oval and round shapes should be used as food products cook more quickly in the corners of square shaped containers 6 Wide flat containers are best suited to use in the microwave oven as compared to narrow and tall ones Food products cook evenly in flat dishes 7 To avoid food from baking onto the edge of dishes you may cove...
Page 19: ...tage 3 times and no values are shown After pressing STOP the device switches to the stand by mode Hint No settings may be made in that mode Table 1 User options Hint bold values in the table are the factory default values Button option Settings Description 1 Sound effects OP 10 3 second acoustic signal OP 11 Continuous acoustic signal OP 12 5 short acoustic signals repeated 2 Acoustic signal volum...
Page 20: ...0 programming mode 0 Filter cleaning OP 00 No filter cleaning message OP 01 Message cleaning every week every 7 days OP 02 Message cleaning every month every 30 days OP 03 Message cleaning every quarter every 90 days Table 2 Preset cooking defrosting time The microwave oven is delivered with the following preset cooking times Button Digital display time Minutes Seconds Power Cooking coefficient 1 ...
Page 21: ...after door opening and closing When the device is in the ready mode the digital display shows READY The device may be switched to almost all other modes from the ready mode Open door mode When the oven door is opened the device is in the open door mode When the device is in that ready mode the digital display shows no values When the device door is opened during cooking the digital display shows D...
Page 22: ...mediately switches to the operation setting mode Manual setting mode In that mode user may manually input the cooking time and power level When the device is in the ready mode pressing button switches to the manual setting mode allowing for setting required cooking time for selected food When the device is in that mode the display shows 00 00 Press to select the power level the display shows POWER...
Page 23: ...ected the acoustic signal is active until the user opens or closed the door or presses STOP to finish the cooking cycle After selecting OP 10 the acoustic signal is emitted for 3 seconds the display shows DONE then READY and the device switches to the pause mode Preset cooking program In that mode it is possible to prepare food by selecting the preset cooking program with use of numeric buttons Wh...
Page 24: ...ton is pressed the device switches to the pause mode Defrosting guidelines To defrost the frozen food remove the package and put food on the plate or in the container suitable for the microwave ovens Energy created by the microwave oven heats only the external layer of the product and the heat is slowly transferred inside the product This ensures even defrosting of the food product After the defro...
Page 25: ... again shows PROGRAM Program setting to set program press the numeric button After 2 seconds the digital display shows the cooking time saved for that button Preset saved cooking times are listed in table 2 Preset cooking defrosting times on page 51 Press to select the power level the display shows POWER Press one of numeric buttons to select the required power level the display shows power connec...
Page 26: ...the digital display shows 1 25 70 Setting is complete Step 5 Press START button to save settings When program is used for the second time just press 3 and it is started automatically Hint 1 When the device is disconnected from the power supply saved programs are not lost 2 When the program is to be reset or changed repeat the above steps 3 When during the last programming step the STOP button is p...
Page 27: ... press to go to the next cooking stage Perform the same steps for the second and the third cooking stage During setting the second and the third cooking stage the digital display shows STAGE 2 or STAGE 3 Press START button to activate the set multistage cooking time Example In the programming mode perform the two stage cooking time The first cooking stage power level PL7 cooking time 1 minute and ...
Page 28: ...ice reminds the user of cleaning the filter Hint The device must be connected to the power supply The digital display shows CLEAN FILTER When STOP button is pressed and held for 3 seconds during that message the device switches to the ready mode After opening the door the digital display shows CLEAN FILTER message again When filter does not require cleaning yet press and hold STOP for 3 seconds to...
Page 29: ...ample set the signal volume Press button 2 for 5 seconds the preset option OP 22 is shown To change it press and hold button 2 the digital display shows the successive setting possibilities OP 20 OP 21 OP 22 OP 23 Press START when the desired setting is shown to save it Saved option is shown on the display OP When during setting the STOP button is pressed the device switches to the open door mode ...
Page 30: ...ng sprays and other aggressive cleaning agents e g oven cleaners as such chemicals may leave stains or even damage the surface of the device Cleaning Cooking chamber and internal side of the door o Wipe the interior walls and the ceramic bottom of the cooking chamber with warm water and a soft cloth o Clean the interior of the door door seals and other adjacent elements with a most cloth to remove...
Page 31: ...gets into the device through the holes Filter o Periodically clean the filter located in front part of the device o Loosen right and left screws rotating them counterclockwise o Remove the filter o Wash the filter in warm water and gentle cleaning agent o Replace the filter o Tighten right and left screws o Keep in mind that the filter must always be installed before using the microwave oven o The...
Page 32: ...f the device is not used for a longer time clean the device according to the above mentioned instructions and store it in a dry clean place protected against frost sun and children Do not place any heavy objects on the device 7 Possible Malfunctions If the microwave oven fails to function 1 Check that it has been properly plugged in Remove the plug from its socket and wait approx 10 seconds then r...
Page 33: ...tional regulations It is advisable to contact a company which is specialized in waste disposal or just contact the local disposal service in your community WARNING To exclude any abuse and the dangers involved make the waste device unfit for use before disposal For that purpose disconnect device from mains supply and remove mains connection cable from the device CAUTION For the disposal of the dev...