


6
7
www.barska.com
www.barska.com
a. To get the settings menu, use the MODE button to flick through the photo,
video and gallery modes until you reach this setting menu. (Pictured)
b. Use the Zoom and IR buttons to go up and down, and the OK button to enter/
exit menus.
c. Pressing the MODE button will go back to Photo mode.
Menu Options
Format SD: Erase everything on your installed memory card.
Power Save: Configure the Night Vision Binocular to Turn off after a certain of
non-use.
Date: Edit current date for displaying date information on the Photos/Videos.
Time: Edit current time for showing time information on the Photos/Videos.
Flicker: Select 50Hz/60Hz according to power system frequency. For example,
select 50Hz for 220V/50Hz power system.
LCD Backlight. Change the brightness of the screen. Use the ZOOM and IR
buttons to increase/decrease the brightness. Press OK to save.
Date/Time Tag: ON/OFF Date and Time information on the Photos/Videos
Version: Display software version installed.
Downloading Footage To Your PC
The night vision has a small connection port just above the eyepiece (next to the
memory card slot.) Using the supplied USB cable, connect your PC to the night
vision.
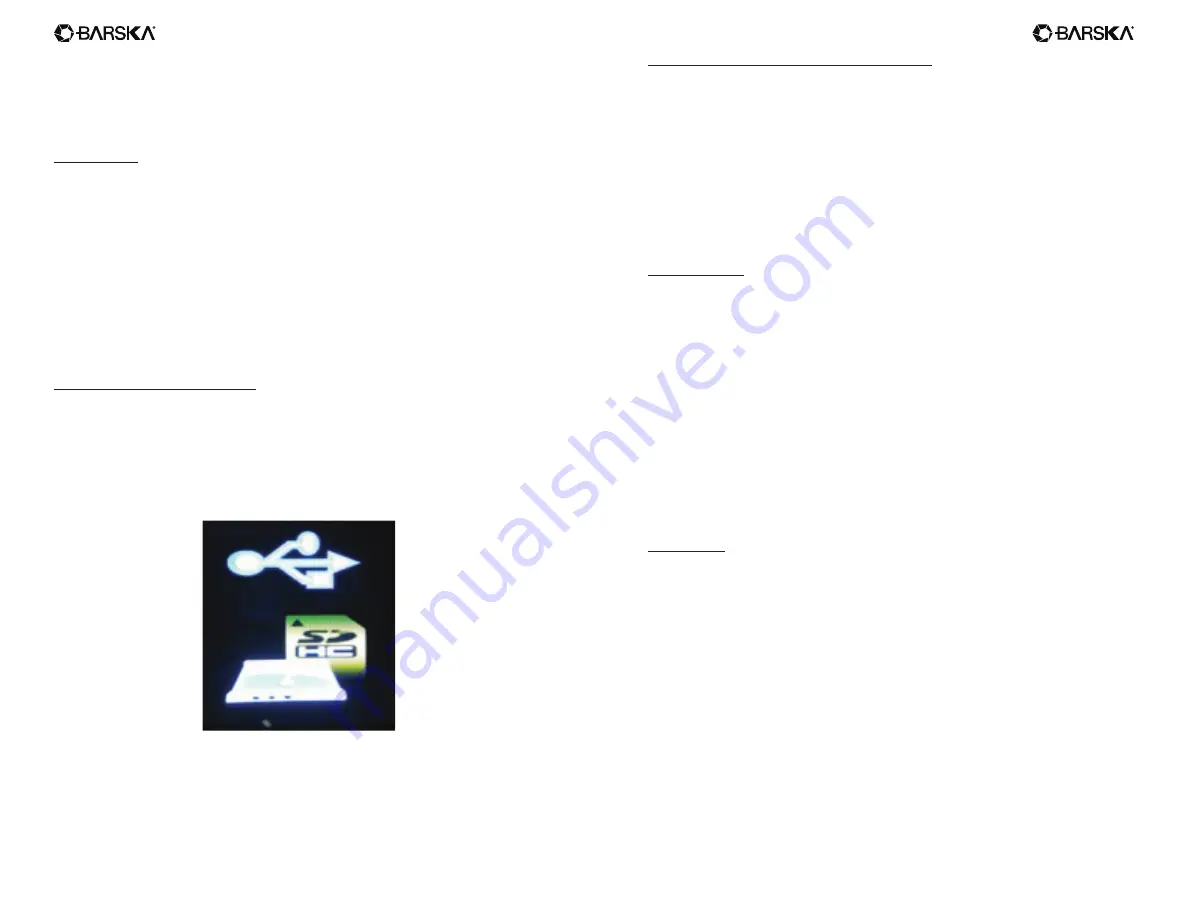
When the night vision is turned off, plug it into your PC. A card reader icon will
display on the screen of your night vision.
On Windows, navigate to your File Explorer. The Night Vision Binocular may
appear as “USB DISK”, “REMOVABLE STORAGE” or something similar,
normally processed by a “D or E:”.
Within this drive, your photos and videos will be in a folder call DCIM\100JLCAM.
Viewing Footage On The Night Vision Binocular
You can review your photos and videos on the Night Vision Binocular itself. Keep
pressing the MODE button until you get to the Gallery mode.
Use the ZOOM and IR buttons to scroll up and down your photos and videos.
You can start playing a video by pressing the OK button on a selected video, and
selecting “Play” from the sub-menu using the OK button.
To delete a photo or video, press OK button and select “Delete” from the sub-
menu.
Troubleshooting
Poor image
- Check that the Night Vision Binocular is focused by adjusting the focus wheel at
the front of the device.
- Check that the IR illumination level is will adjust.
- Check Lens cap attachment takes off when operation at night mode
- Check if Low level battery but using IR6 or IR7 illumination.
No power
- If the Binocular fails to activate, check for defective, missing or improperly-
installed batteries. Replace or install batteries correctly. Please make sure to
use Alkaline batteries.
- Please make sure to use only alkaline AA batteries.
Specification
Optical Zoom 7x
Objective aperture: 20mm
Viewing angle: 5.5°
Exit pupil distance: 20mm
Min focus range: 1m
F# for object lens: Night 1.311/Day 2.8
Viewing distance at night: 100m
Sensor: CMOS
Recording resolution: 640 x 480
Display resolution: 320 x 240
IR LED power: 1.5W
Wavelength: 850nm
Digital Zoom: 12 levels/Max 2x
Battery life: Operation Time ~ 8hrs (IR off)/ 2hrs (IR7)
Power supply: AA x 4 batteries (not included)
Memory card: Max 32GB TF card (not included)