


R5911443 /02
UDM
82
Image 8-15
2.
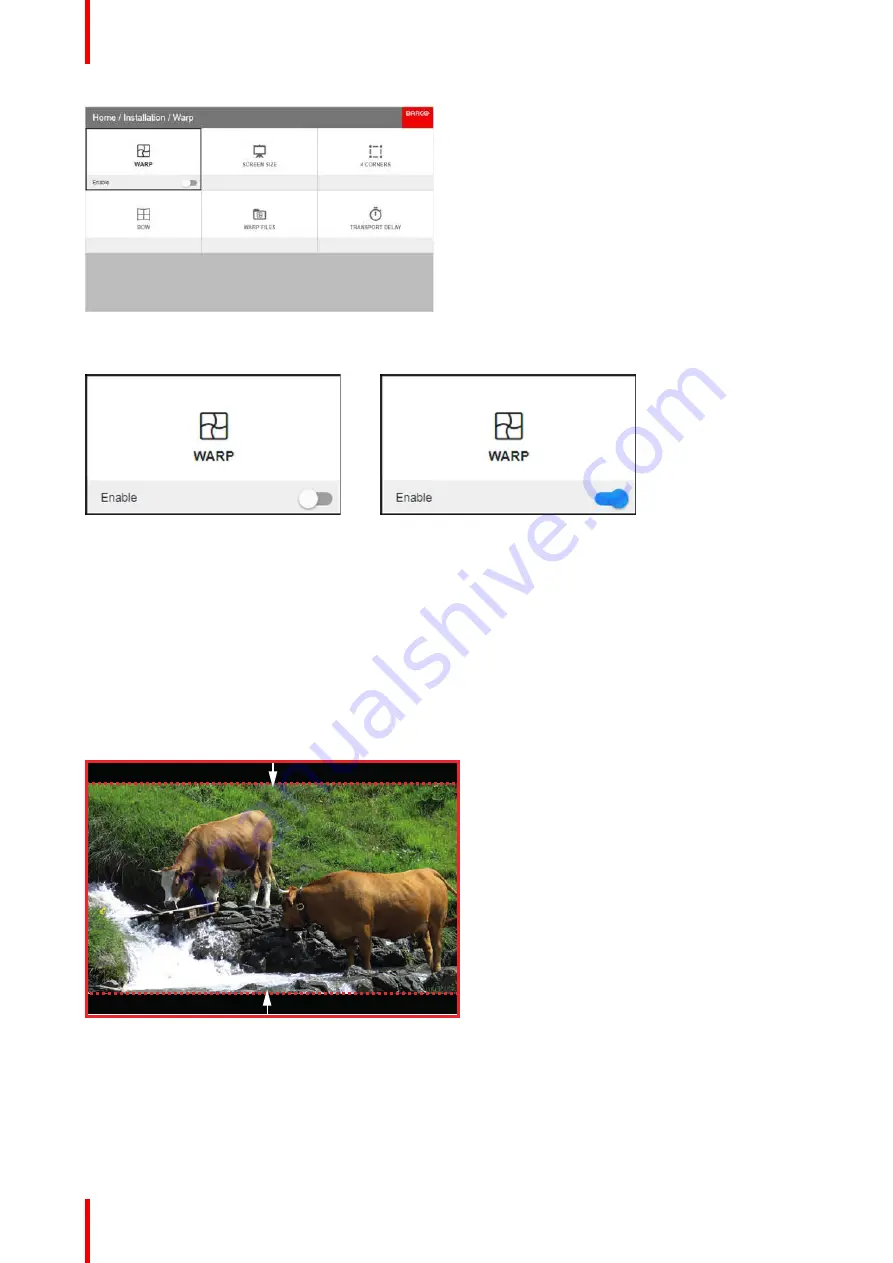
In the Warp menu, click
Warp
to toggle between
On
and
Off
.
Image 8-16
Image 8-17
8.7.2 Warping
–
Screen Size
About (Warp) Screen Size adjustment
If the used source aspect ratio is different than the projector aspect ratio, e.g. source is 16:9 and projector is
16:10, then black bars will be projected. In the example case a black bar on top and bottom of the image will
be projected. The warp area contains not only the image information but also the black bars. If we want to
position e.g. the active left top corner exactly on the screen using 4 corner warp, then it is very hard to do that
as we are moving the black left top corner and we do not have control over the exact position of image left top
corner. By moving the outline of the warp screen size to the active image information, the corner points of the
warp area are now exactly on the corner points of the active image information and makes warping much
easier.
Image 8-18: Warp outline example
How to adjust the image?
1.
In the main menu, select
Installation
→
Warp
→
Screen Size
.
Summary of Contents for UDM Series
Page 1: ...ENABLING BRIGHT OUTCOMES User manual UDM...
Page 22: ...R5911443 02 UDM 22 Safety information...
Page 48: ...R5911443 02 UDM 48 Input Communication...
Page 53: ...R5911443 02 UDM 53 4 To turn the test pattern off return to the previous menu GUI Introduction...
Page 54: ...R5911443 02 UDM 54 GUI Introduction...
Page 60: ...R5911443 02 UDM 60 GUI Source...
Page 112: ...R5911443 02 UDM 112 GUI Profiles...
Page 156: ...R5911443 02 UDM 156 Specifications...
Page 166: ...R5911443 02 UDM 166 Video timing tables...
Page 172: ...R5911443 02 UDM 172 DMX chart...
Page 176: ...R5911443 02 UDM 176 WiFi GSM compliance information...
Page 182: ...R5911443 02 UDM 182 Environmental information...


