


6. Random Access
7. Repeat step 3 to 6 for projector 3.
8. Press
EXIT
to return to the
Guided Geometry Map
menu.
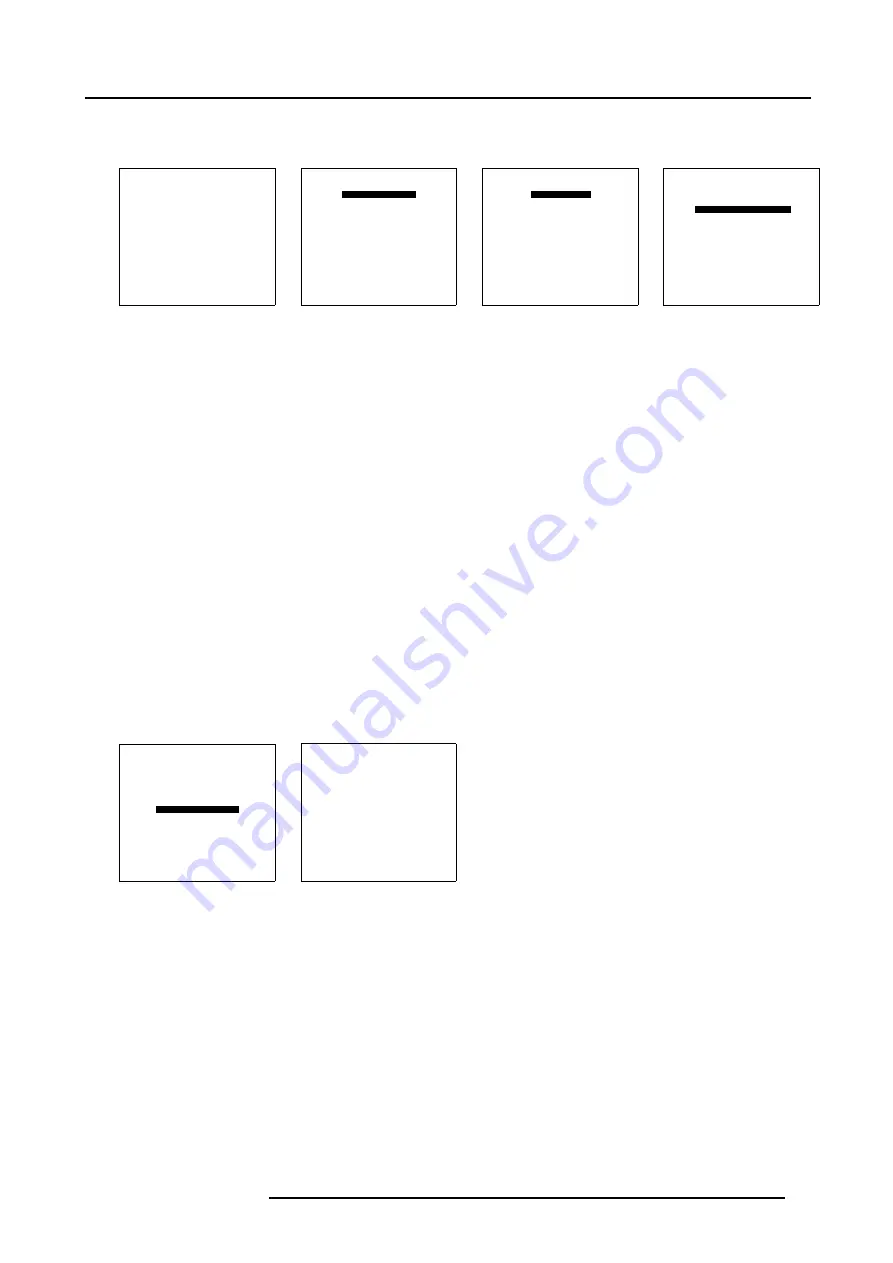
TRANSPORT DELAY
MODE [AUTOMATIC]
TRANSPORT DELAY = 168
Select with
↑
or
↓
then <ENTER>
<EXIT> to return
Menu 6-95
TRANSPORT DELAY
MODE [AUTOMATIC]
TRANSPORT DELAY = 168
Select with
↑
or
↓
then <ENTER>
<EXIT> to return
Menu 6-96
TRANSPORT DELAY
MODE [MANUAL]
TRANSPORT DELAY = 168
Select with
↑
or
↓
then <ENTER>
<EXIT> to return
Menu 6-97
TRANSPORT DELAY
MODE [MANUAL]
TRANSPORT DELAY = 168
Select with
↑
or
↓
then <ENTER>
<EXIT> to return
Menu 6-98
6.5.7.8
Blanking
Overview
•
•
•
•
•
6.5.7.8.1
Blanking Start up
What can be done with Blanking ?
Blanking adjustments affect only the edges of the projected image and are used to frame the projected image on the screen and to
hide unwanted image information (or noise).
How to Start up Blanking ?
1. Push the cursor key
↑
or
↓
to highlight
Blanking/Soft Edge
within the
Guided Geometry map
menu. (menu 6-99)
2. Press
ENTER
to select.
The
Blanking/Soft Edge
menu will be displayed. (menu 6-100)
GUIDED GEOMETRY MAP
COARSE
LINEARITY
FINE
SHIFT
TRANSPORT DELAY
BLANKING/SOFT EDGE
RESET
Select with
↑
or
↓
then <ENTER>
<EXIT> to return
Menu 6-99
BLANKING/SOFT EDGE
ACTIVE [OFF]
BLANKING
SOFT EDGE
Select with
↑
or
↓
then <ENTER>
<EXIT> to return
Menu 6-100
R5976781 TRACE+ 14/09/2004
89
Summary of Contents for Trace+ R9040341
Page 1: ...Trace Owner s Manual R9040341 R5976781 00 14 09 2004 ...
Page 4: ......
Page 8: ...Table of contents 4 R5976781 TRACE 14 09 2004 ...
Page 15: ...2 Packaging and Dimensions Image 2 5 Bottom View Dimensions R5976781 TRACE 14 09 2004 11 ...
Page 16: ...2 Packaging and Dimensions 12 R5976781 TRACE 14 09 2004 ...
Page 32: ...4 Trace Connections 28 R5976781 TRACE 14 09 2004 ...
Page 144: ...8 Service Mode 140 R5976781 TRACE 14 09 2004 ...
Page 146: ...9 Standard Source Files 142 R5976781 TRACE 14 09 2004 ...


