13. Display Setup
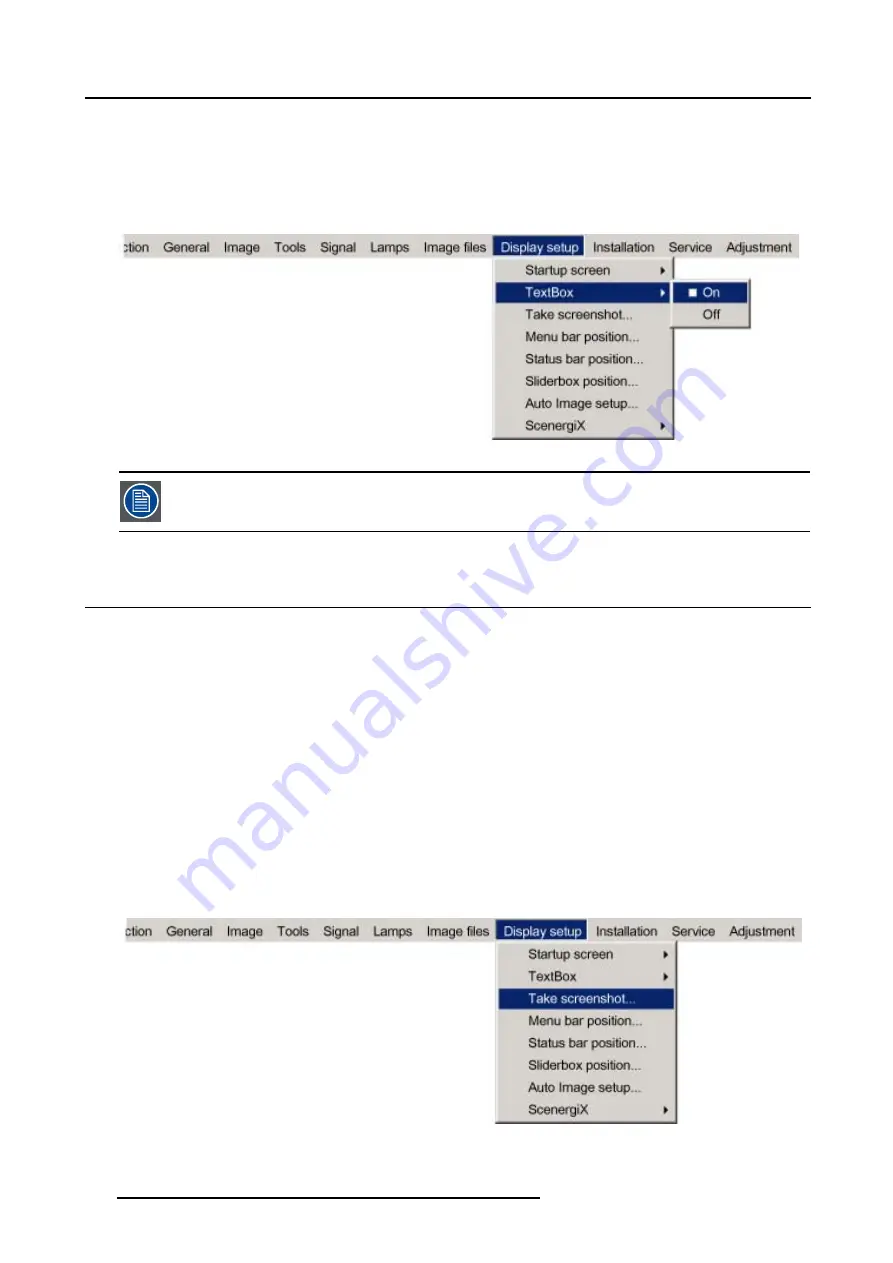
3. Press
↓
to pull down the
Display setup
menu.
4. Use
↑
or
↓
to select
Textbox
.
5. Press
→
to pull down the menu.
6. Use
↓
or
↑
to enable/disable the textbox.
7. Press
ENTER
.
Image 13-2
To enable the menus and dialog boxes again, press the TEXT button on the RCU.
13.3 Take screenshot
What can be done ?
A screen-shot can be taken from the active projected image. This screen-shot is then saved in a 4 MB RAM and can be used as
background (logo).
Each new screenshot erases the previous one, therefore a warning message is displayed asking the user to confirm.
How to take a screenshot ?
1. Press
MENU
to activate the menu bar.
2. Press
→
to select the
Display setup
item. (image 13-3)
3. Press
↓
to pull down the
Display setup
menu.
4. Use
↑
or
↓
to select
Take screenshot.
5. Press
ENTER
.
A dialog box is displayed. (image 13-4)
6. Press
yes
to confirm.
A text box shows the evolution of the operation. (image 13-5, image 13-6)
Image 13-3
114
R5976815 RLM G5I PERFORMER 02/06/2006
Summary of Contents for RLM G5i Performer R9010320
Page 1: ...RLM G5i Performer Owner s manual R9010320 R5976815 02 02 06 2006 ...
Page 8: ...1 Packaging and Dimensions 6 R5976815 RLM G5I PERFORMER 02 06 2006 ...
Page 46: ...4 Getting Started 44 R5976815 RLM G5I PERFORMER 02 06 2006 ...
Page 50: ...5 Getting used with the menu structure 48 R5976815 RLM G5I PERFORMER 02 06 2006 ...
Page 56: ...6 Source Selection 54 R5976815 RLM G5I PERFORMER 02 06 2006 ...
Page 60: ...7 General Menu Image 7 7 58 R5976815 RLM G5I PERFORMER 02 06 2006 ...
Page 86: ...8 Image Menu Image 8 46 Image 8 47 84 R5976815 RLM G5I PERFORMER 02 06 2006 ...
Page 96: ...9 Tools Menu 94 R5976815 RLM G5I PERFORMER 02 06 2006 ...
Page 135: ...14 Installation menu Image 14 21 R5976815 RLM G5I PERFORMER 02 06 2006 133 ...
Page 136: ...14 Installation menu 134 R5976815 RLM G5I PERFORMER 02 06 2006 ...


