


17. Adjusting the Picture
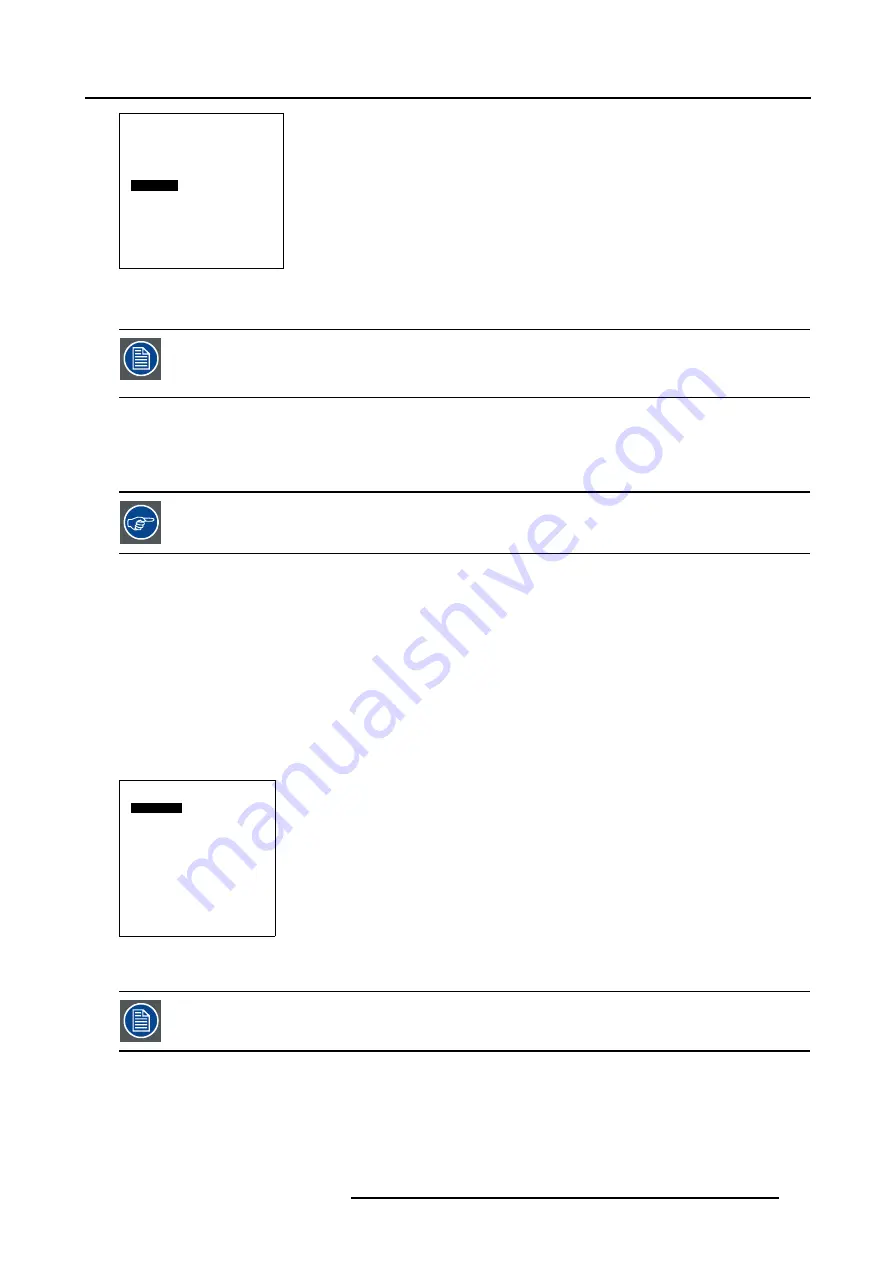
Advanced Settings
Aspect Ratio
Position
Pip Configuration
Blanking
Phase
Input Balance
Back
Menu 17-19
The ’Default Input Balance’ is used to align the input balance of the different modules referring to standard input signals.
As standard input signals are required for the alignment of the Default Input Balance, this alignment has to
be consider as FACTORY ALIGNED. Attempting to align the Default Input Balance can have serious conse-
quences on the image performances. For that reason, the Default Input Balance adjustment has been made
inaccessible.
Due to the signal distribution or the signal transmissions, a color imbalance can occurs. To allow the customer to be able to correct
the imbalance per file, the alignment ’Input Balance’, situated in the menu Advanced Settings, has been provided.
Observe the image on color dominance in the black and white areas of the displayed picture. If color dominance has been observed
in one of the areas or in both, then proceed to the corresponding input balance adjustment.
Adjust the Color Saturation level to zero before starting the Input Balance adjustment.
17.9.1 Input Balance Selection
How to select the Input Balance
1. Check if the active source (File) is a RGB or YUV input signal.
2. Select the ADVANCED SETTINGS menu (menu 17-8).
3. Select item INPUT BALANCE by rotating the jog dial on the Master or the up/down arrow keys on the Remote Control
4. Press the jog dial on the Master or the key
ENTER
on the Remote Control to confirm.
The sub menu INPUT BALANCE appears on-screen and in the graphical display. This menu contains the items White and Black
balance, as well as the return to the Factory settings. (menu 17-20)
Input Balance
White Balance
Black Balance
Factory Settings
Back
Menu 17-20
After changing the Input Balance, a return to the factory settings can be obtained by selecting the item FAC-
TORY SETTINGS in the Input balance menu, followed by a confirmation.
R5976468 CINE VERSUM SYSTEM 03112003
115
Summary of Contents for R9841020 Cine VERSUM Master
Page 4: ......
Page 8: ...Table of contents 4 R5976468 CINE VERSUM SYSTEM 03112003...
Page 14: ...1 Safety Instructions 10 R5976468 CINE VERSUM SYSTEM 03112003...
Page 30: ...4 Dimensions 26 R5976468 CINE VERSUM SYSTEM 03112003...
Page 36: ...5 Location of Controls 32 R5976468 CINE VERSUM SYSTEM 03112003...
Page 48: ...6 Installation Guidelines 44 R5976468 CINE VERSUM SYSTEM 03112003...
Page 63: ...7 Connections Image 7 27 Image 7 28 Image 7 29 R5976468 CINE VERSUM SYSTEM 03112003 59...
Page 64: ...7 Connections 60 R5976468 CINE VERSUM SYSTEM 03112003...
Page 68: ...8 Operating the Remote Control 64 R5976468 CINE VERSUM SYSTEM 03112003...
Page 80: ...10 Overview GUI Menu Screens 76 R5976468 CINE VERSUM SYSTEM 03112003...
Page 84: ...11 Powering on off the Cine VERSUM System 80 R5976468 CINE VERSUM SYSTEM 03112003...
Page 88: ...12 Image Projection after Powering Up 84 R5976468 CINE VERSUM SYSTEM 03112003...
Page 92: ...13 Projection Stop Standby or Economic Standby mode 88 R5976468 CINE VERSUM SYSTEM 03112003...
Page 96: ...14 Switching linked displays To and Out Standby 92 R5976468 CINE VERSUM SYSTEM 03112003...
Page 138: ...18 Additional settings Cine VERSUM Master 134 R5976468 CINE VERSUM SYSTEM 03112003...
Page 142: ...19 Picture in Picture PIP 138 R5976468 CINE VERSUM SYSTEM 03112003...
Page 156: ...21 Maintenance Indicators 152 R5976468 CINE VERSUM SYSTEM 03112003...
Page 160: ...Index 156 R5976468 CINE VERSUM SYSTEM 03112003...


