


7. Installation
The macro file will be deleted.
INSTALLATION
INPUT SLOTS
CONFIGURATION
LENS
TILT
INTERNAL PATTERNS
BUTTONS
MACROS
OSD
Select with
↑
or
↓
then <ENTER>
<EXIT> to return
Menu 7-49
MACROS
RUN
EDIT
RENAME
COPY
DELETE
CREATE
Select with
↑
or
↓
then <ENTER>
<EXIT> to return
Menu 7-50
DELETE MACRO
Macro name
Attr.
Input 1
r--
Input 2
r--
Input 3
r--
Input 4
r--
Input 1234
r--
macro[1]
rw-
Select with
↑
or
↓
<ENTER> to select
<EXIT> to return
Menu 7-51
DELETE FILE
Delete file
macro[1]
<ENTER> to confirm
<EXIT> to return
Menu 7-52
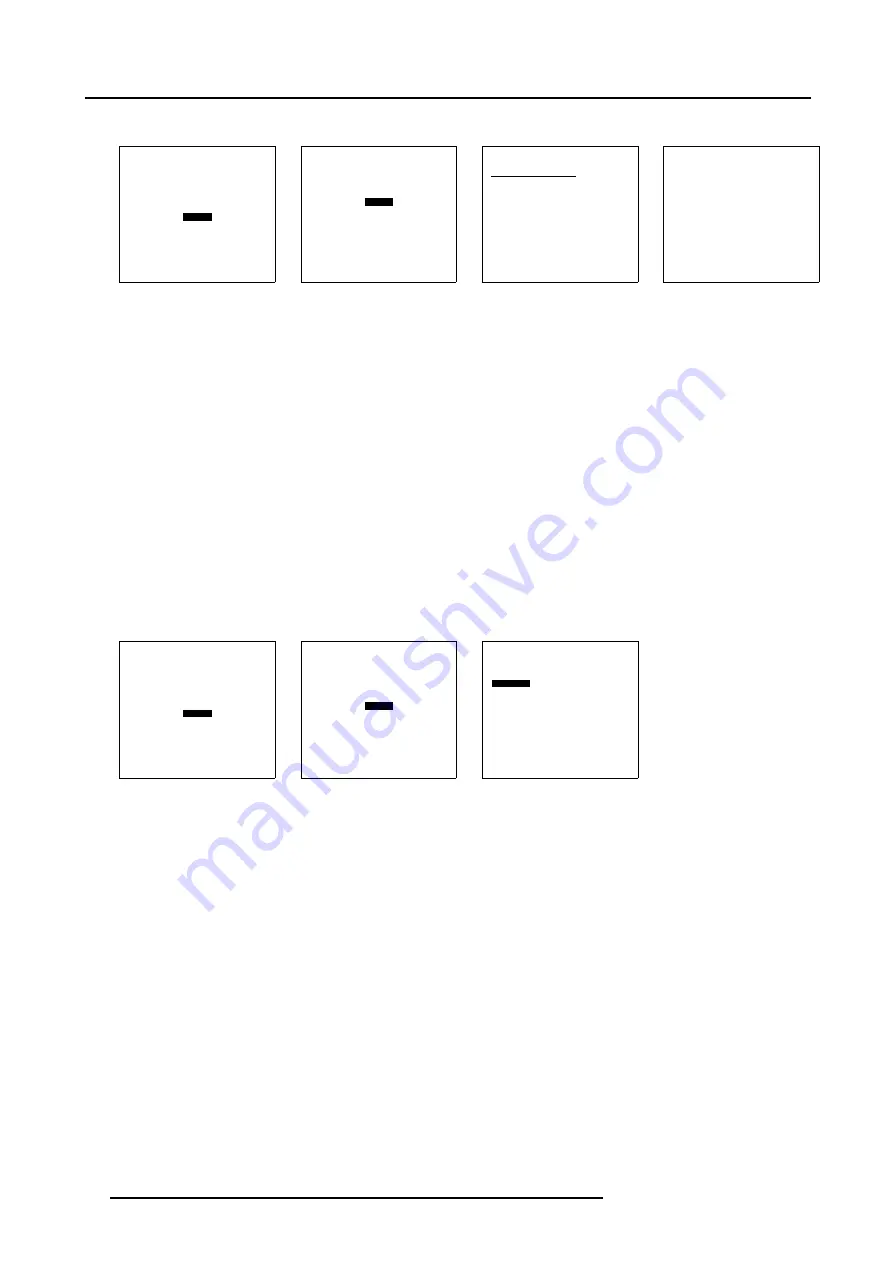
7.8.6
Create a macro file
How to create ?
1. Push the cursor key
↑
or
↓
to highlight
Macros
. (menu 7-53)
2. Press
ENTER
to select.
The Macro menu will be displayed. (menu 7-54)
3. Push the cursor key
↑
or
↓
to highlight
Create
.
4. Press
ENTER
to select.
The
Create macro
menu opens. (menu 7-55)
A default macro name followed by a digit will be created. This default name can be renamed via Rename a macro. Macro
functions can be added via Edit a macro.
This new created macro will contain the active layout.
5. Press
ENTER
to confirm the creation.
The created file will have read-write attributes.
INSTALLATION
INPUT SLOTS
CONFIGURATION
LENS
TILT
INTERNAL PATTERNS
BUTTONS
MACROS
OSD
Select with
↑
or
↓
then <ENTER>
<EXIT> to return
Menu 7-53
MACROS
RUN
EDIT
RENAME
COPY
DELETE
CREATE
Select with
↑
or
↓
then <ENTER>
<EXIT> to return
Menu 7-54
CREATE MACRO
Create a macro with following
filename:
macro[1]
A simple macro will be created
containing the active layout.
Afterwards, you can Run, Edit,
Rename,Copy or Delete this macro.
To assign a macro to a button,
go to the menu
Installation/Buttons
<ENTER> to confirm
<EXIT> to return
Menu 7-55
98
R59770014 XLM HD30 07/07/2006
Summary of Contents for R9004460
Page 1: ...XLM HD30 Owner s manual R9004460 R9004461 R59770014 00 07 07 2006...
Page 4: ......
Page 8: ...Table of contents 4 R59770014 XLM HD30 07 07 2006...
Page 26: ...2 Installation Guidelines 22 R59770014 XLM HD30 07 07 2006...
Page 50: ...4 Getting Started 46 R59770014 XLM HD30 07 07 2006...
Page 118: ...A Specifications 114 R59770014 XLM HD30 07 07 2006...


