12. Advanced Settings
12.4.2 Adjusting the input balance
How can it be done ?
To balance the three color signals of a particular source there are conditions; in fact we must know the black and the white level of
the source i.e. :
1.
The source in question must be able to generate a white signal, ideally a 100% white (background) full screen pattern
2.
The source in question must be able to generate a black signal, ideally a 100% black (background) full screen pattern
A
B
Image 12-4
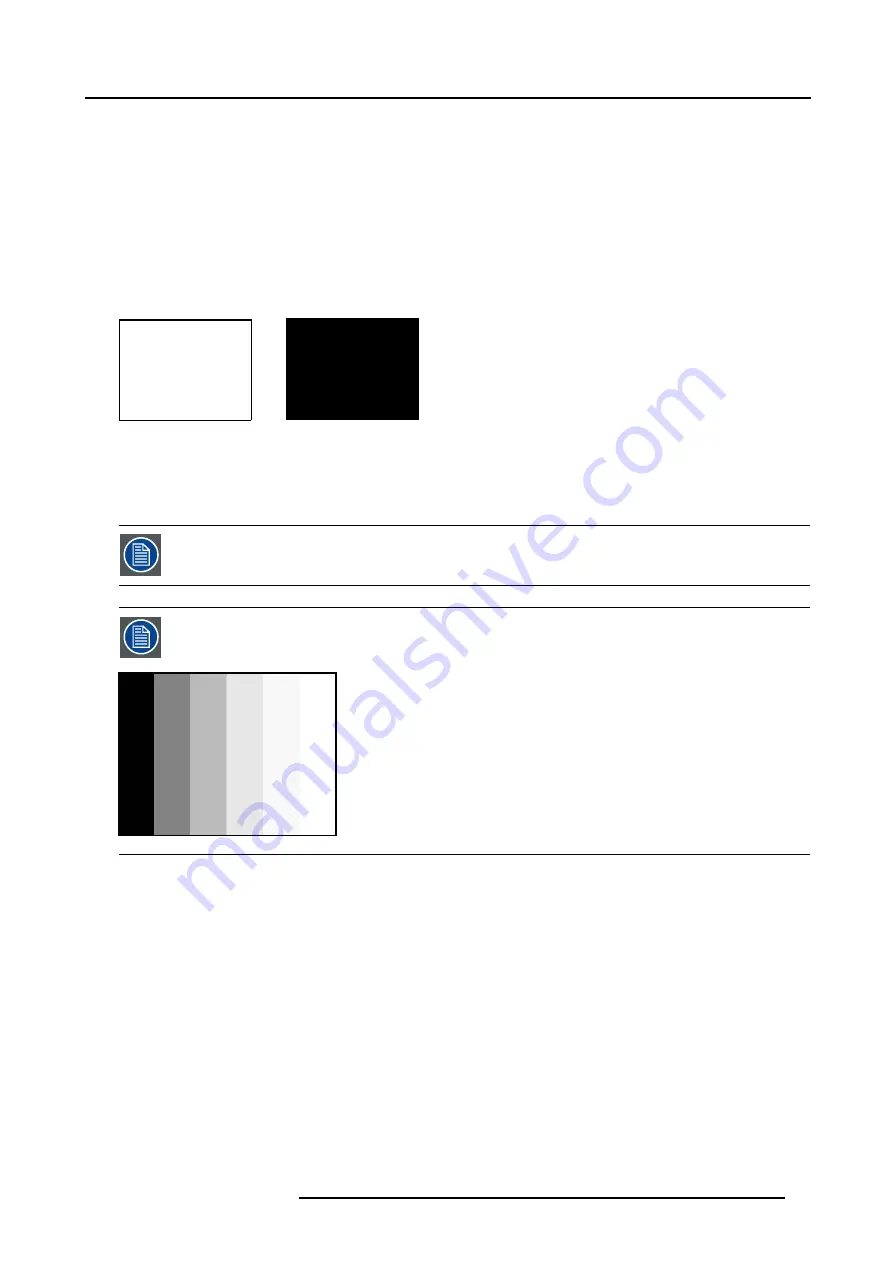
White balance : In the projector, we will set the contrast for each color until we get a 100% light output picture when displaying a
100% white image (image A)
Black balance : In the projector, we will set the brightness for each color until we get a 0% light output picture when displaying a
100% black image (image B).
The changeover from min to max is indicated by the apparition of bright spots also called “digital noise”
An alternative to a full screen White/black pattern is the standard gray scale pattern, the white bar will be used
for white balance and the black bar for black balance.
Image 12-5
Black balance
1. Select
Advanced Settings
.
2. Press
ENTER
to activate.
The Advanced Settings menu will be displayed. (menu 12-8)
3. Select
Input Balance
.
The Input Balance selection menu will be displayed. (menu 12-9)
4. Select
Black balance
and press
ENTER
to activate.
The black balance menu will be displayed. (menu 12-10)
5. Adjust the Brightness to a maximum value until there is no green noise visible in the black areas.
R5976672 SOLARIS LC40 01042004
71
Summary of Contents for R9004120
Page 1: ...MEDIA EVENTS SOLARIS LC40 R9004120 Events R9004125 Media OWNERS MANUAL 01042004 R5976672 03 ...
Page 4: ......
Page 14: ...2 Packaging and Dimensions 10 R5976672 SOLARIS LC40 01042004 ...
Page 32: ...4 Connections 28 R5976672 SOLARIS LC40 01042004 ...
Page 40: ...5 Getting Started 36 R5976672 SOLARIS LC40 01042004 ...
Page 46: ...7 Input Selection 42 R5976672 SOLARIS LC40 01042004 ...
Page 58: ...8 Image Settings 54 R5976672 SOLARIS LC40 01042004 ...
Page 62: ...9 Audio Settings 58 R5976672 SOLARIS LC40 01042004 ...
Page 67: ...10 PiP Settings Image 10 4 Positioning PiP window R5976672 SOLARIS LC40 01042004 63 ...
Page 68: ...10 PiP Settings 64 R5976672 SOLARIS LC40 01042004 ...
Page 70: ...11 Compact PC Control 66 R5976672 SOLARIS LC40 01042004 ...
Page 98: ...B Optional Mounting Equipment A Image B 10 A B Image B 11 94 R5976672 SOLARIS LC40 01042004 ...
Page 100: ...C Specifications 96 R5976672 SOLARIS LC40 01042004 ...


