background image

7-3

Random Access Adjustment Mode

5975398 BARCODATA 3200 110797

Edit file

The Edit file menu makes it possible to change the settings of the file

according to the real settings of the connected source.  Consult the

source specification before entering the data.

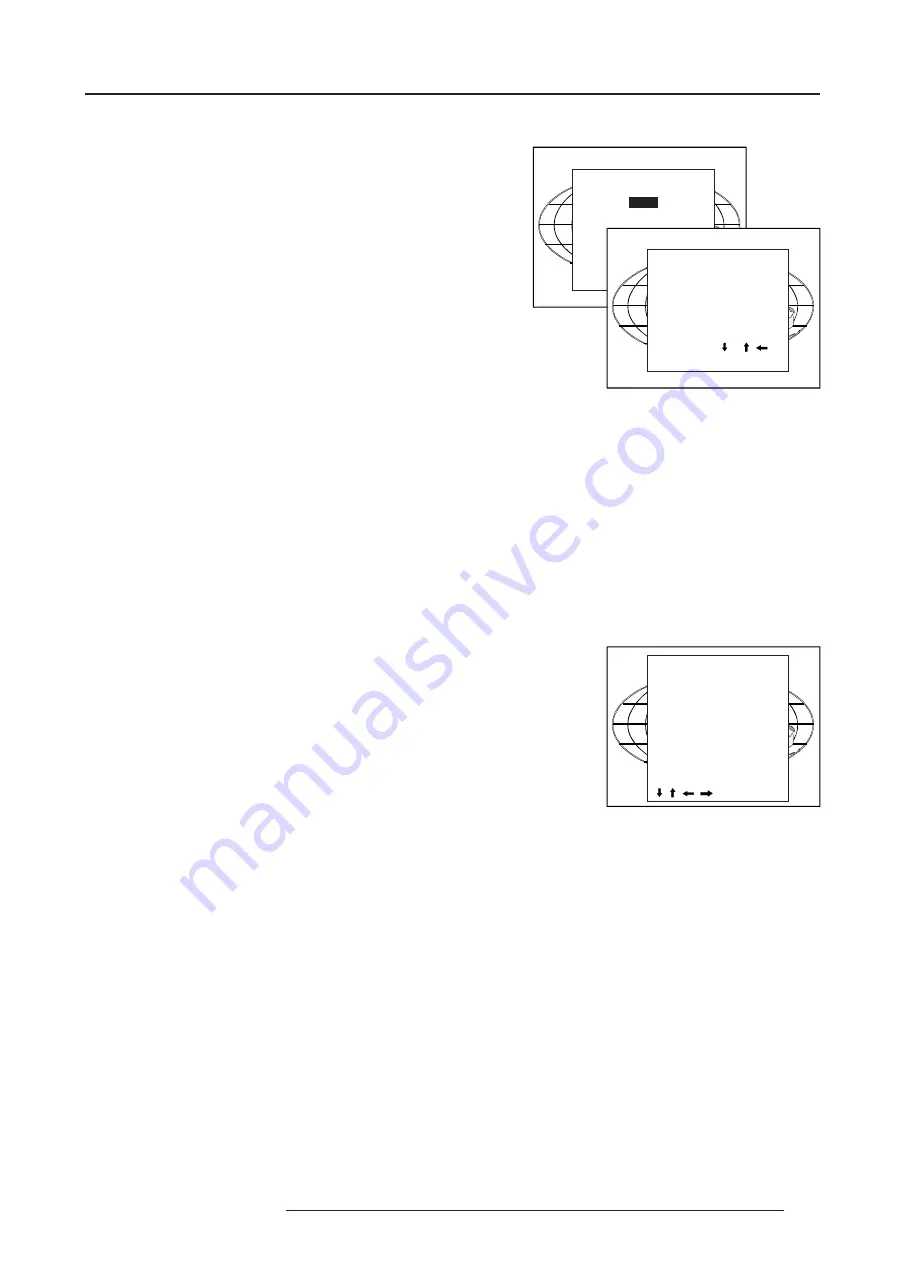
To start up the EDIT menu, push the control disk up or down to select

EDIT in the FILE menu and press 

ENTER

.

Select the file which must be edited (mostly the active file) and press

ENTER

.

The Edit file adaptation menu will be displayed.

The file name will be displayed in the upper right corner.

The following items can be adjusted :

Total quantity horizontal pixels

Active quantity horizontal pixels

Horizontal start in pixels

Horizontal period in µs (is automatically adapted during the installa-

tion of  a file with LOAD)

Total vertical lines (is automatically adapted during the installation

of a file with LOAD)

Active vertical lines

Vertical start in lines

Interlaced : toggle on/off (is automatically set to its correct position

during the installation of a file with LOAD)

All settings can individually be changed.  Push the control disk up or

down to select  an item.  The color of the selected item will change and

follow one of the three methods to change the value.

a. press 

ENTER

 to activate the digits and enter directly with the

numeric keys on the RCU or local keypad the new value or

b. press 

ENTER

 to activate the digits.  Push the control disk to the

right or to the left to select the changing digit.  Push the control disk

up or down to scroll  to desired digit.  When finished press 

ENTER

 to

confirm.

c. counting up or down by pushing the control disk to the right or to the

left.

How finding the correct values for the displayed item?

During the installation of a file with LOAD, the horizontal period, the

total number of vertical lines and the interlaced mode are automati-

cally measured and filled in in the menu table.  These values will be

available when starting up the EDIT procedure of an active file.

If the value for 

"Horizontal total pixels"

 is wrong, sampling mistakes

(small vertical bars in the projected image) will be seen in the image.

Select "Total" and adjust the pixel quantity.  Adjust for zero bars (hint:

if the number of bars increase, adjust in the other way).

The 

"active pixels"

 : determine the width of the window on the screen.

This value is normally given in the source specifications.  If not, adjust

until full image is displayed (no missing pixels).

"Horizontal start

" : number of pixels between the beginning of the

input signal and the start of the video information in the signal.

"Horizontal period"

 : already filled in with the correct value when active

file.

The 

"Vertical Total lines"

 are already filled when an active file is

selected to be edited.

The 

"Active lines"

 : number of horizontal lines determining the height

of the projected image.  This value is normally given in the specifica-

tion of the source.  If not, adjust until full image height is displayed (no

missing lines)

Vertical start

 : number of lines between the start of the input signal and

start of the image on the screen.

Interlaced [On] or [Off]

 : this selection is automatically filled  when

active file has to be edited.  If the image is wrong due to

Select with        or

then <ENTER>

<EXIT> to return.

EDIT FILE    xga.s30

HORIZONTAL

TOTAL

1344 PIXELS

ACTIVE

1024 PIXELS

START

296 PIXELS

PERIOD

20.678 µS

VERTICAL (FIELD)

TOTAL

806 LINES

ACTIVE

768 LINES

START

36 LINES

INTERLACED

[OFF]

READ AMDS
OPTIONS

       ,      ,        ,         , <ENTER>,<EXIT>

FILE SERVICE

LOAD

EDIT

RENAME

COPY

EDIT FILE

Filename

Src

Resolution

-----------------------------------------------------
pal         .s01

1

675x278i

pal         .c01

1

675x278i

secam   .s03

3

675x278i

-----------------------------------------------------
Active file : pal.c50

Select with        or      ,

<ENTER> to accept

<EXIT> to return.

Summary of Contents for R9001190

Page 1: ...BARCO PROJECTION SYSTEMS Date 110797 OWNER S MANUAL R9001190 DATA 3200 Art No R5975398...

Page 2: ...s equipment does cause interference to radio or television reception the user may try to correct the interference by one or more of the following measures Re orientation of the receiving antenna for t...

Page 3: ...t input module 4 5 RGB3S RG3sB input module 4 6 Connecting a computer e g IBM PC or compatible Apple Macintosh to the RS 232 input of the projector 4 7 Set up of the baud rate for communication with a...

Page 4: ...8 1 How to use the built in adjustable lensholder 8 2 SERVICEMODE 9 1 Starting up the Service Mode 9 1 Identification 9 2 Change Password 9 3 Change Language 9 3 Reset Lamp Runtime 9 4 Lamp Run Time H...

Page 5: ...corners and place the projector on a table Save the original shipping carton and packing material they will come in handy if you ever have to ship your projector For maximum protection repack your pr...

Page 6: ...indicated handle a little to the bottom of the RCU Lift up the top side of the cover at the same time fig 1 Insert the new 9 V battery in the lower compartment and connect the battery to the contact p...

Page 7: ...ecomes more important As a general rule darken the room to the point where there is just sufficient light to read or write comfortably Spot lighting is desirable for illuminating small areas so that i...

Page 8: ...ix B Start the installation procedure for the projector as described in the manual Inputs and computer video format input compatibility Some examples VIDEOandS VIDEO COMPONENTVIDEO RGB ANALOG with STA...

Page 9: ...er switch is pressed projector in stand by mode Green lighting up Projector in operational mode 1 Power switch 1 on 0 off Power input Autoranging from 90 to 250 Vac Audio input for Video signals only...

Page 10: ...b Remote control This remote control includes a battery powered infrared IR trans mitter that allows the user to control the projector remotely This remote control is used for source selection contro...

Page 11: ...ng a meeting the displayed bar scale can be removed by pressing TEXT key first To re display the bar scale on the screen press TEXT key again TEXT key only active in operational mode 1 2 3 4 5 6 7 8 9...

Page 12: ...h to switch on When 0 is visible the projector is switched off When 1 is visible the projector is switched on When switching on with the power switch the projector starts in the stand by mode The proj...

Page 13: ...0 h Switching to stand by When the projector is running and you want to go to stand by press the stand by key Switching off To switch off press first STANDBY key and let cool down until the fans stop...

Page 14: ...13 strap yes non floating strap no floating Factory preset strap on input non floating Push the control disk up or down to highlight Installation and press ENTER to display the Installation menu EXIT...

Page 15: ...log 5 x BNC Red 0 7 Vpp 3 dB Blue 0 7 Vpp 3 dB Green 0 7 Vpp 3 dB 1 Vpp 3 dB if sync on green Vert sync 1 Vpp to 4 Vpp 3 dB Hor sync Composite sync 1 Vpp to 4 Vpp 3 dB All input signals are always 75...

Page 16: ...composite video signal on H C input RGB SS CS or HS VS separate sync is composite sync or horizontal and vertical sync RGB SOG sync on green Component input module Connect your component signals Y lum...

Page 17: ...p 3 dB Blue 0 7 Vpp 3 dB Green 0 7 Vpp 3 dB 1 Vpp 3 dB if Tri level sync on green Vert Tri level sync 1 Vpp to 4 Vpp 3 dB Hor Tri level sync Composite Tri level sync 1 Vpp to 4 Vpp 3 dB All input sign...

Page 18: ...preset separate sync Connecting a computer e g IBM PC or compatible Apple Macintosh to the RS 232 input of the projector The projector has a RS232 port that allows it to communicate with a computer A...

Page 19: ...projector The VS05 can switch up to 5 Composite Video sources 3 Super Video sources and 1 RGB analog or component video source to the projector In addition the audio signal proper to the source can be...

Page 20: ...address Every projector requires an individual address between 0 and 255 which is set with hardware DIP switches To change that address call an authorised service technician b How to control the proje...

Page 21: ...the control stick on the RCU is pressed or the or buttons on the local keypad Brightness Control A correct brightness setting is important for good image reproduction Use the button for a higher brigh...

Page 22: ...Control Is only effective if a external amplifier with loudspeakers is connected to the audio output The balance control adjust the sound level between the left and the right box Use the button for a...

Page 23: ...is only available when the password strap on the controller module is ON see Change password in chapter Service mode Your password contains 4 digits Enter the digits with the numeric keys Example 2 3...

Page 24: ...and then press ENTER File service RANDOM ACCESS ADJUSTMENT MODE LOAD EDIT RENAME COPY OPTIONS DELETE SYNC COLOR BALANCE GAMMA STILL VIDEO SHIFT SIDE KEYSTONE BLANKING SIZE OPTIONS FILE SERVICE PICTURE...

Page 25: ...lect LOAD and press ENTER to display the Load menu The Load menu displays the corresponding files depending on the installed filter This filter can be Fit or All To change the filter push the control...

Page 26: ...nstallation of a file with LOAD the horizontal period the total number of vertical lines and the interlaced mode are automati cally measured and filled in in the menu table These values will be availa...

Page 27: ...ted The field polarity function is used for interlaced images Both rasters of the image could be shifted in a wrong way double lines are visilble in the image This can be corrected by forcing the fiel...

Page 28: ...o select a file name and press ENTER to select The Rename menu will be displayed with the selected file name already filled in in the From file name area and in the To file name area Select with or EN...

Page 29: ...OAD EDIT RENAME COPY DELETE OPTIONS FILE OPTIONS FILE SORT NAME Select with or then ENTER EXIT to return File Options Use the control disk to select OPTIONS and press ENTER The option selection menu w...

Page 30: ...ct the color balance selection menu The next choices are possible Fixed color balance 3200 K reddish 6500 K white 9300 K bluish Custom white balance Push the control disk up or down to select Fixed Co...

Page 31: ...rn Lock OFF INPUT 1 INPUT 2 INPUT 3 Select Lock by pushing the control disk up or down and press ENTER to toggle between OFF INPUT 1 INPUT 2 INPUT 3 Lock OFF the sound corresponding to the selected in...

Page 32: ...lue is positive the image is shifted to the right when the value is negative the image is shifted to the left Size Highlight Size by pushing the control disk up or down and press ENTER to select The s...

Page 33: ...image is smaller than the lower part of the image push the control disk to the right The number indication below the bar scale will be positive Blanking Highlight Blanking by pushing the control disk...

Page 34: ...left side Adjustment of the blanking on the right side Correct by pushing the control disk to the right or to the left Scale 1 x When Scale 1 1 is selected the real input signal without image conversi...

Page 35: ...r Use the same side keystone correction for all files YES or NO YES the same keystone correction will be used for all installed files NO the keystone has to be adjusted file per file Push the ENTER ke...

Page 36: ...to highlight Installation and then press ENTER ENTER continues to the Installation mode selection menu EXIT returns to operational mode The following item can be selected in the Installation mode Inp...

Page 37: ...all available lenses How to shift the image First shift the image left or right until the correct horizontal position is obtained Turn clockwise to shift the image to the right turn counter clockwise...

Page 38: ...0 745 h EXIT to return LAMP DRIVE MODE NORMAL TEMPORARY BOOST Select with or then ENTER EXIT to return RESET LAMP RUN TIME Enter the serial number of the new lamp 0000000 Select with or Reprogram with...

Page 39: ...E MODE MORE Identification To display the Identification screen push the control disk up or up to highlight Identification and press ENTER to display the Identification screen The Identification scree...

Page 40: ...isplayed and can be changed by entering the digit with the numeric keys of the RCU or local keypath Press ENTER to save the new entered password Press EXIT if no changes have to be made ENTER displays...

Page 41: ...XIT to return Lamp Run Time History To get an overview of the different lamp run times highlight Lamp Run Time History by pushing the control disk up or up and press ENTER A listing with the lamp seri...

Page 42: ...not qualified press EXIT to cancel the panel adjustments SERVICE PANEL ADJUSTMENTS PRESET INPUT BALANCE I2C DIAGNOSIS MORE WARNING PANEL ADJUSTMENTS is reserved to qualified service personnel ENTER to...

Page 43: ...342 60 158 22 259 15 670 704 512 370 342 MAC_3 512 X 384 60 147 24 480 15 667 640 512 407 384 MAC_4 560 X 384 60 147 24 480 17 234 704 560 407 384 8514 A 1024 X 384I 43 479 35 522 44 900 1264 1024 40...

Page 44: ...6 443 50 000 1372 1120 406 375 FMTO_2 640 X 400 55 370 24 370 21 060 864 640 440 400 FMR 640 X 400I 84 700 36 440 28 570 784 640 431 400 NAME RESOLUTION FVERT FHOR FPIX PTOT PACT LTOT LACT Hz kHz MHz...

Page 45: ...ept MD 1 2 1 lens To minimize the possibility of damaging the optical coating or scratch ing exposed lens surfaces we have developed recommendations for cleaning lenses FIRST we recommend you try to r...

Page 46: ...7 1 177 6 98 118 4 6 2 0 4 72 R9829380 MD 1 7 3 1 428 16 85 164 6 46 6 5 14 0 R9829335 MD 3 6 1 389 15 3 143 5 6 5 4 12 0 R9829590 Lens formulas to calculate the projector distance MD 1 2 1 Metric PD...

Page 47: ...0 99 These source numbers do not correspond to physical inputs They can only be used when the projector is equipped with a RCVDS 05 or VS05 An additional adjustment file can be created for these sourc...

Page 48: ...Insert Card RCU 5975398 BARCODATA 3200 110797 INSERT CARD 3 5 8 1387 62 85 6 352 725 5 9 6 1387 6285 6 3 5 8 1387 62 85 6 352 725 5 9 6 1387 6285 6...

Reviews: