background image

3

2

Power supply

[

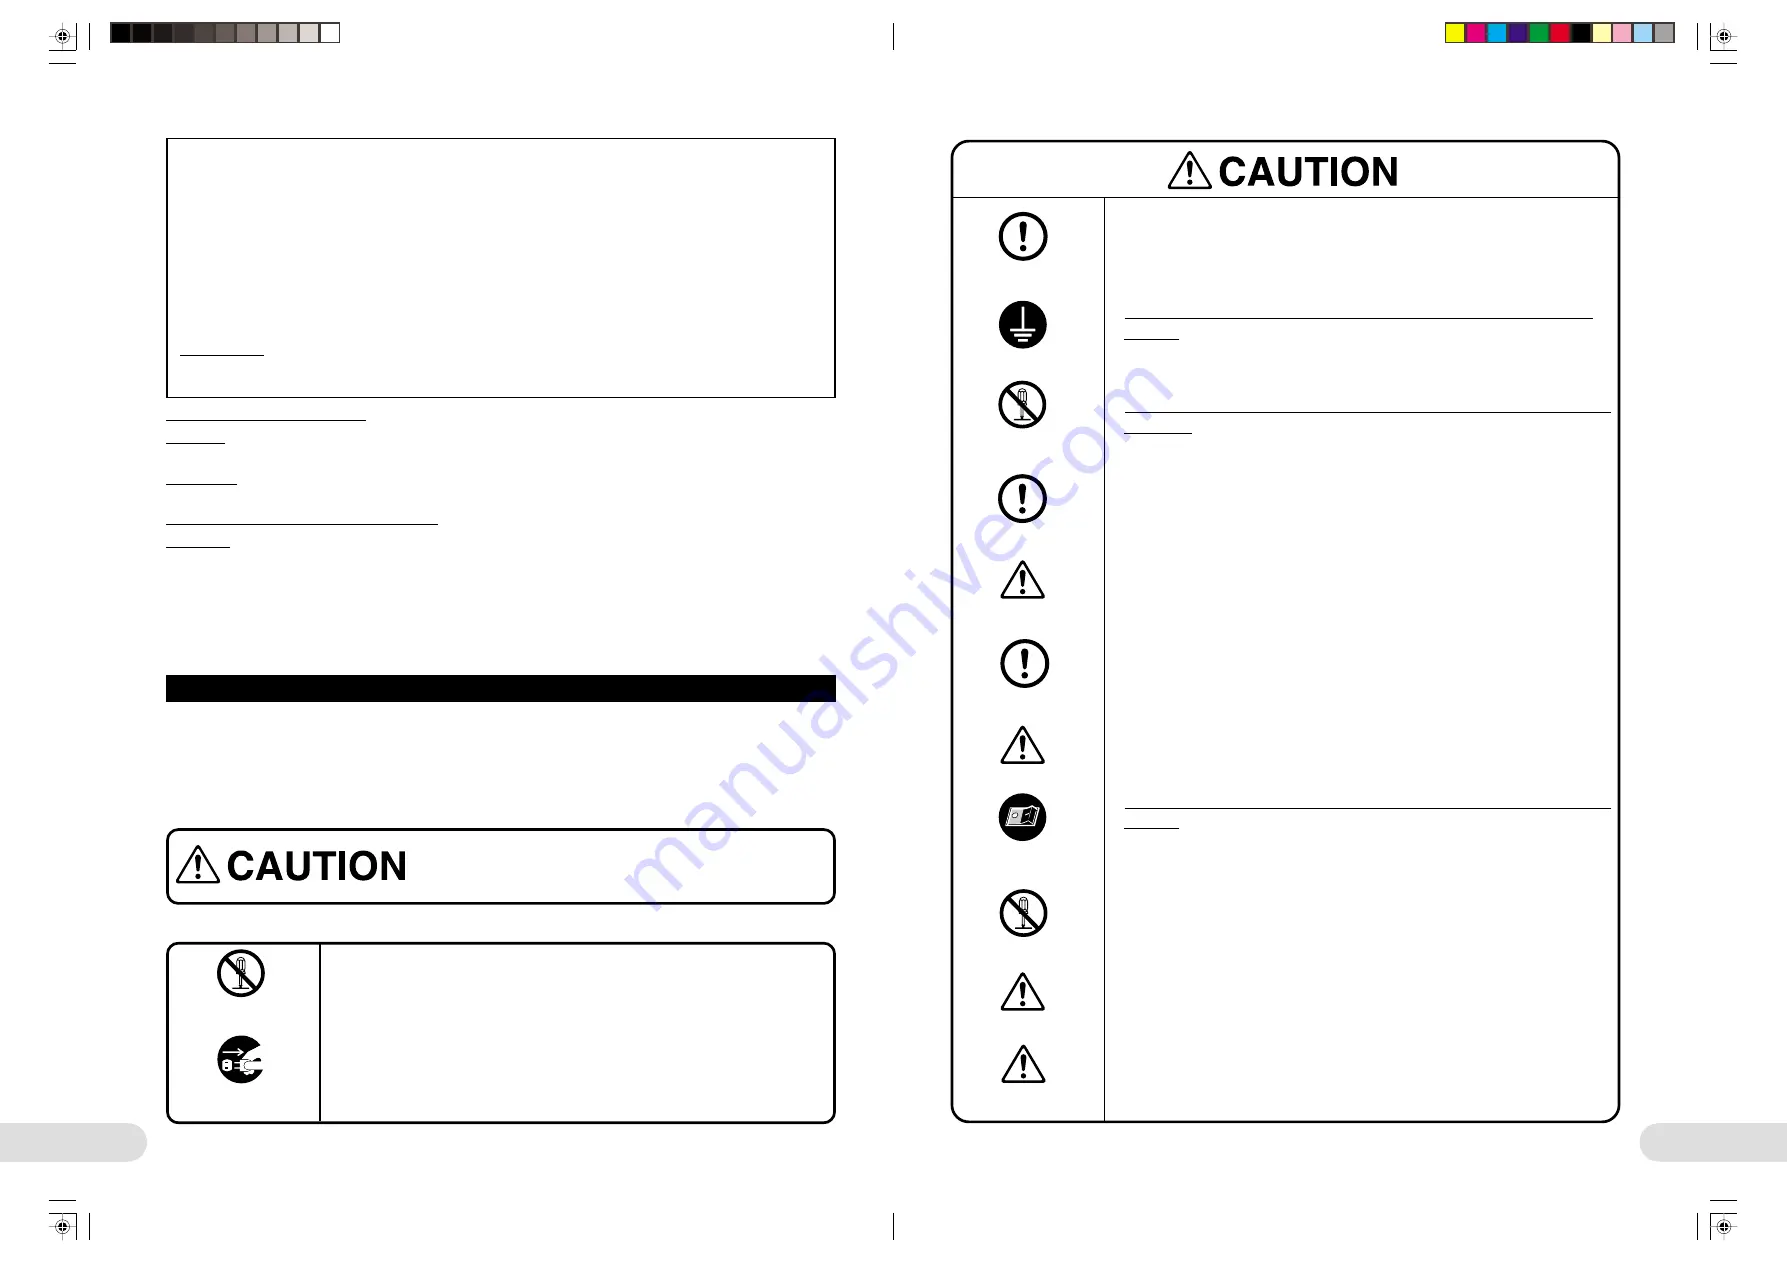
This unit operates on 100 V to 240 V AC. Use only the power cable shipped with the
unit. Do NOT use another cable. Doing so may lead to fire or electric shock.
If the power cable is damaged or lost, ask your dealer for replacement.

[

Ground must be connected at the AC outlet. A leak can cause an electric shock.
(

 p.17)

Handling the unit

[

Some parts inside the unit carry high voltage. Internal repairs must not be attempted
by the user.

[

Should any object or liquid enter the unit, immediately turn off the power and consult
your dealer.

[

When transporting the unit or when folding the camera head and light blocks, be
careful not to get your fingers or clothing caught between the camera head arm and
document stage. When extending or folding the arm, do not let go until it locks in
place. Otherwise, the arm may fall, pinching your hand or causing damage to the
camera block.

[

Do NOT block the ventilation holes of the unit. If they are blocked, heat will build up
and may cause fire.

[

The fluorescent lamps are hot while lit and soon after being turned off. NEVER touch
the lamps when hot. To replace or clean the lamps, wait at least 15 minutes for them
to sufficiently cool down. (

 p.38)

[

Before replacing the fluorescent lamps, turn off the power to avoid electric shock.
(

 p.38)

[

The unit has built-in fluorescent lamps in the base for transparent material. Do NOT
apply excessive force or shock. If the built-in fluorescent lamps are damaged, consult
your dealer. For repair, special devices are required. NEVER attempt repair by your-
self.

[

Do NOT use the unit in a humid or dusty area. Such conditions may lead to fire or
malfunction.

[

When this unit is used for a long time, the bottom of the unit becomes hot. Do NOT
leave the unit on a heat-sensitive surface, such as a plastic sheet.

Connect ground

Contact us

immediately

Ask for repairs

immediately

Operate with care

Operate with care

Set the POWER

switch to OFF

Install only in a

proper environment

Operate only in a

proper environment

Do NOT make

repairs yourself

Do NOT make

repairs yourself

Do NOT block the

ventilation holes

○ ○ ○ ○ ○ ○ ○ ○ ○ ○ ○ ○ ○ ○ ○ ○ ○ ○ ○ ○ ○ ○ ○ ○ ○ ○ ○ ○ ○ ○ ○ ○ ○ ○ ○ ○ ○ ○ ○ ○ ○

Safety Precautions

To ensure safe and correct usage, observe the following precautions:

• Before operating the BARCO PRECA 1280 i, read these Safety Precautions thoroughly to ensure safe and

proper operation of the unit.

• The precautions given here contain important instructions to ensure safe usage of the product. Be sure to

observe these precautions.

• KEEP THIS MANUAL HANDY FOR ANYONE WHO USES THE UNIT.

Failure to observe this instruction could lead to personal injury
and/or property damage.

The symbols used in this manual have the meanings described below.

Examples of picture symbols

 NEVER do it (symbol for prohibited action).

ALWAYS follow the instruction (symbol for required action).

Do NOT make

repairs yourself

Unplug power

plug from receptacle

Federal Communications Commission (FCC) Radio Frequency Interference Statement
This equipment has been tested and found to comply with the limits for a Class B digital device, pursuant to Part 15 of the FCC Rules.
These limits are designed to provide reasonable protection against harmful interference in a residential installation. This equipment
generates, uses, and can radiate radio frequency energy and, if not installed and used in accordance with the instructions, may
cause harmful interference to radio communications. However, there is no guarantee that interference will not occur in a particular
installation. If this equipment does cause harmful interference to radio or television reception, which can be determined by turning
the equipment off and on, the user is encouraged to try to correct the interference by one or more of the following measures:

[

Reorient or relocate the receiving antenna.

[

Increase the separation between the equipment and receiver.

[

Connect the equipment into an outlet on a circuit different from that to which the receiver is connected.

[

Consult the dealer or an experienced radio/TV technician for help.

Modifications

The FCC requires the user to be notified that any changes or modifications made to this device that are not expressly approved
by Barco Projection Systems may void the user’s authority to operate the equipment.

Notice for customers in Canada

CAUTION

This Class B digital apparatus meets all requirements of the Canadian Interference Causing Equipment Regulations.

ATTENTION

Cet appareil numérique de la classe B respecte toutes les exigences du Règlement sur le matérial brouilleur du Canada.

Notice for customers in European countries

ACHTUNG

Dieses Gerät entspricht den Bestimmungen der EG-Direktive 87/308/EEC zur Störungsunterdrückung.
Lärmemission kleiner 70 dBA.

**BARCO 002-004(E)

2000.7.18, 8:15 PM

2-3

Summary of Contents for Preca 1280

Page 1: ...LUE indicators For a negative image press the button Each time you press the button the display changes in the sequence Normal H Black White Reversal NEGA indicator lights H Blue display BLUE indicator lights H Normal and so on BRIGHTNESS buttons Press to adjust the brightness of the screen POWER indicator It lights when the power is on E ZOOM button indicator Press the button to activate the elec...

Page 2: ...or on the rear of this unit For details refer to page 13 of the User s Manual 2 Turn on the unit Press the POWER switch down to the side 3 Turn on the monitor or projector For details refer to the operation manual for the connected equipment 4 Perform the input selection on the monitor or projector Set it so that the picture from this unit is displayed 5 Turn on the lamps Press the LIGHTS button P...

Page 3: ...le holding the left mouse button pressed The lines drawn with the Pen function will disappear when another image on the PC card is displayed To deactivate the Pen function click the right mouse button For details on PC cards refer to pages 33 to 37 of the User s Manual L For a clear image Press the TONE button The contrast of the image is emphasized making the image clear L Using the electronic zo...

Page 4: ... For documents with fine characters Linear2 For glossy documents the brightness will be decreased Picture For photos and colour printed matters L Sharpness To adjust the image contours which can be adjusted in 6 steps L Iris A M To alternately select automatic and manual iris adjustments for the camera Normally select Auto Auto Exp ON To activate the Auto Iris function Auto Exp OFF To deactivate t...

Page 5: ... BARCO ï ï E 2000 7 18 8 12 PM 44 45 ...

Page 6: ...hly to ensure safe and proper operation of the unit The precautions given here contain important instructions to ensure safe usage of the product Be sure to observe these precautions KEEP THIS MANUAL HANDY FOR ANYONE WHO USES THE UNIT Failure to observe this instruction could lead to personal injury and or property damage The symbols used in this manual have the meanings described below Examples o...

Page 7: ...ZOOM W T FREEZE AF CARD MENU MENU Main Unit Continue Light arms pp 15 16 17 19 To light the document stage Document stage p 19 Place a document on the stage Fluorescent lamps are built in under the stage and are used for transparent documents Camera head pp 15 16 To shoot the document Light arms pp 15 16 17 19 To light the document stage Camera arms pp 15 16 For holding the camera head Stopper pp ...

Page 8: ...ime you press the button the illumination changes in the sequence Upper lamps on the UPPER indicator lights Lower lamps on the LOWER indicator lights Both off and so on E ZOOM button indicator p 19 Press the button to activate the electronic zoom function The indicator lights and the image is enlarged 2 or 4 times When you press the button again the function is deactivated and the indicator goes d...

Page 9: ...ecting a Projector and Monitor 13 Connecting a PC Ethernet 14 Connecting the Mouse 14 LPREPARATIONS 15 Raising the Camera Head and Light Arms 15 To Fold the Camera Arm and Light Stands 16 Attaching the Fluorescent Lamps 17 Connecting the Power Cord 17 Operation LShooting a Document 18 LUsing Menus 21 Items to be Adjusted Using Menus 24 LConnecting to a Network 32 LUsing a PC Card 33 Using the PC C...

Page 10: ...ronic zoom pp 19 20 21 31 36 In addition to the freeze white balance auto focus color compensation gamma compensation and image inver sion functions the electronic zoom function up to 4x is provided In combination with the optical 6x zoom 24x zoom at maximum can be obtained Input of transparent materials p 18 The unit is equipped with a special lighting device that enables easy capturing of transp...

Page 11: ...lied to the video input S video cable supplied to the S video input D sub 15 pin cable supplied to the 15 pin connector Monitor Projector Signal flow TV receiver Using a screwdriver tighten the screws of the RGB connector Connecting a Projector and Monitor Before connection be sure to turn the power to this unit and the device to be connected off Depending on the device to be connected use the RGB...

Page 12: ...t the administrator of the network For information on network settings see Connecting to a Network p 32 10Base T REMOTE Using a screwdriver tighten the screws of the REMOTE connector Rear of this unit Signal flow PC to the RS 232C connector to the Ethernet connector Commercially available Ethernet cable Commercially available RS 232C cable Note The connection to the REMOTE connector is required on...

Page 13: ...procedure of Raising the camera arm and light stands p 15 4 Fold the light stands Fold the light stands with the fluorescent lamps facing the document stage Fold the right stand first Then fold the left stand 5 While holding the stopper pressed fold the camera arm until a clicking sound is heard 2 Draw in the camera arm 3 While holding the stopper pressed raise the camera arm until it stands verti...

Page 14: ...r details refer to the operation manual for the connected equipment The same operation can be performed using the menu p 24 Note When turning the power off then on again leave it off for at least 10 sec onds before turning it back on ZOOM T button Press to enlarge the image max 6 times Continue Adjust the image size by pressing the ZOOM W or T button When you hold the ZOOM W or T button pressed th...

Page 15: ...n 3 Press the FREEZE button Press the button before removing the material The image will be frozen on the screen 1 You can draw lines on the screen using a mouse for smooth presentations p 33 To use the Pen function Shooting a Document Continued Using Menus For efficient use of this unit the following 14 menu icons are provided There are two methods for displaying and operating the menu icons usin...

Page 16: ... fifth of the screen of the screen and click the right mouse button 2 Move the pointer and se lect the menu icon The status settings of the menu items etc of the selected menu is displayed beneath the icon Using the mouse 3 Click the left mouse button left click You can now change setting values on the selected menu Example When adjusting COLOR To clear the menu icons Move the pointer anywhere oth...

Page 17: ...justed the Gain and Color settings return to the factory set values L Tone To adjust the tone gamma setting Natural Linear1 Document Linear2 Picture Using the TONE button on operation panel 2 you can toggle the setting between Standard Natural and HI Document n WBset Tone Reverse Color Shar nes Continue Using Menus Using the mouse 1 Left click the Lights menu icon Each left click changes the setti...

Page 18: ... FOCUS 8 or 9 button to select the color to be adjusted Buttons appears at the left and right ends of the adjust ment bar for the selected color 2 Press either the ZOOM W or T button to ad just the color The value set on the adjustment bar changes 3 To adjust other colors repeat step 1 and 2 4 Press the FREEZE button to register your ad justment 5 Press the FREEZE button The adjustment bar disappe...

Page 19: ... The Fit Over function does not operate in SXGA mode L Change Pointer To change the form and color of the pointer Fit Over Fit To display the full screen Over To display the center area Iris A M Fit Over Change Pointer Save to card Save to Server Using Menus Form Color Yellow White Blue Using the mouse 1 Left click the Fit Over menu icon Each left click changes the setting as shown above 2 Click t...

Page 20: ...rk Setting Set the items relating to networking PowerOn Setting SAVE n o p q r s t u v w x y z a b c d e f g h i j k l m skip 0 1 2 3 4 5 6 7 8 9 Default NetWork Setting Enable NetWork Enable FTP Client Read Only FTP WEB disable Write Control NetWork Setting Internal Server 192 168 001 002 IP Address 255 255 000 000 SubNet Mask User ID anonymous max 10 char Pass Word none max 10 char External Serv...

Page 21: ...User ID and Password p 30 2 Click the button for downloading image files which is displayed in the upper portion of the screen when the network is connected The Web camera display appears 3 Click the download button in the lower portion of the screen L Getting with an FTP command You can obtain a file using FTP Get 1 Issue the Is command The RAMIBOX and CARDIBOX appear 2 Execute cd RAMIBOX 3 Issue...

Page 22: ...nu but ton using the ZOOM W T button 3 Press the FREEZE button The selection of the PC Card menu button is ex ecuted 1 Move the pointer to the lower area lower four fifths of the screen of the screen and click the right mouse button 2 Move the pointer to a PC Card menu button 3 Click the left mouse button The selection of the PC Card menu button is ex ecuted LTo clear the PC Card menu Move the poi...

Page 23: ... menu on a monitor or projector connected to the RGB connector The monitor to display the PC card menu can be speci fied using the Setup menu p 29 L ZOOM button To enlarge the image from a PC card file on the screen Each left click changes the size as follows When you move the pointer to an area outside the image while the electronic zoom is active the screen automatically scrolls L Slide Show Del...

Page 24: ...Fluorescent Lamps The fluorescent lamps used with this unit are commercially available When a lamp has burned out purchase one by specifying the type name FPL13EX N Cleaning the Main Unit To remove dirt from the cabinet lightly wipe the surface with a soft cloth For adhered dirt wipe with a cloth soaked with neutral detergent diluted with water and wrung tight Then wipe the surface with a dry clot...

Page 25: ... not go on No picture is obtained The picture is not clear The picture is not fully displayed Pale or muddy colors Measures Check that the power cable is not disconnected from the AC outlet or the AC power input receptacle of the unit p 17 Check that the cables are firmly connected pp 13 14 Check that the cable is firmly connected to the appropriate receptacle of the equipment to be used in combin...

Page 26: ...0 020 Hz XGA H 48 363 kHz V 60 004 Hz NTSC H 15 734 kHz V 59 94 Hz PAL H 15 625 kHz V 50 Hz PC card Applicable cards PCMCIA ATA Type II flash card Recording format Conforms to JPEG BMP General Dimensions 693 w 510 d 640 h mm 27 w 20 d 25 h inches in use 435 w 510 d 144 h mm 17 w 20 d 5 6 h inches in storage Weight Approx 10 0 kg 22 05 lbs main unit Power requirements 100 240 V AC 50 60 Hz Power co...

Reviews: