PGXG-61B / PGWX-61B / PGWU-61B
User manual
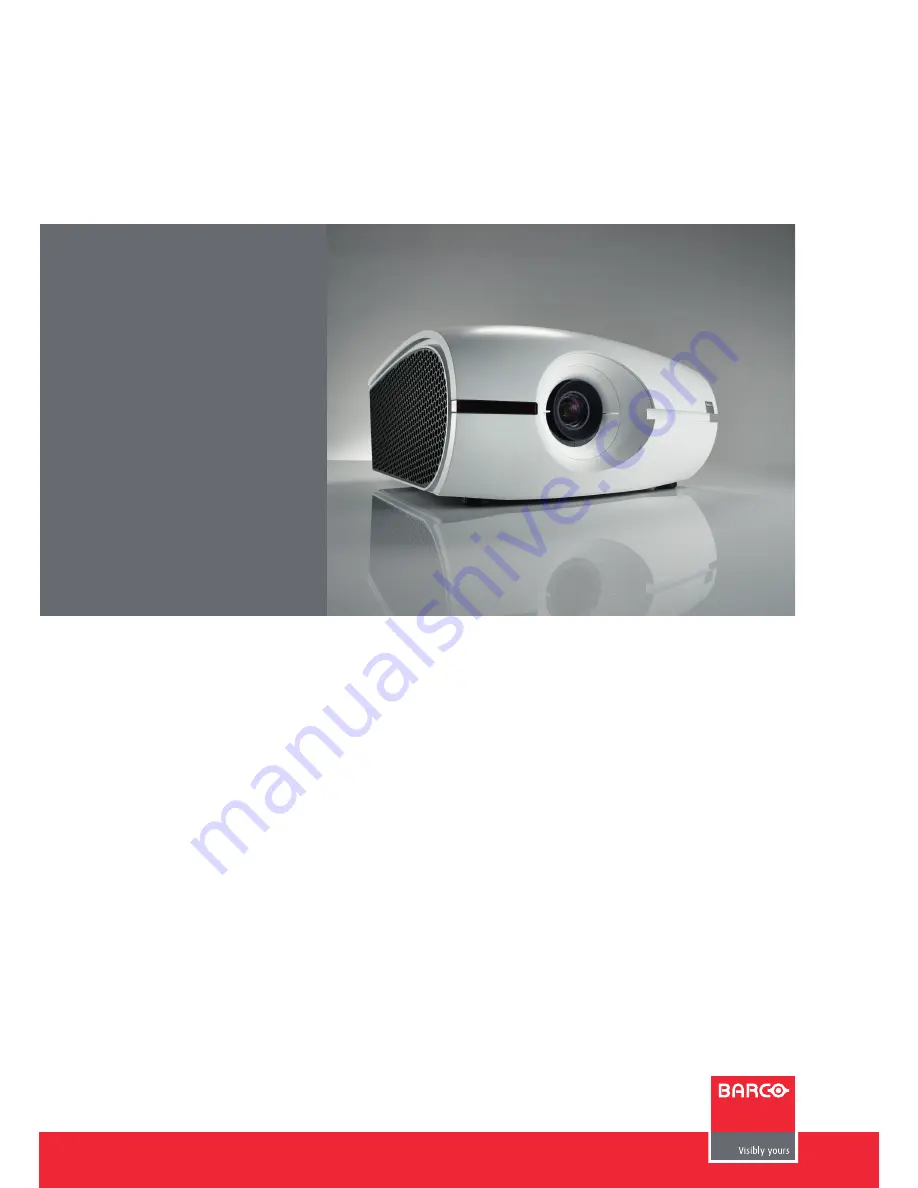
Page 1: ...PGXG 61B PGWX 61B PGWU 61B User manual...
Page 2: ...Doc Revision 01 Barco nv Projection Division Noordlaan 5 B 8520 Kuurne Phone 32 56 36 89 70 Fax 32 56 36 88 24 Support www barco com esupport Visit us at the web www barco com...
Page 3: ...s a guarantee relating to perfect manufacturing as part of the legally stipulated terms of guarantee On receipt the purchaser must immediately inspect all delivered goods for damage incurred during tr...
Page 4: ......
Page 5: ...Off the Projector 22 3 5 Adjusting the Projected Image 23 3 6 Ceiling Mount Installation 25 4 USER CONTROLS 26 4 1 On Screen Display Menus 26 4 1 1 Using the OSD Lite Menus 26 4 1 2 Using the Advanced...
Page 6: ...arnings on the projector and in the documentation manuals should be adhered to y y All instructions for operating and use of this equipment must be followed precisely y y All local installation codes...
Page 7: ...closure Owners record The part number and serial number are printed on a label which is stuck on the respective part Record these num bers in the spaces provided below Refer to them whenever you call...
Page 8: ...d at the projector side In case the power input at the projector side is not accessible e g ceiling mount the socket outlet supplying the projector shall be installed nearby the projector and be easil...
Page 9: ...jector has been designed for use with a specific lamp house type See installation instructions for its y y correct type The air filters of the projector must be cleaned or replaced on regular base a c...
Page 10: ...llowing y y conditions When the power cord or plug is damaged or frayed If liquid has been spilled into the equipment If the product has been exposed to rain or water If the product does not operate n...
Page 11: ...on if battery is incorrectly installed y y Replace only with the same or equivalent type recommended by the manufacturer AAA LR03 1 5V y y For disposal of used batteries always consult federal state l...
Page 12: ...cs and imaging electronic surfaces degrading performance then it is highly advisable and desirable to have this contamination removed prior to it reaching the projectors clean air supply Devices or st...
Page 13: ...f the projector The projector weights about 17 0 5 kg without lens Be sure that the pedestal or ceiling mount on which the projector has to be installed is capable of handling five 5 times the complet...
Page 14: ...rview 2 1 3 4 6 5 2 3 1 Main Unit Component Location Note The Projection Lens is optional item not a standard accessary in the package 1 Projection Lens 2 Lamp Cover 3 Tilt Adjustment Feet 4 Input Out...
Page 15: ...tion 5 2 6 7 4 3 1 8 9 1 Networking Connector RJ45 2 DVI D Input ConnectorVideo Input Connector 3 BNC Input Connector YPbPr RGBHV 4 12V Relay Connector 5 Video Input Connector 6 HDMI Connector 7 VGA C...
Page 16: ...e Action Start the projector Press On off 1 Turn off the projector Press On off 1 1 Show main menu on screen Press Home 2 Move through menu Press Arrow keys 6 4 5 7 Select button Press OK 3 Select and...
Page 17: ...to remove the batteries to prevent y y leakage which could damage the remote control The liquid contents in the batteries is harmful to the skin do not touch the leakage with your bare y y hands dire...
Page 18: ...l of lens is upward and then push the lens into the position 6 4 Rotate the lens clockwise to lock the lens while pull the bar 7 3 to release the lock 5 Put the lens ring cover back to its place Push...
Page 19: ...the cover 2 2 To install the rear cover reverse the previous steps 3 1 2 Projection Lens P N R9832755 R9832753 R9832754 R9832756 Lens Type Wide Zoom Standard XGA WXGA Standard WUXGA Long Zoom Throw Ra...
Page 20: ...B 2014 02 12 3 Installation 1 3 2 4 5 6 12V Relay Output Network Port 7 1 Power Cord 2 12V DC Jack 3 RS232 Cable 4 VGA in Cable 5 HDMI Cable 6 Network Cable 7 VGA out Cable 3 3 2 Connecting to a Compu...
Page 21: ...12 3 Installation 3 3 3 Connecting to Video Sources Wiring Diagram 3 Video Output 1 2 DVD Player Set top Box HDTV Receiver 5 6 12V Relay Output 4 1 Power Cord 2 12V DC Jack 3 BNC Cable 4 DVI D Cable...
Page 22: ...10 seconds Turn on your source Select an input source by the remote control 3 HDMI VGA BNC DVI or Video The projector detects the source you selected and displays the image Power Switch Power button 3...
Page 23: ...the projector to the desired distance from the screen The distance from the lens of the projector to the screen the zoom setting and the video format determine the size of the projected image The ima...
Page 24: ...24 PGXG 61B PGWX 61B PGWU 61B 2014 02 12 3 Installation 100 100 100 100 00 28 Lens Center Vertical Image Offset 100 Horizontal Image Offset 28 Lens Center 28 1 110 10 10 1 100 100 28...
Page 25: ...to attach a mount to the projector meet the following specifications Screw type M6 10 Mounting dimension 3 6 Ceiling Mount Installation 160 00 95 00 241 20 216 20 155 11 184 79 Mounting Holes Note Da...
Page 26: ...bottom right corner To move through the OSD Lite Press Arrow keys 6 4 5 7 button will turn red when the function is available Go to desired function Press OK 3 the menu of the desired func tion will a...
Page 27: ...ur image 3 best condition to view computer images de fault image 3 3 best option to view movies 3 3 100 bright 3 Adjust aspect ratio 3 6 4 5 7 go to aspect ratio desired default setting NATIVE 3 Adjus...
Page 28: ...menu and enter to a de 2 sired item Use the UP DOWN buttons to select the desired item in the submenu and adjust the settings with the 3 LEFT RIGHT buttons or press ENTER to go to another submenu Sel...
Page 29: ...l Select what image displayed when no signal Logo Default value Search screen is the factory logo picture y y Blue Search screen is solid blue RGB 0 0 255 y y Black Search screen is solid black RGB 0...
Page 30: ...ess the to increase the contrast y y Saturation Adjust the color saturation of the image Note Saturation function supported sources Composite Sync on Green Press the to decrease the amount of saturati...
Page 31: ...is kept and fit to screen This is height or width whatever comes y y first Auto Automatically selects the appropriate display format y y Timings Adjust the horizontal position phase or vertical posit...
Page 32: ...PIP is Off HDMI y y DVI y y VGA y y 5BNC y y Video y y PIP Position Set the position of the PIP window Top right Default value for this function y y Top left y y Bottom left y y Bottom right y y PIP S...
Page 33: ...l be at 280W y y Power Enable lamp power adjust y y High Altitude When On is selected the fans will spin faster This feature is useful in high altitude areas where the air is thin Off Default value y...
Page 34: ...y y Left Right Lens shift left right y y UP Down Lens shift up down y y Enter to zoom focus Each time enter is pressed it will go from zoom focus to shift to zoom focus y y Keystone Adjust vertical k...
Page 35: ...crease the custom color space y y Press the to increase the custom color space y y Reset to default Resets all color points to default value y y Enable Off Default value y y On CCN enable y y Auto Tes...
Page 36: ...value is Off key in the IP address manually and press APPLY y y Apply y y The DHCP function must be set to On and press Apply to get the IP address from DHCP server automati cally It takes several sec...
Page 37: ...ution of the current source Pixel Clock Display the pixel clock of the current input signal Vert Refresh Display the current vertical refresh rate of the current source Hor Refresh Display the current...
Page 38: ...r Controls Projector Runtime Display the projector s total operating hours Factory Reset Set all persistent settings back to default values This function will not apply to items including No Signal Ne...
Page 39: ...Models box Verify that the resolution setting of the monitor display is lower than or equal to WUXGA 1920 1200 If you are using a Notebook First follow the steps above to adjust resolution of the comp...
Page 40: ...D If you play 4 3 format DVD titles please change the format to 4 3 in the projector OSD If the image is still stretched you will also need to adjust the aspect ratio by referring to the following Ple...
Page 41: ...ilter Error When you see the warning message it means the filter is failed to operate Overheating When you see the warning message it means the tem perature is over operational temperature 5 3 Warning...
Page 42: ...the previous steps 7 Turn on the projector and use Lamp Hour Reset after the lamp module is replaced 8 6 1 Replacing the Lamp Procedure 1 2 3 Warning This procedure may only be performed by qualified...
Page 43: ...nd remove the cover 4 Lift up the air filter slowly and carefully 5 2 Clean or replace the air filter 6 3 To install the air filter reverse the previous steps 7 6 2 Replacing the Air Filter Procedure...
Page 44: ...e the lens clockwise to lock the lens while pull the bar 7 3 to release the lock 5 Put the lens ring cover back to its place Push rubber fingers over lens edge 8 6 To replace the lens module reverse t...
Page 45: ...1 Brightness uniformity ANSI 80 Aspect Ratio 4 3 Lens type G LENS Lens range 1 26 1 58 1 1 25X 0 99 1 26 1 1 28X 1 58 3 0 1 1 9X Horizontal Lens Shift Range 28 28 Vertical Lens Shift Range 100 100 Co...
Page 46: ...0 Hz Power consumption 585W 110V 540W 220V Power consumption in ECO mode 455W 100VAC 435W 240VAC Power consumption in standby mode 0 5W Noise level Bright mode typical at 25 C 77 F Typical 40 2 dBA No...
Page 47: ...85 Aspect Ratio 16 10 Lens type G LENS Lens range 1 28 1 60 1 1 25X 1 00 1 28 1 1 28X 1 61 3 07 1 1 9X Horizontal Lens Shift Range 28 28 Vertical Lens Shift Range 100 100 Color correction CCN for 1 ch...
Page 48: ...CO mode 455W 100VAC 435W 240VAC Power consumption in standby mode 0 5W Noise level Bright mode typical at 25 C 77 F Typical 40 2 dBA Noise level ECO mode typical at 25 C 77 F Typical 35 2 dBA Operatio...
Page 49: ...y ANSI 85 Aspect Ratio 16 10 Lens type G LENS Lens range 1 22 1 53 1 1 25X 0 95 1 22 1 1 28X 1 52 2 92 1 1 9X Horizontal Lens Shift Range 28 28 Vertical Lens Shift Range 100 100 Color correction CCN f...
Page 50: ...CO mode 455W 100VAC 435W 240VAC Power consumption in standby mode 0 5W Noise level Bright mode typical at 25 C 77 F Typical 40 2 dBA Noise level ECO mode typical at 25 C 77 F Typical 35 2 dBA Operatio...
Page 51: ...e sure to keep at least 10 cm gap between the ceiling and the bottom of the projector y y Avoid installing the projector near a heat source y y 364 00 112 68 293 00 160 00 95 00 241 20 216 20 155 11 1...
Page 52: ...A 800 600 35 2 56 3 56Hz 800 600 37 9 60 3 60Hz 800 600 46 9 75 800 600 48 1 72 2 72Hz 800 600 53 7 85 1 85Hz XGA 1024 768 48 4 60 1024 768 56 5 70 1 70Hz 1024 768 60 75 1024 768 68 7 85 HD720 1280 72...
Page 53: ...20 1080p 30 1920 1080p 50 1920 1080p 60 1280 720 45 60 1280 720p 50 1280 720p 60 SDTV 720 576 31 3 50 720 576i 15 625 50 720 576p 50 720 480 31 5 60 720 480i 15 734 60 720 480p 31 5 60 3D Timing 120 H...
Page 54: ...your municipal waste disposal service For details please visit the Barco website at http www barco com en AboutBarco weee Disposal of batteries in the product This product contains batteries covered...
Page 55: ...CBs and their respective population of discrete components ICs and connectors PCB IC Indicates the hazardous and toxic substance content of the part is lower than the threshold defined by the SJ T1136...
Page 56: ...Production Address No 20 3rd Ave Kunshan Free Trade Zone Jiangsu P R China...