K5902114 /03
Nio 3MP LED Display
11
Image 2-3
If, after installing the display of the system, you change the panel orientation while an image is on
the screen, the result depends on the graphic board and the resolution of the image. In some cases
the image will be rotated automatically, in other cases it will not be rotated (e.g., when pixels would
be lost after rotation). If necessary, change the image resolution in the display control panel and
restart the system after changing the orientation.
2.2 Cable connections
To connect the cables
1.
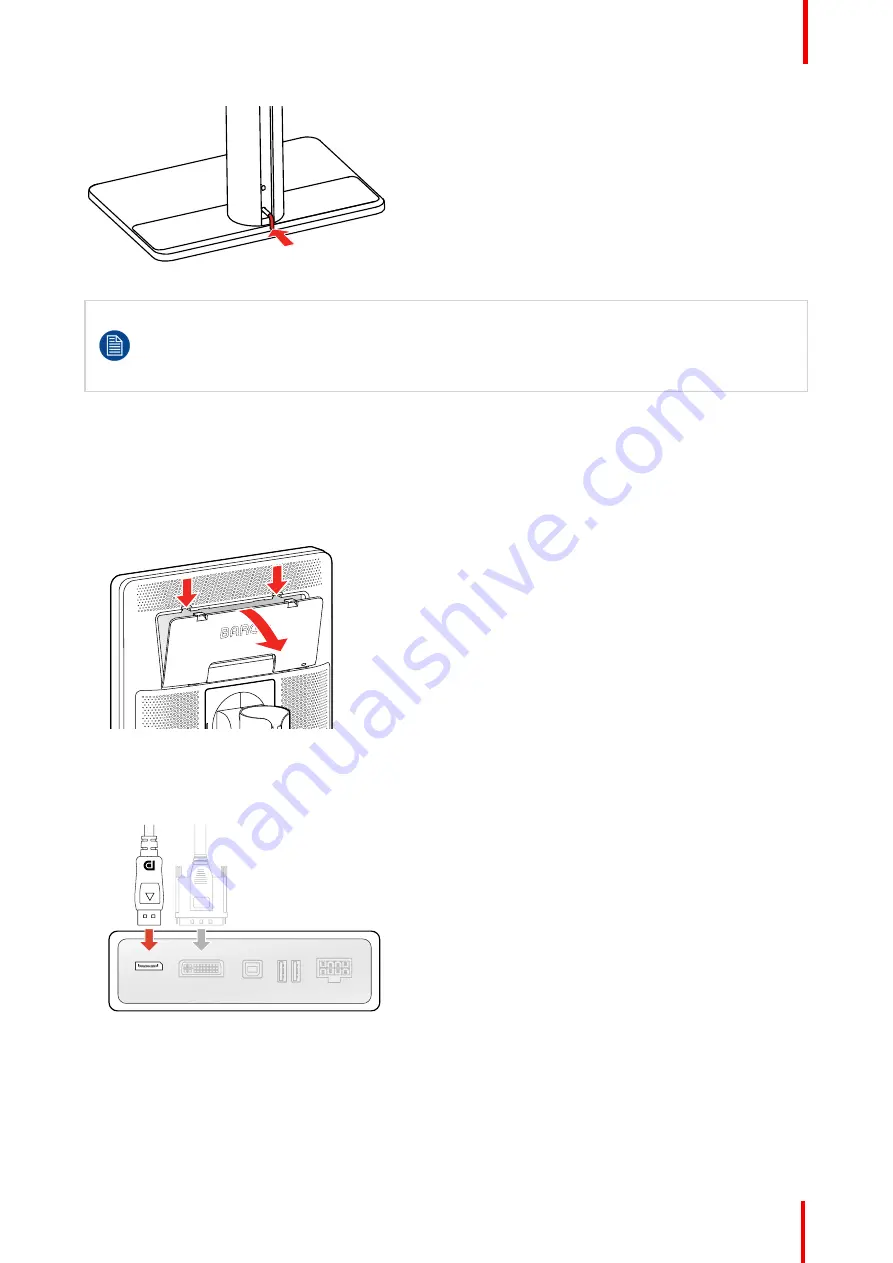
Open the connector compartment. Do this by gently pushing the two lips on top of the cover, after which it
can be removed from the display.
Image 2-4
2.
Connect a video source from your workstation to the corresponding video inputs on the display.
Caution:
Connect only one of the two video inputs. Connecting both inputs simultaneously will result in
driver errors.
Image 2-5
3.
Connect the workstation's USB host to the USB upstream connector on the display if you want to make
use of QAWeb or any of the display USB downstream connectors (e.g. to connect a keyboard, mouse,
touch pad or other peripheral).
Summary of Contents for Nio 3MP
Page 1: ...ENABLING BRIGHT OUTCOMES MDNC 3421 User Guide Nio 3MP LED Display...
Page 5: ...5 K5902114 03 Nio 3MP LED Display Welcome 1...
Page 16: ...K5902114 03 Nio 3MP LED Display 16 Installation...
Page 17: ...17 K5902114 03 Nio 3MP LED Display Daily operation 3...
Page 21: ...21 K5902114 03 Nio 3MP LED Display Advanced operation 4...
Page 32: ...K5902114 03 Nio 3MP LED Display 32 Advanced operation...
Page 33: ...33 K5902114 03 Nio 3MP LED Display Repacking your display 5...
Page 36: ...K5902114 03 Nio 3MP LED Display 36 Repacking your display...
Page 37: ...37 K5902114 03 Nio 3MP LED Display Cleaning your display 6...
Page 39: ...39 K5902114 03 Nio 3MP LED Display Important information 7...
Page 53: ...K5902114 03 Nio 3MP LED Display 53 Important information...


