


4. Getting started
A
B
C
D
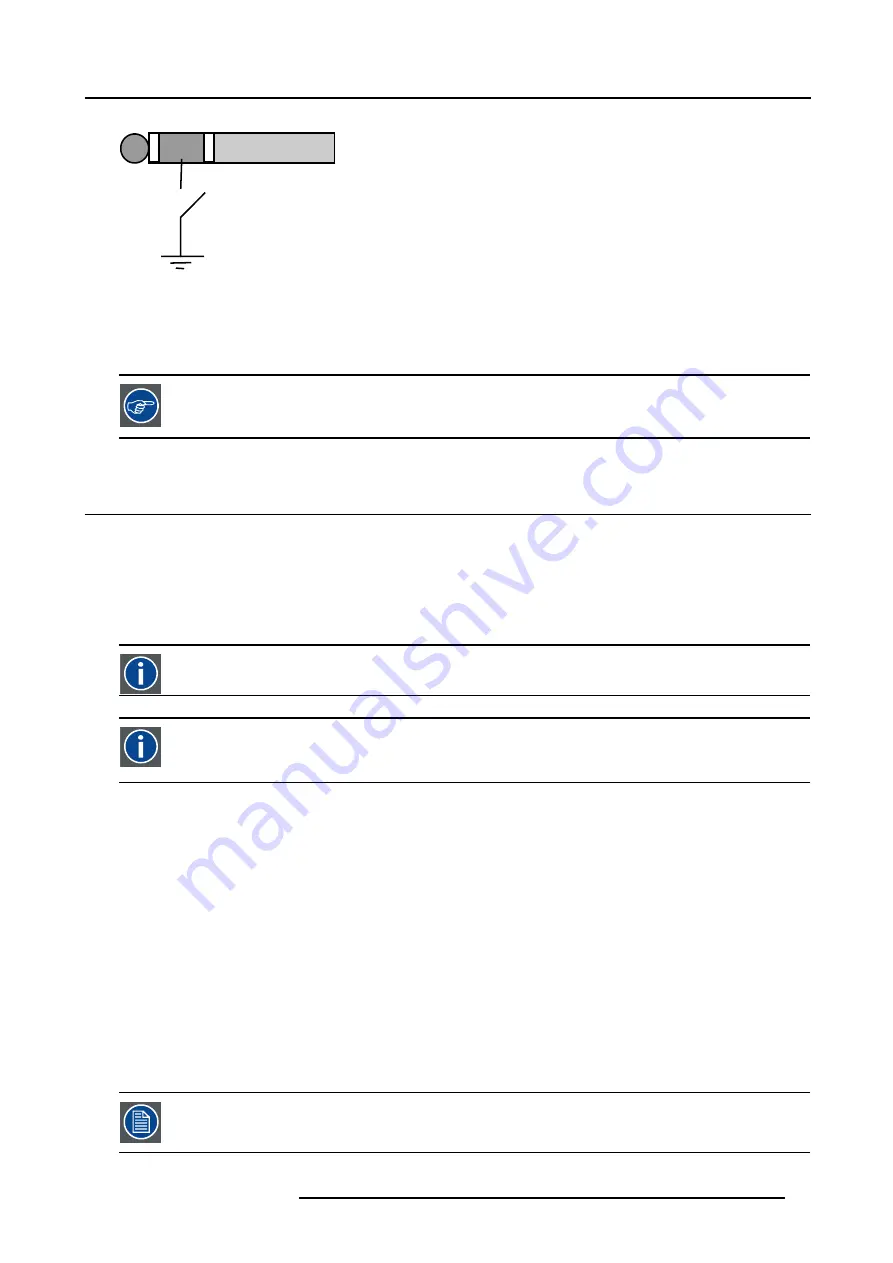
Image 4-13
Stereo jack pin configuration
A
tip: Left channel
B
ring: right channel
C screen: common (GND)
D external switch
The Remote connection uses a standard two wire cable terminated on each end with a 3.5 mm male
(mono/stereo) phone jack.
This cable is not delivered but is available in most electronical or audio shops.
4.7
Projector address
Overview
•
•
Displaying and Programming addresses into the RCU
4.7.1
Address setting
Projector address
Address installed in the projector to be individually controlled.
Common address
Default address. Projector will always execute the command coming from a RCU programmed with that common
address.
Why a projector address ?
As more than one projector can be installed in a room, the separate projector should be separately addressable with an RCU or
computer. Therefor each projector has its own address.
Set up an individual Projector Address.
The set up of a projector address can be done via the software.
Projector controlling.
Every projector requires an individual address between 0 and 255 which can be set in the
Installation
menu.
When the address is set, the projector can be controlled by :
•
RCU for addresses between 0 and 9.
•
computer, e.g. IBM PC (or compatible), Apple MAC, etc. for addresses between 0 and 255.
A projector will respond to a RCU set to the common address ’0’ regardless of what address is set in the projector itself (common
address of projector should also be “0” ).
The RCU is default programmed with address 0 , ’common address’.
If it is necessary to control a specific projector, then enter the projector address into the RCU (only when that
address is between 0 and 9). The projector with the corresponding address will listen to that specific RCU.
R5976694 IQ PRO R500 01/02/2007
37
Summary of Contents for iQ Pro R500 R9010221
Page 1: ...iQ Pro R500 Owner Manual R9010221 R5976694 04 01 02 2007...
Page 6: ......
Page 10: ...Table of contents 4 R5976694 IQ PRO R500 01 02 2007...
Page 17: ...2 Installation Guidelines 1 2 3 4 Image 2 1 R5976694 IQ PRO R500 01 02 2007 11...
Page 24: ...2 Installation Guidelines 18 R5976694 IQ PRO R500 01 02 2007...
Page 34: ...3 Connections 28 R5976694 IQ PRO R500 01 02 2007...
Page 48: ...4 Getting started 42 R5976694 IQ PRO R500 01 02 2007...
Page 54: ...5 Source Selection Image 5 9 48 R5976694 IQ PRO R500 01 02 2007...
Page 60: ...6 General Menu Image 6 10 54 R5976694 IQ PRO R500 01 02 2007...
Page 80: ...7 Image Menu Image 7 38 74 R5976694 IQ PRO R500 01 02 2007...
Page 100: ...10 Lamp Menu 94 R5976694 IQ PRO R500 01 02 2007...
Page 110: ...11 Image files menu Image 11 20 104 R5976694 IQ PRO R500 01 02 2007...
Page 120: ...12 Display setup 114 R5976694 IQ PRO R500 01 02 2007...
Page 188: ...19 Troubleshooting 182 R5976694 IQ PRO R500 01 02 2007...


