R5905854 Rev. 00
IMPORTANT
• Remove the lens before transporting
the projector.
• Remove lamp house before
transporting the projector.
• To save lamp lifetime, first switch the
projector to standby mode and wait
until the after cooling is finished to
switch off the main power.
• Ensure that the projector is operating
with clean filters.
• Do not block the ventilation in and
outlets.
• Laser light can cause severe damage
to the DMD. This damage is not
covered by warranty.
Printed on FSC certified paper (www.fsc.org)
HDQ 4K35
Quick start guide
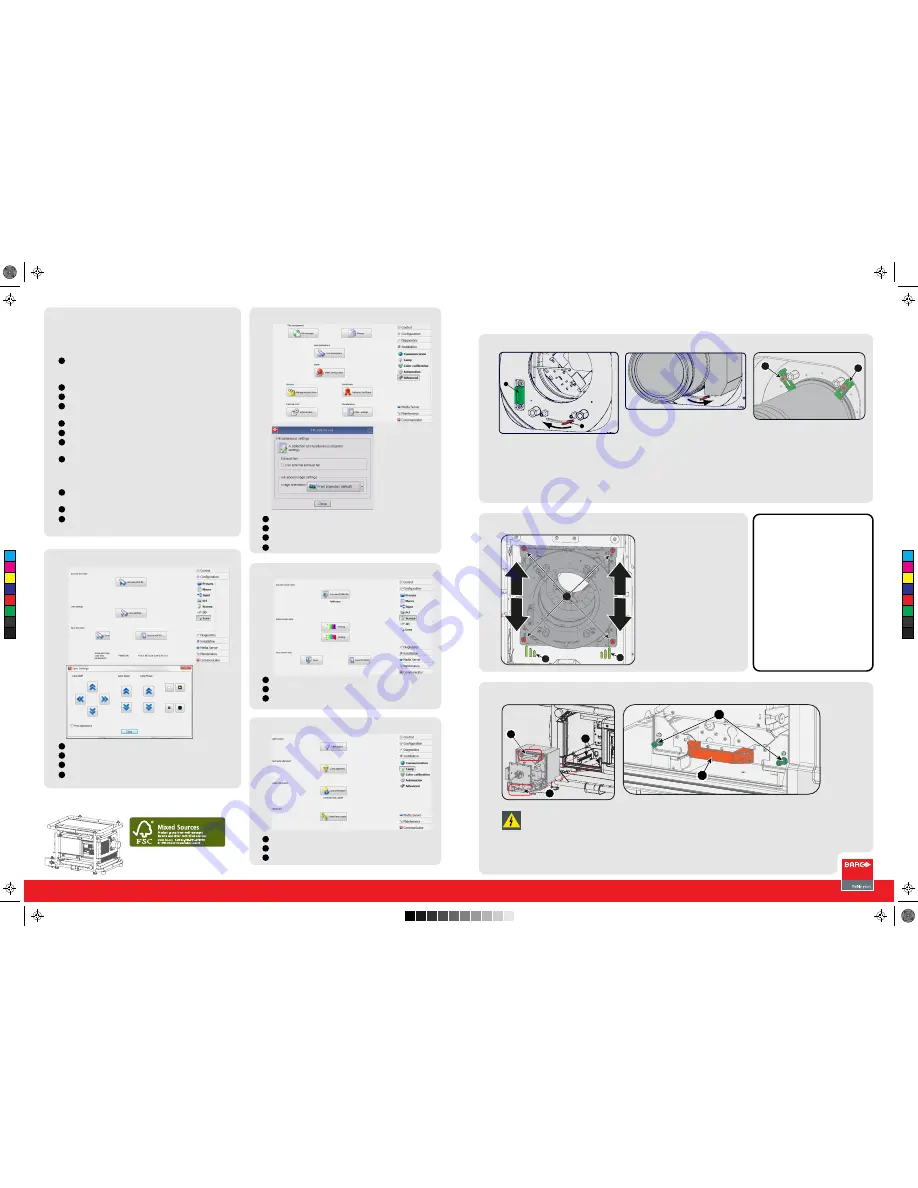
Mounting the lens
Additional vertical shift
Mounting the lamp house
A
B
1
1
• Remove the plastic cap in the lens
opening.
• Place lens holder in unlock position.
Handle A towards socket B.
• Gently insert the lens in such a way that
the lens connector matches the socket B.
• Insert the lens until the connector seats
into the socket.
• Secure the lens in the lens holder. Move
handle A into the lock position (away
from socket B).
• Check if lens touches the front plate
of the lens holder.
• Check if the lens is really secured by
trying to pull the lens out of the lens
holder.
• Place the 2 lens fixation brackets (1)
into position and secure with a nut on
each bracket.
1
2
2
• To extend lens shift in a specific
direction.
• Loosen the 4 screws (1) until
central part of lens holder
becomes loose.
• Shift the central part up or
down.
• Lowermost, middle and
uppermost shift positions are
marked on the lens holder (2).
• Tighten the 4 screws.
1
1
2
3
1
Before installing the Lamp
House, disconnect the power to
the projector mains terminals
and unplug the power cord at
the UPS INLET for removal of all
power from the projector.
• Remove housing on lamp house side.
• Grip the lamp house by both handles (1)
• Place the lamp house on the base plate
inside the lamp compartment.
• Line up the foot of the lamp house with the
slots on the base (2).
• Push the lamp house fully in.
• Secure both retaining screws.
• Mount the housing
Quick Setup and operation
The following summarizes HDQ setup and operation. For
errorfree installation always refer to the “User and Installation
manual”.
Connect power. Ensure that the power is properly
connected to the power input sockets.
Y-
Δ
(wye-delta) configuration possible.
Connect available sources to the appropriate input terminal.
Switching on. Turn the mains switch to on.
Start up sequence starts. Communicator on touch panel
starts up.
Press standby key on te local keypad.
Image of the latest selected input appears.
Adjust the lens settings via the local keypad keys or via
Communicator.
Orientation of the unit is set as standard in table front
projection mode. Change the projector set up with
Communicator (Installation - Advanced settings - Misc.
settings.
If geometrical distortion occurs this can be corrected with
Communicator (Configurator - Screen).
Lamp management in Communicator (Installation - Lamp)
Switching off the unit can be done by pressing the STBY
button for 3 sec. An aftercool up to 300 sec will start.
1
2
3
4
5
6
7
8
9
10
11
Communicator Touch Panel: Lens settings
To open the lens settings, click Configuration.
Select Lens.
Select Lens settings.
Adjust lens zoom, lens focus and lens shift.
1
2
3
4
Communicator Touch Panel: Orientation
To open the Image orientation settings, click Installation.
Select Advanced.
Select Misc. settings.
Select the correct Image orientation.
1
2
3
4
Communicator Touch Panel: Distortion
Communicator Touch Panel: Lamp manage
To adjust the distortion, click Configuration.
Select Screen.
Select Resizing or masking.
1
2
3
To manage the lamp, click Installation.
Select Lamp.
Select the desired lamp function.
1
2
3
C
M
Y
CM
MY
CY
CMY
K
R5905854_00_userguide.pdf 1 1/09/2014 11:04:29


