


6. Getting started
6. GETTING STARTED
Overview
•
•
•
6.1
Starting up the projector
How to start up the projector ?
1. Press the
Standby
button on the RCU or on the local keypad. See
Setup
for the detailed projector startup sequence.
6.2
Selecting a source
How to select a source ?
1. Press the digit, corresponding to the desired source, on the remote control.
AUT
AUTO IMAGE
O IMAGE
PC
PC
RGB
RGB
VIDEO
VIDEO
Fire W
Fire Wire
ire
DVI
DVI
IQ-PC
IQ-PC
SDI
SDI
S-VIDEO
S-VIDEO
PHASE
PHASE
TINT
TINT
COLOR
COLOR
BRIGHTN
BRIGHTN
CONTR
CONTR
ZOOM
ZOOM
DIGI
DIGI
9
0
7
8
5
6
3
4
1
2
Image 6-1
6.3
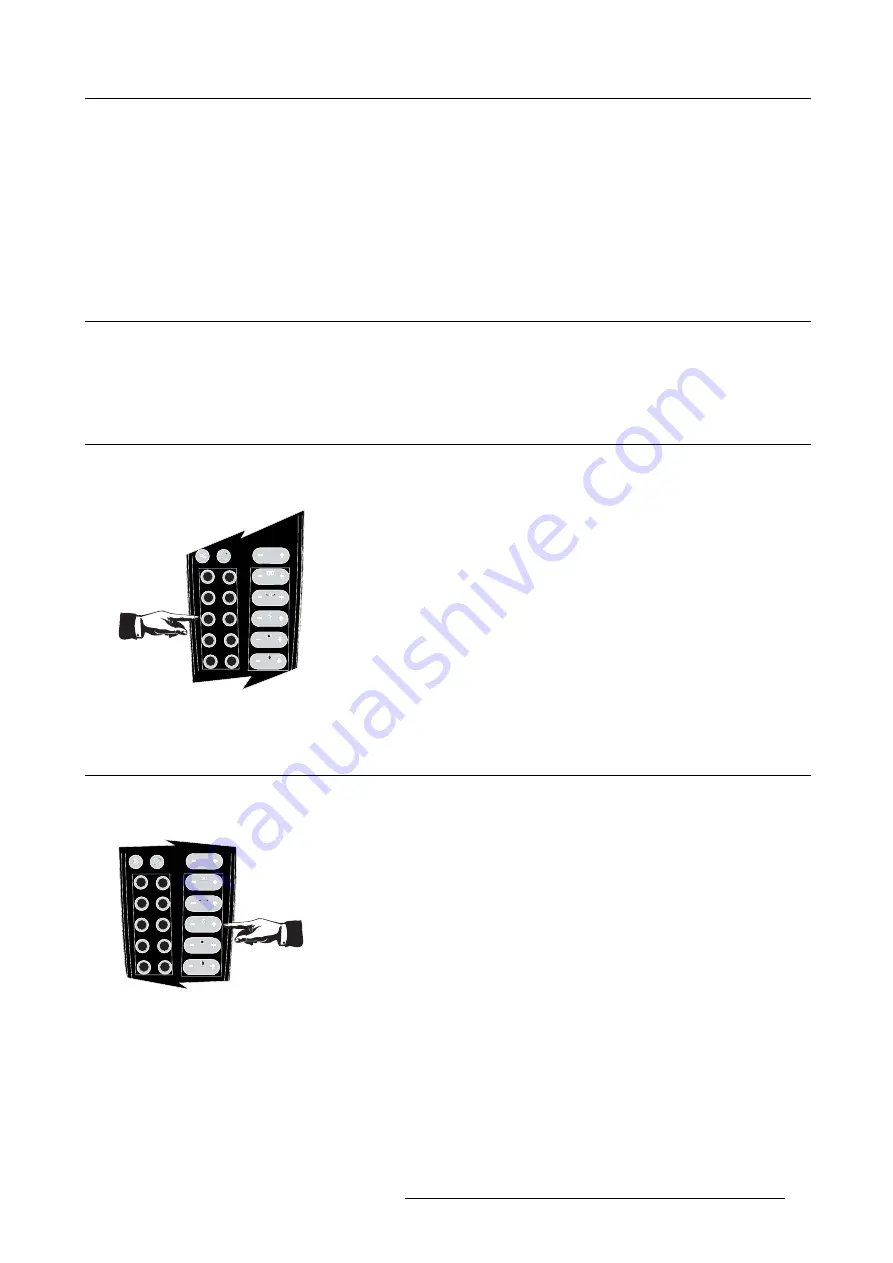
Adjusting the image
How to adjust the image ?
1. Use the Image setting buttons on the RCU
AUT
AUTO IMAGE
O IMAGE
PC
PC
RGB
RGB
VIDEO
VIDEO
Fire W
Fire Wire
ire
DVI
DVI
IQ-PC
IQ-PC
SDI
SDI
S-VIDEO
S-VIDEO
PHASE
PHASE
TINT
TINT
COLOR
COLOR
BRIGHTN
BRIGHTN
CONTR
CONTR
ZOOM
ZOOM
DIGI
DIGI
9
0
7
8
5
6
3
4
1
2
Image 6-2
R59770288 GALAXY NW-12, GALAXY NW-7 20/06/2013
55
Summary of Contents for Galaxy NW-7
Page 1: ...Galaxy NW 12 Galaxy NW 7 User guide R9040410 R9040405 R59770288 10 20 06 2013...
Page 8: ...Table of contents 4 R59770288 GALAXY NW 12 GALAXY NW 7 20 06 2013...
Page 10: ...1 Introduction 6 R59770288 GALAXY NW 12 GALAXY NW 7 20 06 2013...
Page 60: ...6 Getting started 56 R59770288 GALAXY NW 12 GALAXY NW 7 20 06 2013...
Page 103: ...7 Advanced Image 7 82 Image 7 83 Image 7 84 R59770288 GALAXY NW 12 GALAXY NW 7 20 06 2013 99...
Page 192: ...7 Advanced 188 R59770288 GALAXY NW 12 GALAXY NW 7 20 06 2013...


