8. GUI – Installation
Image 8-5
2. In the Warp menu, click
Warp
to toggle between
On
and
Off
.
Image 8-6
Image 8-7
8.3.3
Warping – Screen Size
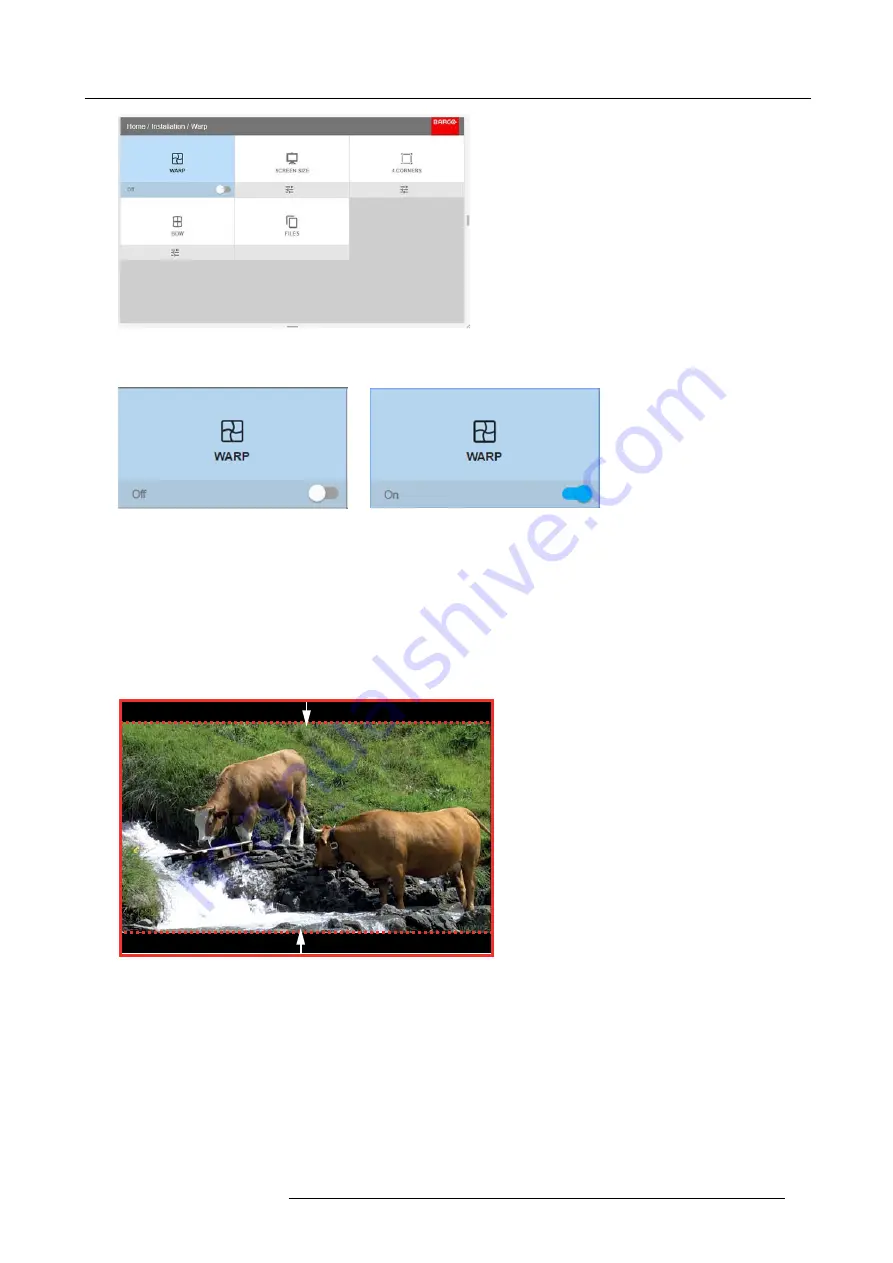
About (Warp) Screen Size adjustment
If the used source aspect ratio is different than the projector aspect ratio, e.g. source is 16:9 and projector is 16:10, then black bars
will be projected. In the example case a black bar on top and bottom of the image will be projected. The warp area contains not
only the image information but also the black bars. If we want to position e.g. the active left top corner exactly on the screen using
4 corner warp, then it is very hard to do that as we are moving the black left top corner and we do not have control over the exact
position of image left top corner. By moving the outline of the warp screen size to the active image information, the corner points of
the warp area are now exactly on the corner points of the active image information and makes warping much easier.
Image 8-8
Warp outline example
How to adjust the image?
1. In the main menu, select
Installation
→
Warp
→
Screen Size
.
R5906852 F80 SERIES 21/09/2017
45
Summary of Contents for F80-Q7
Page 1: ...F80 series User Manual R5906852 00 21 09 2017...
Page 4: ......
Page 16: ...1 Safety 12 R5906852 F80 SERIES 21 09 2017...
Page 19: ...2 Remote Control Unit 1 Image 2 5 R5906852 F80 SERIES 21 09 2017 15...
Page 20: ...2 Remote Control Unit 16 R5906852 F80 SERIES 21 09 2017...
Page 26: ...3 Input Communication 22 R5906852 F80 SERIES 21 09 2017...
Page 36: ...4 Getting Started 32 R5906852 F80 SERIES 21 09 2017...
Page 40: ...5 Graphic User Interface GUI 36 R5906852 F80 SERIES 21 09 2017...
Page 74: ...9 GUI System Settings 70 R5906852 F80 SERIES 21 09 2017...
Page 76: ...10 Status menu 72 R5906852 F80 SERIES 21 09 2017...
Page 78: ...11 Maintenance 74 R5906852 F80 SERIES 21 09 2017...


