R5915525 /00
Fx400 Series
166
3.
If you selected
Profile
, select the desired profile you want to activate.
4.
Select the desired
Time
the command will need to activate (in hours and minutes of the day).
Note:
Make sure the projector time is correctly configured. For more info, see
and
“Date and time setup - manually”, page 138
Tip:
If you click or tap on the hour and minute marker, a time slider will pop up. Use the hours and
minutes sliders to select the desired timeframe and confirm.
5.
Select the desired days of the week when this command will need to activate. Use the arrow keys to select
the desired days and confirm.
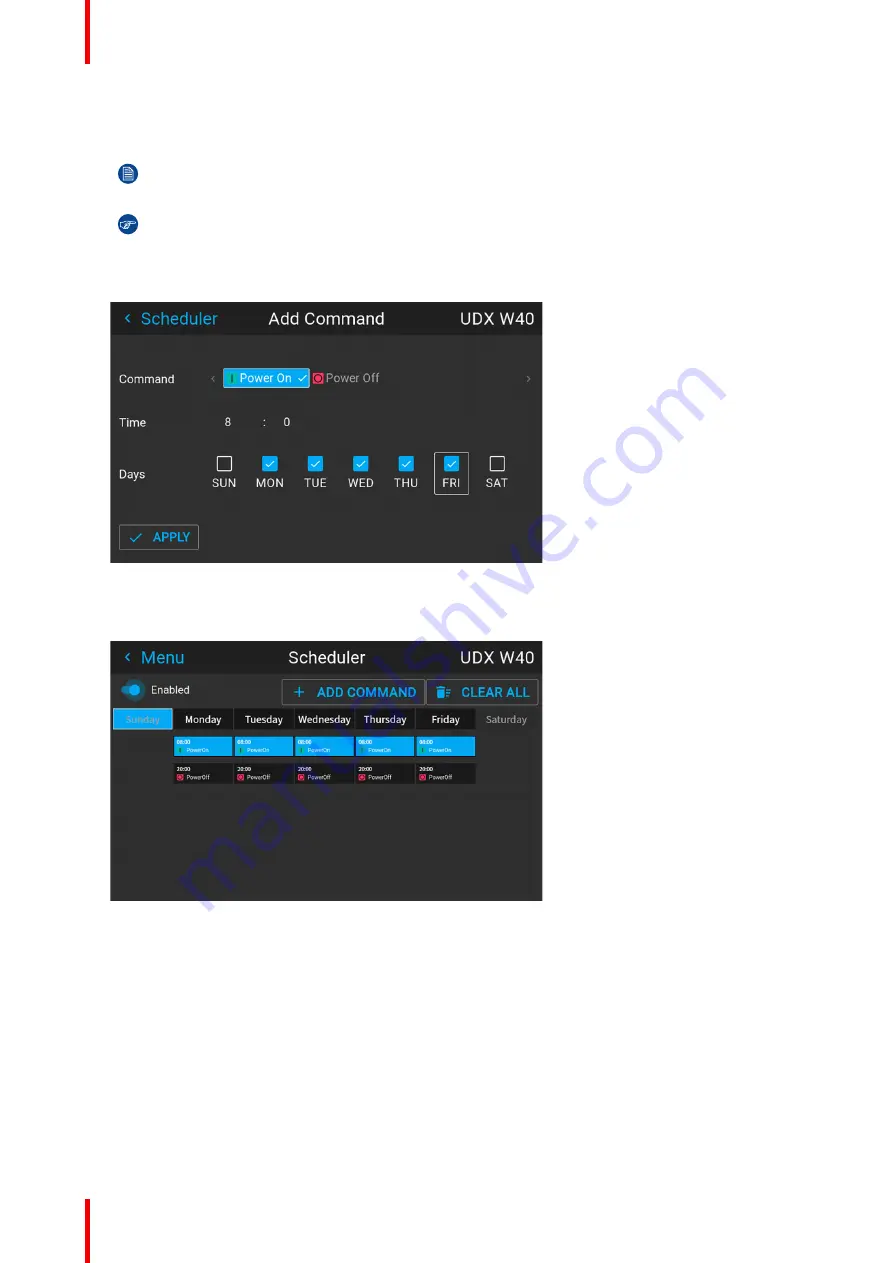
Image 13–6 Example of the Add Command menu with command, time and days of the week selected.
6.
Click
Apply
to add the new command to the scheduler.
The new command is added to the Scheduler.
Image 13–7 Example of the Scheduler menu, with Power On being added.
13.3 Edit or Delete a command
How to edit or delete a command
1.
In the Scheduler menu, select and confirm an existing command.
The Edit Command window will be prompted.
Summary of Contents for F400
Page 1: ...ENABLING BRIGHT OUTCOMES User guide Fx400 Series...
Page 2: ......
Page 10: ...R5915525 00 Fx400 Series 10...
Page 21: ...21 R5915525 00 Fx400 Series 1 6 Compliance Safety Information...
Page 22: ...R5915525 00 Fx400 Series 22 Safety Information...
Page 32: ...R5915525 00 Fx400 Series 32 Remote Control Unit...
Page 38: ...R5915525 00 Fx400 Series 38 Input Communication...
Page 62: ...R5915525 00 Fx400 Series 62 GUI Source...
Page 118: ...R5915525 00 Fx400 Series 118 GUI Installation...
Page 126: ...R5915525 00 Fx400 Series 126 GUI Projector profiles...
Page 158: ...R5915525 00 Fx400 Series 158 GUI Advanced settings...
Page 162: ...R5915525 00 Fx400 Series 162 GUI Status menu...
Page 186: ...R5915525 00 Fx400 Series 186 Advanced blend...
Page 210: ...R5915525 00 Fx400 Series 210 Video timing tables...
Page 218: ...R5915525 00 Fx400 Series 218 Index...
Page 219: ......


