R5905948 /12
Event Master Devices
404
Image 14-35
2.
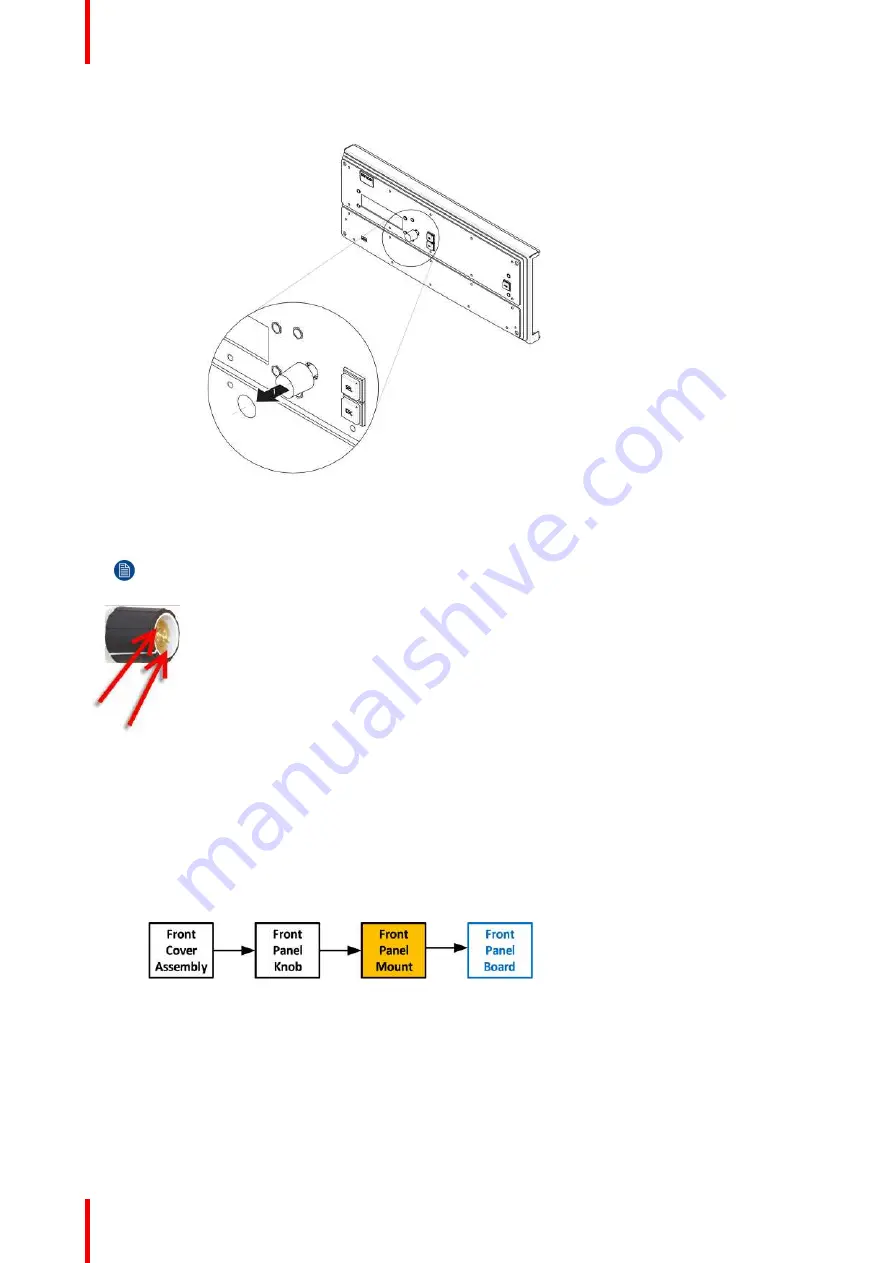
Use the knob removal tool provided by Barco to take out the knob. Align the notches on the tool with the
grooves in the knob as indicated below.
Note:
If the tool is not available use fine point needle nose pliers to squeeze at knob between the two
grooves while pulling it out.
Image 14-36
How to install the Front Panel Knob
To install the Front Panel Knob follow the same procedure in the reverse order.
14.13 Front Panel Mount
Flow chart
Image 14-37
Necessary tools
1 x Phillips Screwdriver #2
How to remove the Front Panel Mount
1.
Turn the Front Cover over and remove the four screws (4-40X.25) that secure the control panel mount to the
front panel.
Summary of Contents for Event Master E2 Series
Page 1: ...ENABLING BRIGHT OUTCOMES User s Guide Event Master Devices...
Page 12: ...R5905948 12 Event Master Devices 12...
Page 24: ...R5905948 12 Event Master Devices 24 Safety...
Page 52: ...R5905948 12 Event Master Devices 52 General...
Page 82: ...R5905948 12 Event Master Devices 82 Hardware orientation...
Page 102: ...R5905948 12 Event Master Devices 102 Front Panel Menu orientation...
Page 272: ...R5905948 12 Event Master Devices 272 Image 6 137 EM GUI orientation...
Page 304: ...R5905948 12 Event Master Devices 304 Updating firmware...
Page 326: ...R5905948 12 Event Master Devices 326 Image 9 28 General operation example...
Page 382: ...R5905948 12 Event Master Devices 382 Preventive maintenance actions...
Page 444: ...R5905948 12 Event Master Devices 444 E2 Maintenance...
Page 528: ...R5905948 12 Event Master Devices 528 EC 200 EC 210 Maintenance...
Page 569: ...569 R5905948 12 Event Master Devices Troubleshooting C...
Page 572: ...R5905948 12 Event Master Devices 572 Troubleshooting...


