background image


Baracoda RoadRunners Evolution – User Guide v1.6 

  - 8 - 

Data Capture 

for Workforce 

in Motion 

Installing / replacing batteries 

Installing / replacing batteries 

Installing / replacing batteries 

Installing / replacing batteries  


Only use Baracoda approved rechargeable batteries. The use of any other batteries may damage the scanner 
and void the warranty. Please remove the batteries when you are storing the scanner for more than 30 days. 

To insert batteries into RoadRunners Evolution:  

1.


Use a coin or your finger to unlock and remove the battery cover at the back of the 
RoadRunners  Evolution.  Turn  the  lock  underneath  the  scanner  to  a  horizontal 
position.  

2.


Insert the battery lid downwards. 

3.


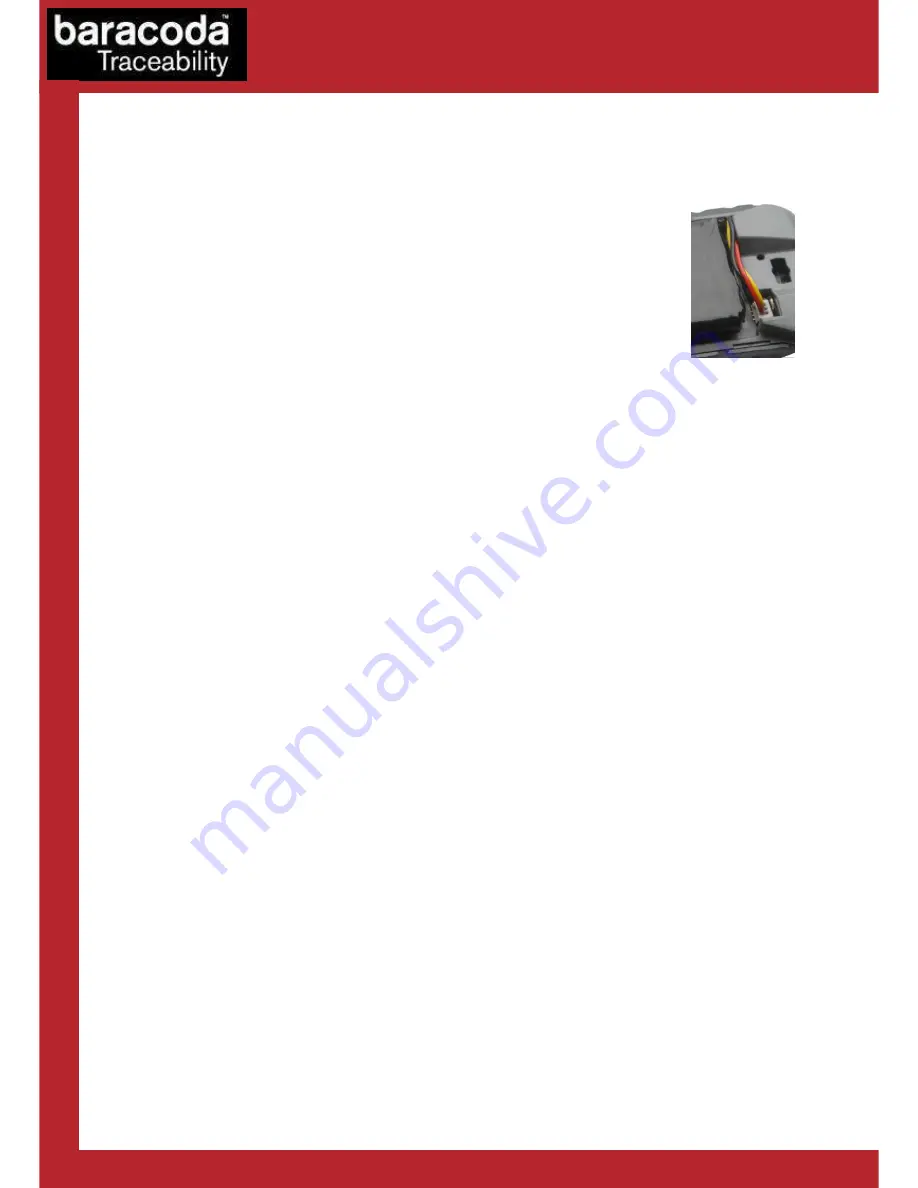
Plug the small battery cable into the battery connector (Zone A in Fig. 2).  

4.


Insert  the  Baracoda  Battery  in  its  location.    Pay  attention  also  to  well  position  the 
battery connector. 

5.


Slide the cover up and lock it into place. 


Caution

. Risk of explosion if battery is replaced by an incorrect type. Dispose of used batteries according to the 

instructions. 


Switching on the reader

Switching on the reader

Switching on the reader

Switching on the reader 


Remember to fully charge the battery before first use. 

In order to switch on the scanner, please press the trigger button. 

The  scanner  will  switch  off  after  some  period  of  inactivity.    The  default  time  period  is  ten  (10)  minutes  of 

scanner inactivity if the device is not connected via Bluetooth, and twenty (20) minutes of scanner inactivity if 

the device is connected via Bluetooth and if the user don’t press the trigger button. These default values can be 

modified by the end user. 


Fig. 2 

Summary of Contents for RoadRunners Evolution Laser

Page 1: ...Data Capture for Workforce in Motion RoadRunners Evolution User Guide Baracoda TM May 2009 ...

Page 2: ...ET YOUR SCANNER 9 SECURITY 9 SYMBOLOGY 9 DATA FORMAT 10 BARACODA HEADER 10 TIMESTAMP 10 GENERAL PREFIX SUFFIX 10 SYMBOLOGY PREFIX SUFFIX 10 BARCODE IDENTIFIER 11 BEEPS AND LEDS 11 POWER MANAGEMENT 11 LOW BATTERY 11 QUICK START UP GUIDE 12 HOW TO READ BARCODES 12 THE DIFFERENT USAGE MODES 14 THE DIFFERENT CONNECTION METHODS 15 THE DIFFERENT READING MODES 16 THE DIFFERENT WAYS TO CONNECT ROADRUNNERS...

Page 3: ...ed below Document Date Description 1 0 17 June 08 Initial release 1 1 25 Aug 08 Add The different connection method section 1 2 11 Sept 08 Add Smart Autoscan option 1 3 15 Oct 08 Modify the MASTER mode section 1 4 06 Feb 09 Modify the Status Display Summary section 1 5 29 April 09 Modify Installing Replacing batteries Safety Ragulatory sections 1 6 29 May 09 Modify Safety Ragulatory sections ...

Page 4: ...ode is scanned successfully Acknowledgement of a completed scan is configurable by the user Barcodes are transmitted in real time to the remote host devices terminals using Bluetooth wireless technology or barcodes can be stored in the scanner and later uploaded to a remote device terminal using Bluetooth wireless technology You can download software updates as well as additional documentation fro...

Page 5: ...reading status The right one is the Bluetooth connection LED BCL and the left one is the Reading status LED RSL The function of the BCL is to give The Bluetooth status of the device connected or not connected The communication mode of the scanner Real Time mode Batch mode or Master Mode The function of the RSL is to give The information whether or not a barcode has been read The status of the batt...

Page 6: ...y RSL LED One Single long Blink green colour The scanner has just read and decoded a barcode One Single long Blink orange colour The scanner is set in Master mode and is trying to connect to the Host address Double fast Blinks Red Battery level is low Please recharge the battery immediately One Single long Blink Red Green solid The scanner is charging Green solid The scanner is fully charged Speci...

Page 7: ...harging the battery Recharging the battery Recharging the battery Recharging the battery Recharge the internal battery by using the included AC adapter or the charging cradle optional The Adapter rating is 5V 500mA When the scanner is charging the RSL led left has the following status one single long blink red green solid When the scanner is fully charged the RSL led left is green solid A full rec...

Page 8: ...able into the battery connector Zone A in Fig 2 4 Insert the Baracoda Battery in its location Pay attention also to well position the battery connector 5 Slide the cover up and lock it into place Caution Risk of explosion if battery is replaced by an incorrect type Dispose of used batteries according to the instructions Switching on the reader Switching on the reader Switching on the reader Switch...

Page 9: ...eset the scanner to its default settings use BaracodaManager software v3 34 min or scan the Reset Configuration barcode To reset the RoadRunners Evolution L Laser please scan only RESET 1 barcode To reset RoadRunners Evolution Fs 2D Imager please scan RESET 1 then RESET 2 barcodes Reset 1 Reset 2 Security Security Security Security The Bluetooth connection is secured with a PIN code authentication...

Page 10: ...mestamp can be configured ON OFF synchronise new time by BaracodaManager and by configuration barcodes Timestamp will be in the following format YYMMDDhhmmss YY YEAR MM MONTH DD DAY hh Hours mm Minutes ss Seconds General Prefix Suffix General Prefix Suffix General Prefix Suffix General Prefix Suffix A prefix and or suffix can be added to every barcode sent to the host device You can configure pref...

Page 11: ...d LEDs Beeps and LEDs Beeps and LEDs You can enable disable Beeps LED Lightening using both the BaracodaManager software v3 34 min or the Programming Guide Power management Power management Power management Power management Mutliple parameters exist to optimize the battery autonomy Sniff period Shutdown timer etc RoadRunners Evolution is configured at 20dBm Bluetooth Class 1 by default The Baracod...

Page 12: ...t up guide Quick Start up guide How to read barcodes How to read barcodes How to read barcodes How to read barcodes In order to switch on the scanner please press the trigger Position the scanner so the light beam fully overlaps and crosses the barcode The scanner will emit a beep when the scan is successful Sample Barcode 1 2 3 4 5 6 7 8 ...

Page 13: ...Baracoda RoadRunners Evolution User Guide v1 6 13 Data Capture for Workforce in Motion Proper scanning position BRR L Evolution CMOS 40 BRR LA Evolution Laser 47 BRR Fs Evolution 2D Imager 40 ...

Page 14: ... successfully transmitted to the host Batch mode Barcodes are always stored in the scanner Once the batch mode is selected the BCL led right emits an orange flash In batch mode the barcode can read up to 10 000 barcodes UPC format and store them into its non volatile memory for later transmission to the host To upload barcodes from the scanner connect it to the host computer via Bluetooth The Bara...

Page 15: ...ost and a scanner Slave mode by default The Host PC BaracodaManager is creating the connection onto the scanner Master mode The scanner is creating itself a connection to the recorded Host Bluetooth address This connection attempt is set after a scan of barcode The configuration of Host address on which the scanner will set up a connection to can be done o Via BaracodaManager software v3 35 min o ...

Page 16: ...oid reading a wrong code Once in this mode in order to read a barcode user will have to press the trigger twice Pressing it the first time will switch on the beam but will not switch on the decoder thus allowing user to aim at the correct barcode while pressing the trigger the second time will activate the decoder thus allowing the scanner to actually decode the barcode Autoscan mode This mode ena...

Page 17: ...on will have to receive the information from the serial port in order for the application to receive data from the serial port download the Kemul Software on the Baracoda Website http www baracoda com Pease note that The scanners are set by the Baracoda Plug Scan USB in no data loss mode ON by default The No Data Loss mode allows the reader to buffer barcodes if the barcodes are read out of range ...

Page 18: ...can a barcode and the data will appear in the terminal window Close the Terminal window by clicking on exit Select the Kemul plug in from the drop down menu For more information see the BaracodaManager documentation 5 When you have finished your session click on the Exit Button of the application to save your configuration For developers Baracoda Software Development Kit SDK The Baracoda SDKs are ...

Page 19: ...nerates uses and can radiate radio frequency energy and if not installed and used in accordance with the instructions may cause harmful interference to radio communications However there is no guarantee that interference will not occur in a particular installation If this equipment does cause harmful interference to radio or television reception which can be determined by turning the equipment off...

Page 20: ...rily causes no known biological damage avoid staring at the beam as one would with any very strong light source such as the sun Avoid that the laser beam hits the eye of an observer even through reflective surfaces such as mirrors etc The following information is shown on the laser scanner device class label Others indications This device is a radio transmitter and receiver It is designed and manu...

Page 21: ...associated with the return shipment to buyer The method of shipment will be at Manufacturer s discretion Repair or replacement of any parts or equipment does not extend the period of warranty provided for herein THIS LIMITED WARRANTY IS MANUFACTURER S ONLY WARRANTY MANUFACTURER DOES NOT GIVE WARRANTIES OF MERCHANTABILITY OR WARRANTIES OF FITNESS FOR A PARTICULAR PURPOSE To take advantage of this w...

Reviews: