background image

Play tracks from a memory card 

Your music system can play music tracks in mp3 and wma format in the 

fi rst level of folders on a memory card. Tracks in the root level or in sub-

folders will not be played.  

Start playback…

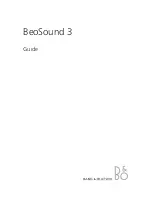
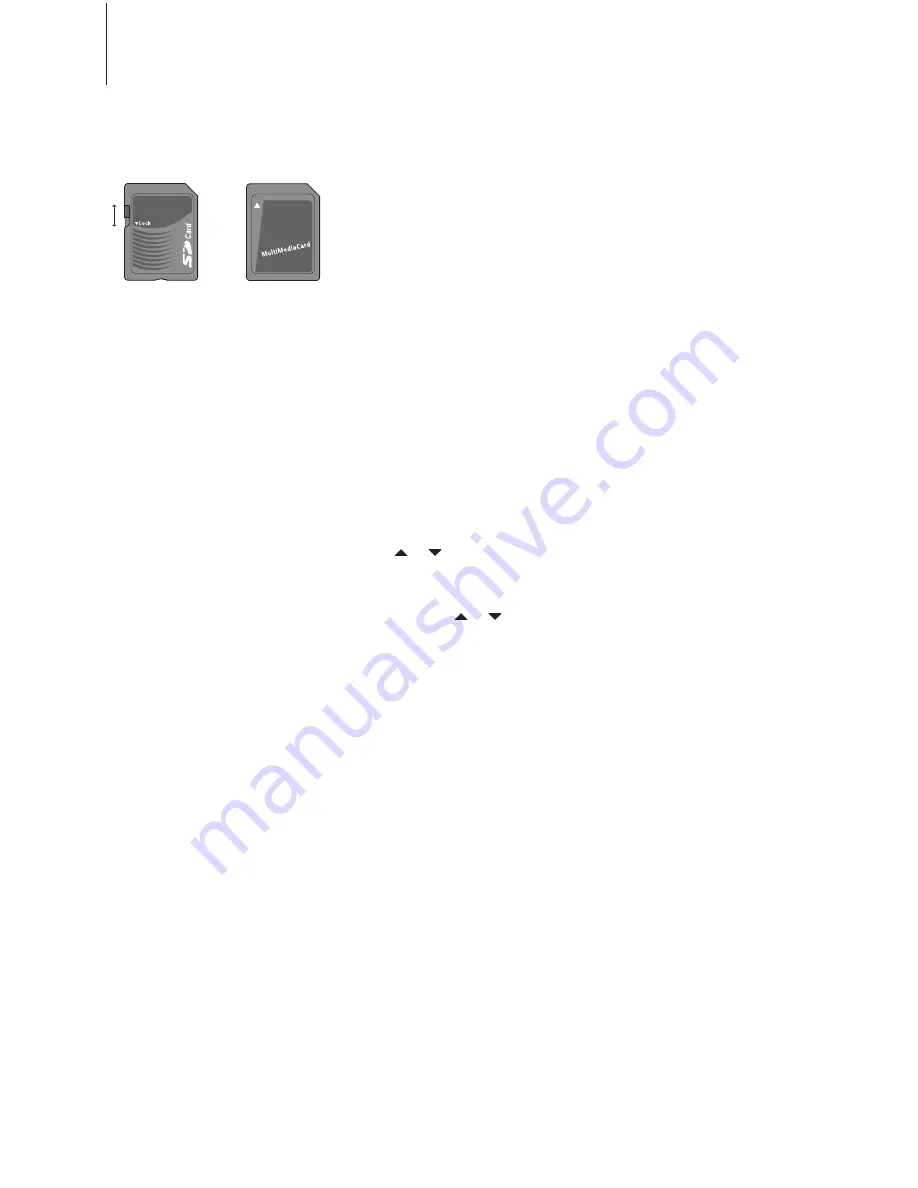
> Load a memory card as shown. 

> Press 

A MEM

 to start playback. Unless you have loaded a new card, 

the track you last listened to is played. If you have loaded a new card, 

the fi rst track in the fi rst folder is played. 

Stop playback… 

> Press 

STOP

 to stop playback. ‘A  - -’ is shown in the display. 

> Press 

GO

 or 

A MEM

 to resume playback. If you do not resume 

playback within ten minutes, the system switches to standby. 

Step through tracks… 

> Press   or   to step through tracks in the current folder. While 

stepping through tracks, the current folder and track are shown in the 

display.  

> Press and hold   or   to step rapidly between tracks. 

>> Daily use 

8

Do not attempt to load other 

card types than SD or MMC in 

the music system! 

Summary of Contents for BeoSound 3

Page 1: ...BeoSound 3 Guide...

Page 2: ...c shock do not expose this appliance to rain or moisture Do not expose this equip ment to dripping or splashing and ensure that no objects filled with liquids such as vases are placed on the equipment...

Page 3: ...to use your music system including how to play music from a loaded memory card use the FM radio and make the music system start and stop at a specific time Placement connections and maintenance 12 Fin...

Page 4: ...itch itself on and off automatically 4 The sockets on the bottom allow you to connect the system to the mains for recharging as well as load a memory card and connect headphones The LED display on the...

Page 5: ...older Search for an FM program or step between folders on the memory card Switch the system to standby Press and hold for ve seconds during standby to switch the system off entirely If you have shut o...

Page 6: ...is playing Playback is stopped Current volume setting Speakers are muted Number of minutes for a Stop Timer Current time The system is in standby The memory card reader is empty or the memory card is...

Page 7: ...display Press or to step between radio stations Press and hold or to step quickly between stations Use the built in aerial If you do not want to have the aerial extended press AERIAL to retract the ae...

Page 8: ...you have loaded a new card the first track in the first folder is played Stop playback Press STOP to stop playback A is shown in the display Press GO or AMEM to resume playback If you do not resume p...

Page 9: ...ueing is done without sound During cueing the elapsed time is shown in the display Press GO or AMEM to resume playback Play tracks in random order Press AMEM then STORE in quick succession A new rando...

Page 10: ...e Wake up Timer The time for the Wake up Timer is briefly shown in the display Check or delete a Wake up Timer While the system is in standby press TIMER The time for the Wake up Timer blinks in the d...

Page 11: ...ress RADIO to switch on the radio Press STOP to set a Stop Timer The number of minutes before the radio switches to standby is shown in the display You can choose between 00 15 30 45 60 90 and 120 min...

Page 12: ...system in direct sunlight near radiators or other sources of heat Fastening the wall bracket Use the correct size and type of screws and wall anchors taking into account the condition of the wall Use...

Page 13: ...harge it during use A single charge provides approximately 10 hours of use Standby time per charge is approximately 20 days To ensure the best possible battery capacity we recommend that you charge yo...

Page 14: ...Press or to resume tuning and repeat the procedure when the station you want is found If you do not wish to store a station located during tuning you resume tuning by pressing or Manual tuning When tu...

Page 15: ...in standby press and hold ST BY until the time blinks in the display If no time is set the display shows instead of digits Press or to find the correct time Holding down a button accelerates the sear...

Page 16: ...nces with your Bang Olufsen product Anything which you consider important positive or negative may help us in our efforts to refine our products Thank you Write to Bang Olufsen a s Customer Service Pe...

Page 17: ...nt and parts must not be disposed of with ordinary household refuse all electrical and electronic equipment and parts must be collected and disposed of separately Products and equipment which must be...

Page 18: ...installed and used in accordance with the instructions may cause harmful interference to radio communications However there is no guarantee that interfer ence will not occur in a particular installati...

Page 19: ......

Page 20: ...www bang olufsen com...

Reviews: