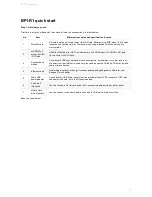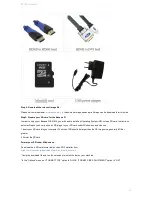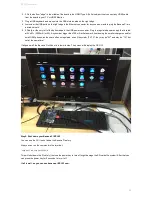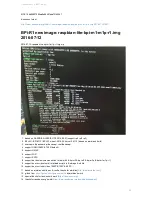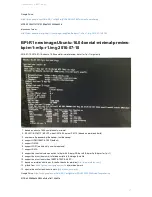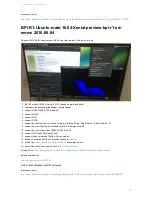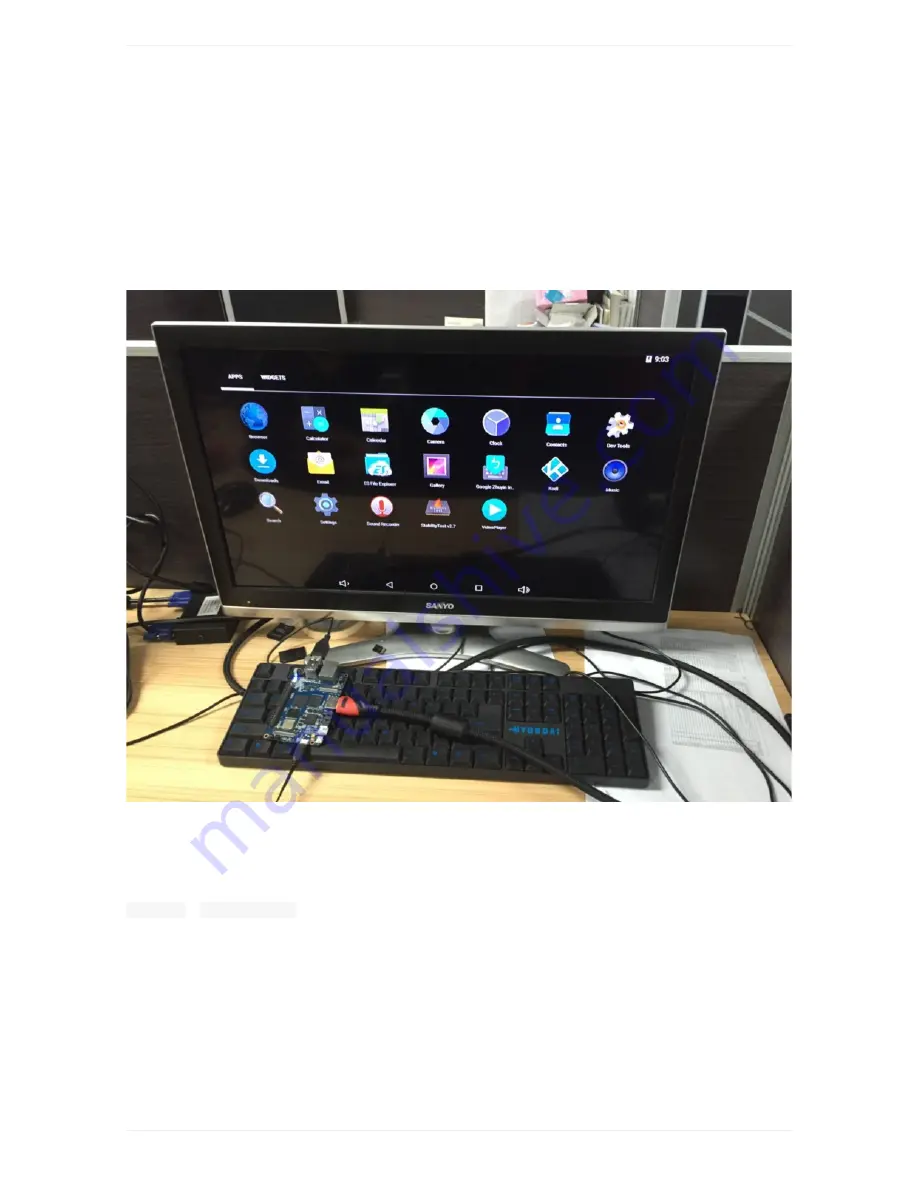
2. 2.On the bottom "edge" in the middle of the board is the HDMI Type A (Full sized) port.Just connect any HDMI cable
from the board to your TV or HDMI Monitor.
3. Plug a USB keyboard and mouse into the USB slots located on the right edge.
4. Just under the USB ports on the right edge is the Ethernet connector for anyone who wants to plug the Banana Pi into
a wired network.
5. 5.Finally, at the very left of the bottom edge is the USB power connector. Plug in a regulated power supply that is rated
at 5V ±5% / 2000mA (or 2A). Any number bigger than 700 mA will also work. Avoid using the smaller chargers used for
small GSM phones, as these are often unregulated, even if they claim "5V 1A", they may do "5V" and may do "1A", but
not at the same time!
If all goes well, the Banana Pi will boot in a few minutes. The screen will display the OS GUI.
Step5: Shut down your Banana Pi BPI-R1
You can use the GUI to shut down the Banana Pi safely.
Also you can run the command in the terminal:
sudo halt
or
sudo shutdown –h
This will shut down the PI safely, (just use the power key to turn off might damage the SD-cards file system).After that you
can press the power key for 5 seconds to turn it off.
If all is well ,so you can use banana pi BPI-R1 now.
BPI-R1 quick start
49
Summary of Contents for BPI-R1
Page 5: ...BPI R1 hardware interface BPI R1 hardware interface Front Back BPI R1 hardware interface 5...
Page 6: ...Hardware connect sketch map Front Back BPI R1 hardware interface 6...
Page 7: ...BPI R1 hardware interface 7...
Page 8: ...BPI R1 hardware spec BPI R1 hardware spec 8...
Page 14: ...J13 P01 UART0 RX PB23 J13 P02 UART0 TX PB22 BPI R1 GPIO Pin define 14...
Page 28: ...please note value 0 value 1 press is 1 unpress is 0 BPI R1 IR interface 28...
Page 41: ...BPI R1 RoHS Certification BPI R1 CE FCC RoHS Certification 41...
Page 42: ...BPI R1 CE FCC RoHS Certification 42...
Page 43: ...BPI R1 Software BPI R1 support linux android and openwrt system BPI R1 Software 43...
Page 59: ...Linux kernel 3 4 BSP image 59...


