background image

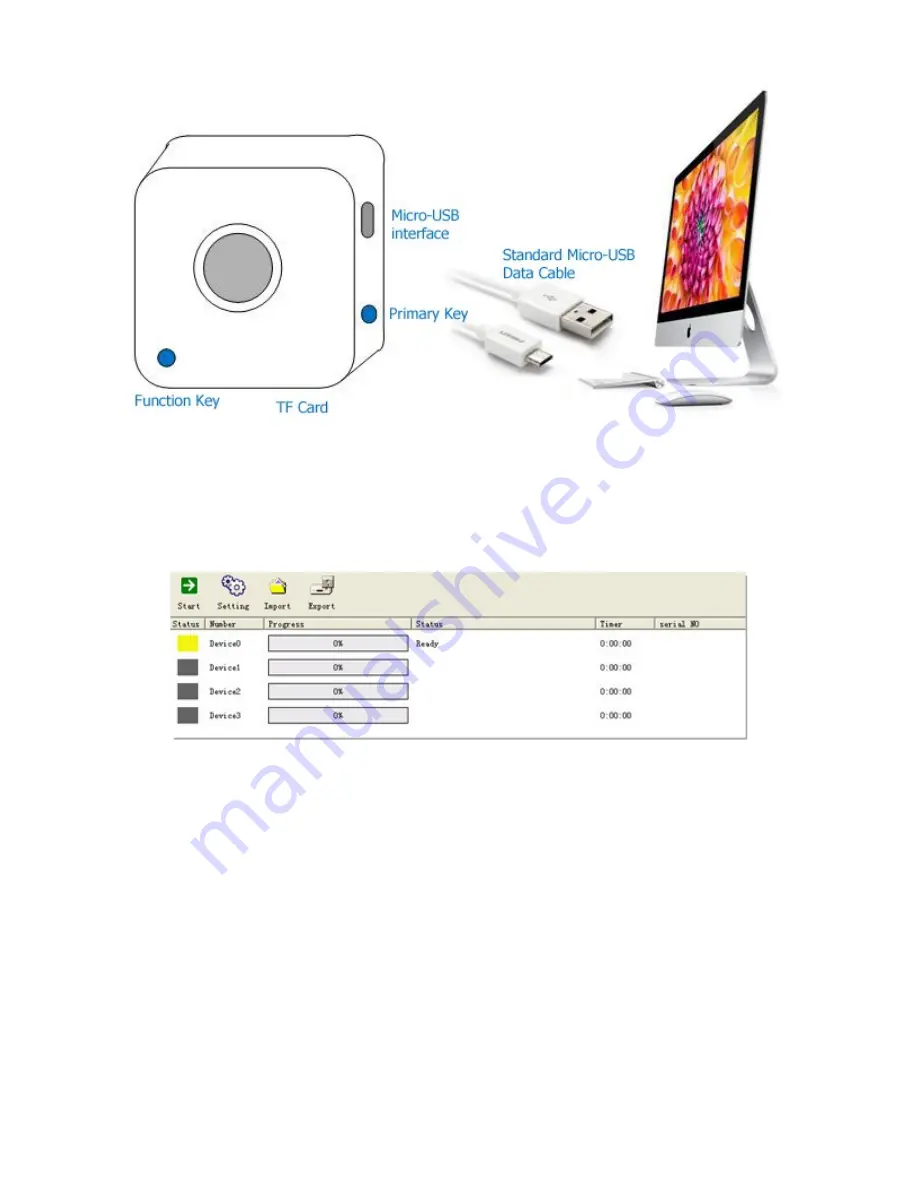
2.After the PC inserts BPI-D1 micro - USB programming cable, the firm programming tools will detect
the launch of the application. Once connected, a yellow status bar will appear next to the device in the 
window, and the status will show “Ready” (please recheck and repeat the steps above if no response). 
Press the “Start” button on the top to start the firm programming automatically.

3.Burning completed, micro-USB data cable disconnected with PC.

Status Descriptions

The status, progress and elapsed time will appear in the programing window.

[Successful]

Once the status and progress bar turn green, the progress bar reaches 100%, and the status reads 
“Completed,” the firmware has been programmed successfully.

Summary of Contents for BPI-D1

Page 1: ...e AP Connect to the specified AP The USB WiFi module is connected to the USB interface of OTG Press the BPI D1 primary key button green LED will keep long bright after flashing about 8 seconds it mean...

Page 2: ...be view via network stream To do this Notes Just take the case of VLC player 1 Install VLC player on your PCs or mobile devices 2 Connect any mobile devices e g Smartphone tablet or computer to the Wi...

Page 3: ...ou will need to install player support for H 264 or MJPEG decoding format 5 How to set Record Parameters Settings When D1S power is ON video recording will start automatically according to the default...

Page 4: ...ant parameters can be set manually according to the required After setting click Save Video Stream Choose the two streams in the Video which are H 264 and MJPEG Loop Recording Time Finish a video and...

Page 5: ...pen WiFi AP mode and then click close Green LED will flash for about 8 seconds LED Statu s Description Light WiFi work in AP mode you can search the AP SSID for example XXX_D1_A39XXX Flash WiFi work i...

Page 6: ...ware file path is located at lamobo dev tool burntool in the code directory 4 Before programing the firmware please make sure to copy and paste the 3 compiled files zImage root sqsh4 and root jffs2 to...

Page 7: ...recheck and repeat the steps above if no response Press the Start button on the top to start the firm programming automatically 3 Burning completed micro USB data cable disconnected with PC Status Des...

Page 8: ...n is unsuccessful please retry after adjusting the following settings 1 Click Settings select Researcher as the User Name leave the Password blank and then select OK 1 Choose General on the left side...

Page 9: ......

Page 10: ...Interface connections...

Page 11: ...GPIO Pin Definitions Power Supply Battery mode Built in lithium battery power supply...

Page 12: ...External power supply mode DC micro USB power cable at the same time for cha rging the D1S built in lithium battery...

Reviews: