Ballard Designs WS996 Assembly Instructions Download Page 1

PRODUCTS ARE NOT INTENDED

FOR COMMERCIAL USE.

UPDATED: 4-1-2020

Page 1 of 4

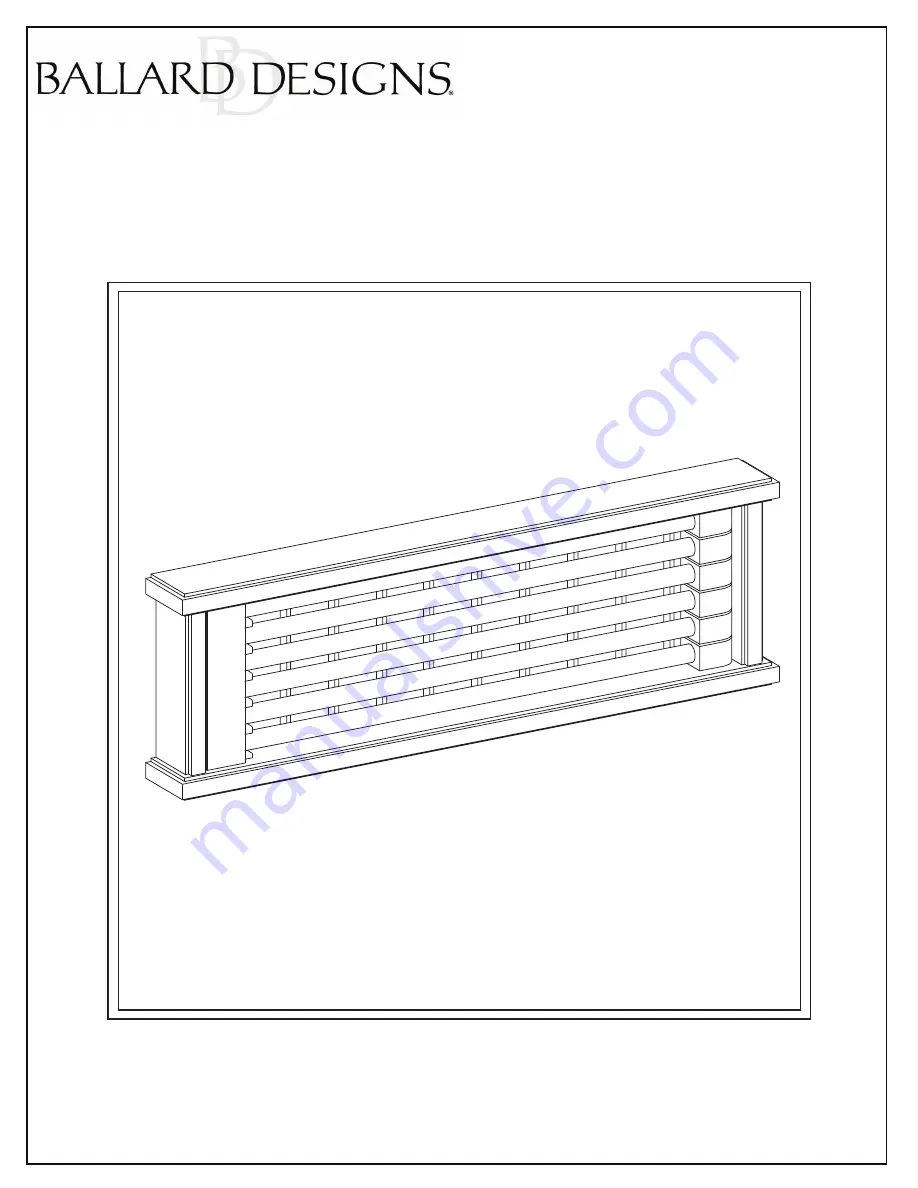
PRODUCT NAME: Mini Beadboard Drying Rack 

ITEM NUMBER: WS996

ASSEMBLED DIMENSIONS : 7 1/4”H x 23”W x 2 1/2”D

Customer Service: 800-367-2810

Online: www.ballarddesigns.com

MADE IN CHINA

Summary of Contents for WS996

Page 1: ... FOR COMMERCIAL USE UPDATED 4 1 2020 Page 1 of 4 PRODUCT NAME Mini Beadboard Drying Rack ITEM NUMBER WS996 ASSEMBLED DIMENSIONS 7 1 4 H x 23 W x 2 1 2 D Customer Service 800 367 2810 Online www ballarddesigns com MADE IN CHINA ...

Page 2: ...re and protective packaging from carton and carefully arrange on a clean level padded surface NOTE To avoid accidentally discarding small parts or hardware retain all carton contents until assembly and installation are complete Screws Expansion Bolts D HARDWARE Wall Decor is HEAVY and requires adequate support Falling Hazard Wall Brackets must be firmly attached to WALL STUDS WARNING Drying Rack C...

Page 3: ...TUD Insert and drive Screw A directly into WALL STUD For holes located in open drywall no stud use an Expansion Bolt B See Step 2 for installation instructions WALL BRACKET MUST BE ATTACHED TO WALL STUD D B A STEP 2 For Bracket hole locations where no wall stud is present mark location and use a drill with a 3 8 bit to create a pilot hole Lightly tap Expansion Bolt B into hole and sink teeth into ...

Page 4: ... it begins to slip indi cating the barrel has crimped against inside of drywall Back out and completely remove Screw leaving bolt anchor in wall Position Bracket D align holes replace and tighten Screw Barrel Turn screw until it slips Remove screw STEP 4 With Bracket D firmly attached to wall carefully lift Drying Rack C and engage cleat on back with Bracket as illustrated below Gently push pull d...

Reviews: