ATTACHMENTS
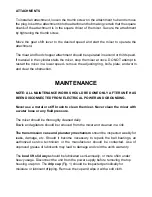
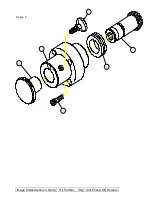
To install an attachment, loosen the thumb screw on the attachment hub and remove
the plug. Insert the attachment into the attachment hub making certain that the square
shank of the attachment is in the square driver of the mixer. Secure the attachment
by tightening the thumb screw.
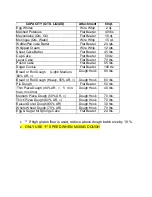
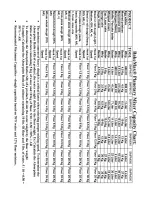
Move the gear shift lever to the desired speed and start the mixer to operate the
attachment.
The meat and food chopper attachment should be operated in second or third speed.
If material in the cylinder stalls the mixer, stop the mixer at once. DO NOT attempt to
restart the mixer in a lower speed - remove the adjusting ring, knife, plate, and worm
and clear the obstruction.
MAINTENANCE
NOTE: ALL MAINTENANCE WORK SHOULD BE DONE ONLY AFTER UNIT HAS
BEEN DISCONNECTED FROM ELECTRICAL POWER AND GROUNDING.
Never use a metal or stiff brush to clean the mixer. Never clean the mixer with
a water hose or any fluid pressure.
The mixer should be thoroughly cleaned daily.
Bowls and agitators should be removed from the mixer and cleaned in a link.
The transmission case and planetary mechanism
should be inspected weekly for
leaks, damage, etc. Should it become necessary to repack the ball bearings, an
authorized service technician or the manufacturer should be contacted. Use of
unproved grease of lubricants may lead to damage and void the unit's warranty.
The
bowl lift slid ways
should be lubricated semi-annually, or more often under
heavy usage. Disconnect the unit from the power supply before removing the top
housing or apron. The
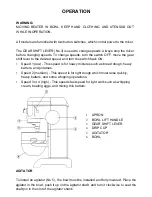
drip cup
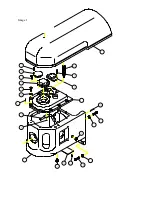
(Fig. 1) should be inspected periodically for
moisture or lubricant dripping. Remove the cup and wipe it with a soft cloth.
Summary of Contents for BMPM060
Page 2: ......
Page 5: ...WIRING DIAGRAM BMPM 060 ...
Page 11: ......
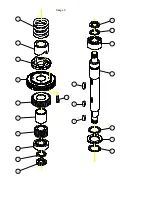
Page 12: ...Image 1 ...
Page 14: ...Image 2 ...
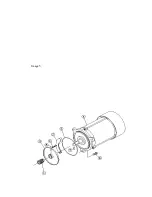
Page 16: ...Image 3 ...
Page 18: ...Image 4 ...
Page 20: ...Image 5 ...
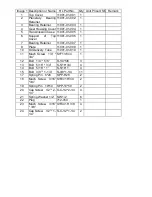
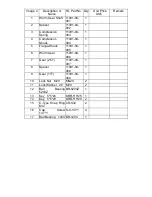
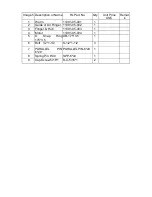
Page 22: ...Image 6 Description or Name HL Part No Qty Unit Price US Remark Image 6 ...
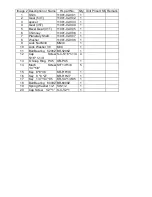
Page 24: ...Image 7 Description or Name HL Part No Qty Unit Price US Remark Image 7 ...
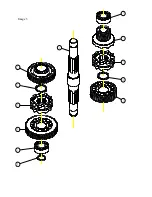
Page 26: ...Image 8 ...
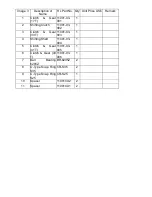
Page 28: ...Image 9 ...
Page 30: ...Image 10 ...
Page 32: ...Image 11 ...
Page 34: ...Image 11 A ...
Page 36: ...Image 12 ...
Page 38: ...Image 13 ...
Page 39: ......
Page 41: ......

