background image

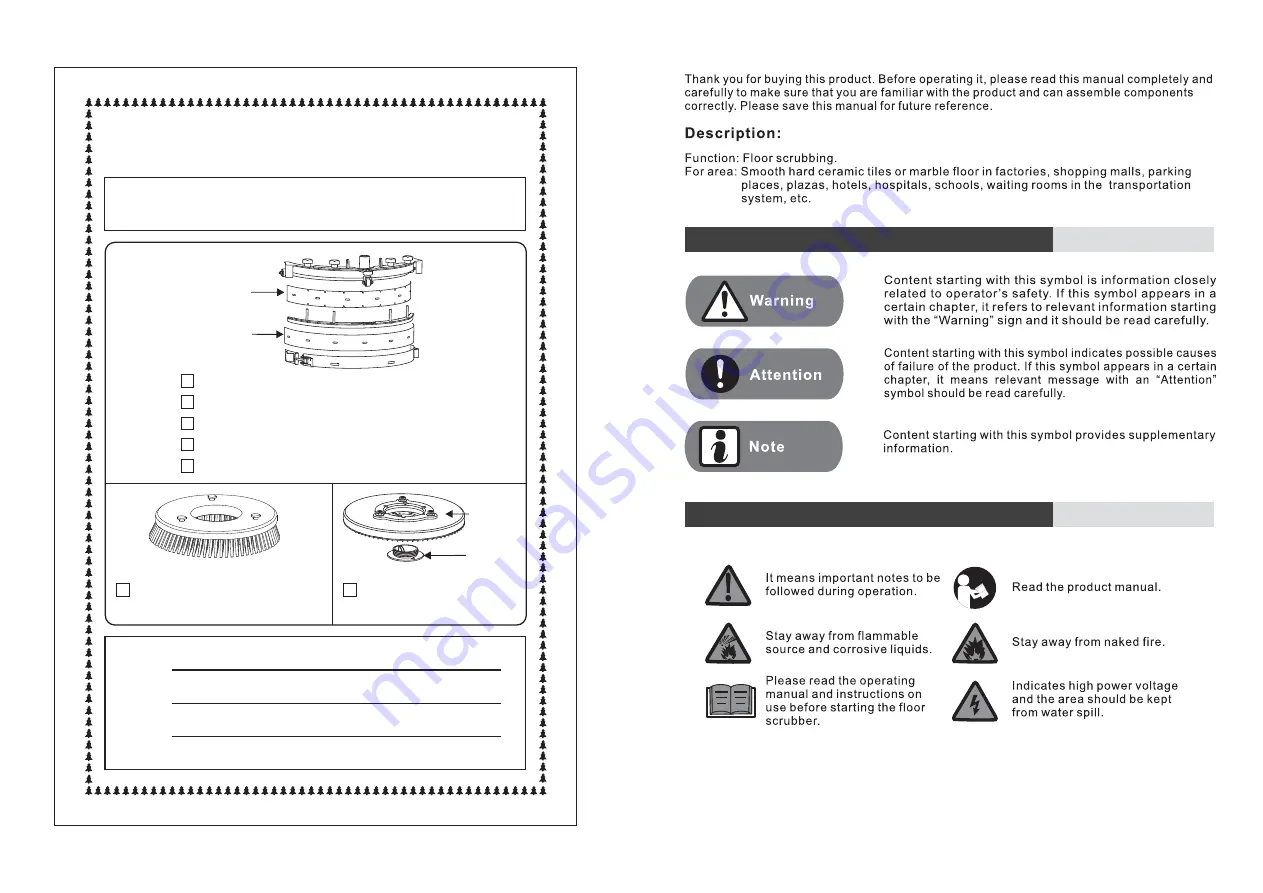
Rear squeegee

Front squeegee

Remark:

Pad driver:14" floor scrubber

pad driver

201 Series Push-behind

Floor Scrubber Optional Spares

Description:1.201 series:A201

Q201

K201

Y201

T201.

2.The following pictures are only for reference, so products

are subjects to what you get.

Front squeegee: standard squeegee with 6 holes

Front squeegee: customized hole position

Front squeegee: oil-resistant squeegee

Rear squeegee: standard squeegee

Rear squeegee: oil-resistant squeegee

Pad driver

Pad driver

buckle

Brush:14" brush with 0.7mm bristles

Description of symbols in this manual

Description of symbols on the machine

Guangdong 

Baiyun 

Cleaning 

Group 

Co.,Ltd.

Summary of Contents for A201

Page 1: ... for further use if possible ISO9001 2008 International Quality System Certified ISO9001 2008 International Quality System Certified This manual contains important safety precautions and instructions on the correct operation of product Please read this carefully before using the product Version A 0 2014 Applicable model A201 Q 201 K201 Y201 T201 Product Manual PUSH BEHIND FLOOR SCRUBBER 201 SERIES...

Page 2: ...Guangdong Baiyun Cleaning Group Co Ltd ...

Page 3: ...eference so products are subjects to what you get Front squeegee standard squeegee with 6 holes Front squeegee customized hole position Front squeegee oil resistant squeegee Rear squeegee standard squeegee Rear squeegee oil resistant squeegee Pad driver Pad driver buckle Brush 14 brush with 0 7mm bristles Description of symbols in this manual Description of symbols on the machine Guangdong Baiyun ...

Page 4: ...17 CONTENTS 3 5 6 7 7 8 9 9 10 13 14 15 6 7 6 WARRANTY INFORMATION Disclaimer Guangdong Baiyun Cleaning Group Co Ltd ...

Page 5: ...1 2 3 1 1 1 1 1 Main Unit Squeegee assembly Power cable Product manual Conformity certificate Set Piece Copy Piece Piece Unpacking check Check the product on receiving immediately If there will be obvious damages on the product please keep the packing materials and contact the local distributor Guangdong Baiyun Cleaning Group Co Ltd ...

Page 6: ...Wheel Squeegee assembly Suction hose Solution tank Solution tank lid Circuit board assembly Brush motor Vacuum motor Solenoid valve Protect cover Brush assembly TECHNICAL DETAILS Wiring diagram Power cable Vacuum motor Black White Red Green Red Red Black Black Yellow green Brown Blue Green Red White Black Blue Brown Brown Brown Yellow green Yellow green Blue Brown Brown Brush motor White Blue Blue...

Page 7: ...ol panel Hold on the switch to make the brush motor work Release it the brush stops working Operate the switch to regulate the angle of the handle lever Description of control panel Vacuum switch Sprinkling switch Press this switch the vacuum motor begins to work Press it again to turn off the vacuum motor ON OFF switch Press this switch to turn on or off the power Press this switch the sprinkling...

Page 8: ...eft Three blade plate fig 3 fig 4 Rotate it 30 to the right 1 Make the operation handle vertical and put the machine downward on the floor Then align the brush with the three blade plate and rotate the brush 30 to the left After that the brush assembling will be finished and place the machine well fig 3 2 If the brush is needed to change hold on and rotate it 30 to the right to remove the brush fi...

Page 9: ...Brush OPERATION INSTRUCTIONS Working before preparation Solution tank lid Brush Turn off ON OFF switch Connect the power 1 Fill the solution tank The temperature of water or detergent should be lower than 50 To avoid shortening the service life of the machine detergents added into the solution tank should be less foamy and less volatile neutral detergents with a PH of 5 9 2 Check whether the brush...

Page 10: ...cleaning work pull the water pipe from quick connector can discharge water in the solution tank fig 6 Quick connector Water pipe Ball valve fig 6 MAINTENANCE GUIDE Daily maintenance Turn off the ON OFF switch fig 11 Solution tank lid Quick connector Water pipe Ball valve fig 12 3 Maintain the squeegee Remove clean and air dry the squeegee regularly to prolong the service life The whole squeegee as...

Page 11: ...ater to wash the recovery tank and air dry it Take care of preventing sludge or foreign objects from blocking the water After cleaning the recovery tank fasten the two recovery tank lids After that push the recovery tank into the machine Finally connect the vacuum hose and the drain hose with the mouth of the recovery tank 2 Maintain the solution tank If the machine stay idle for long time open th...

Page 12: ...ng with other objects Before entering a narrow space check whether the machine can get in 2 Avoid driving the machine over rough places in case of mechanic damage which will shorten the servicing life of the machine 3 The width of the aisle should be at least 47cm for the machine with the squeegee assembly to get through If the width of the aisle is less than 47cm remove the squeegee assembly and ...

Reviews: