18.
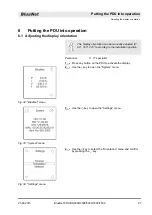
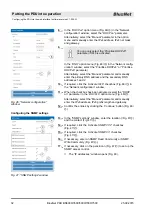
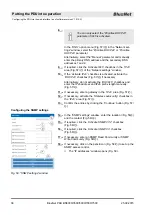
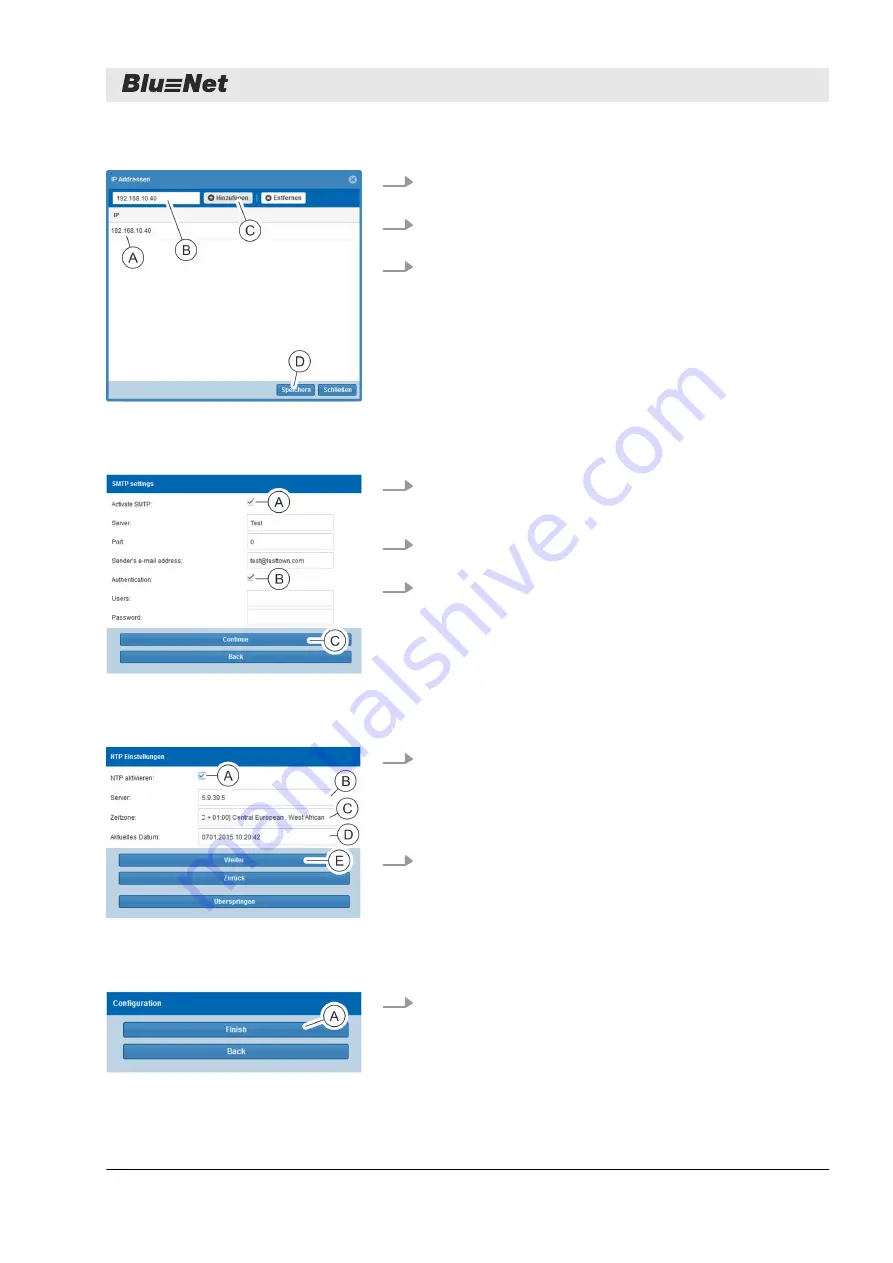
Enter an IP address in the text box (Fig. 48/
Ⓑ
) and use the
‘Add’
Ⓒ
) to add it to the list (Fig. 48/
Ⓐ
).
19.
After completing the entry, close the window using the
‘Save’
Ⓓ
).
20.
Confirm the entry by clicking the
‘Continue’
Ⓖ
).
21.
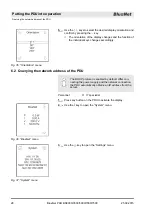
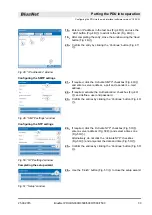
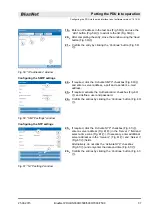
If required, click the
‘Activate SMTP’
Ⓐ
)
and enter a server address, a port and a sender’s e-mail
address.
22.
If required, activate the
‘Authentication’
Ⓑ
) and define a user and password.
23.
Confirm the entries by clicking the
‘Continue’
Ⓒ
).
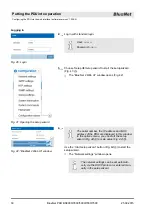
24.
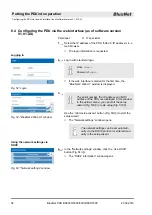
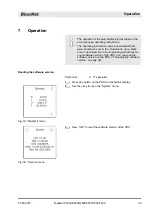
If required, click the
‘Activate NTP’
Ⓐ
),
enter a server address (Fig. 50/
Ⓑ
) and select a time zone
Ⓒ
).
Alternatively, do not click the
‘Activate NTP’
checkbox
Ⓐ
) and only enter the date and time (Fig. 50/
Ⓓ
).
25.
Confirm the entries by clicking the
‘Continue’
Ⓔ
).
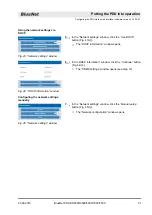
26.
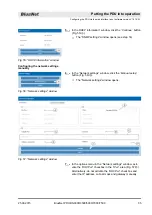
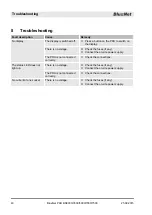
Use the
‘Finish’
Ⓐ
) to close the setup wizard.
Fig. 48: “IP addresses” window
Configuring the SMTP settings
Fig. 49: “SMTP settings” window
Configuring the NTP settings
Fig. 50: “NTP settings” window
Completing the setup wizard
Fig. 51: “Setup” window
Putting the PDU into operation
Configuring the PDU via the web interface (software version V1.00.XX)
25.09.2015
BlueNet PDU BN3000/3500/5000/7000/7500
33

