195
Managing Embroidery Design Files (Design Database)
M
a
na
ging Embr
oide
ry
De
s
ign File
s
(De
s
ign
Da
ta
ba
s
e
)
7.
Continue until all embroidery designs that you
want to write to an original card are selected.
8.
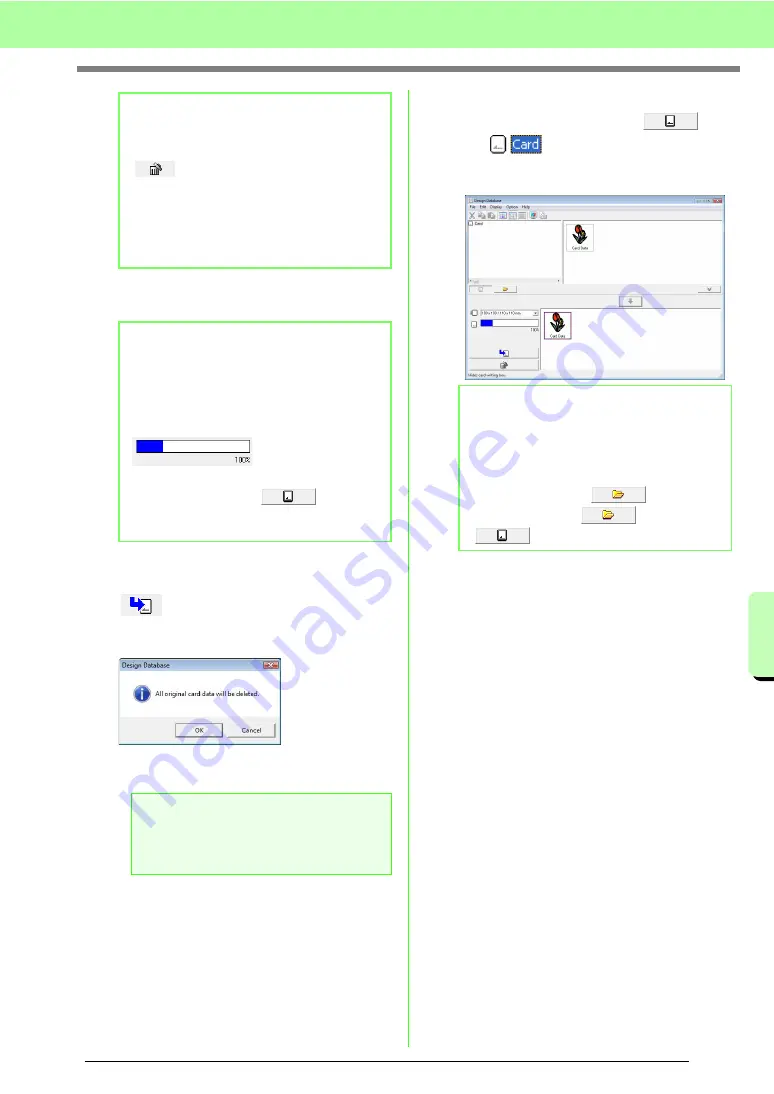
After the embroidery designs to be written to
the original card appear in the writing list, click
to write the designs to the card.
9.
Click
OK
.
→
The embroidery design in the writing list
are written to the original card.
10.
To check the embroidery design file being
written to the original card, click
.
→
appears in the folder pane,
and all embroidery designs written to the
original card appear in the contents pane.
b
Memo:
• To remove an embroidery design, select the
design to be removed, and then click
, or right-click the design, then click
Remove from Writing List
.
• Patterns created on a custom-sized Design
Page are written to cards split into their
various hoop sections.
c
b
Memo:
• During this process, the card capacity
indicator allows you to plan which designs
you would like to save on an original card.
The space used by designs in the writing list
appears in blue.
• To rewrite the embroidery files written on
the original card, click
to select
those files, and move files to the writing list
in the same manner.
a
Note:
Do not remove the card or unplug the USB
cable while patterns are being written to the
card (while the LED indicator is flashing).
b
Memo:
• Embroidery designs written to the original
card appear as “
Card Data
” in the contents
pane.
• To display the contents of the folder in the
contents pane, click
. Switch the
display by clicking
and
.
Summary of Contents for ECS8
Page 1: ......
Page 146: ...144 Arranging Embroidery Designs Layout Editing ...
Page 200: ...198 Managing Embroidery Design Files Design Database ...
Page 218: ...216 Creating Custom Stitch Patterns Programmable Stitch Creator ...
Page 244: ...242 Tips and Techniques ...
Page 264: ...262 Menus Tools ...
Page 266: ...264 Troubleshooting ...
Page 271: ...English ...


