2
©2021 Babcock-Davis, Inc.
Rev 9/2021
Installation, Operation & Maintenance
Single-Part Stair Nosings
–
Ribbed Bar
Model: BSTSB
Tool List
•
Tamping tool
•
Screwdriver, Phillips
•
Drill (for recessed nosing)
•
Rabbit drill bit, 3/8” (for recessed nosing)
•
Screws, #10 (for mechanically fastened nosings)
•
Construction adhesive (for mechanically fastened nosings)
•
Clean-up tools
–
see Maintenance section on Cleaning
INSTALLATION
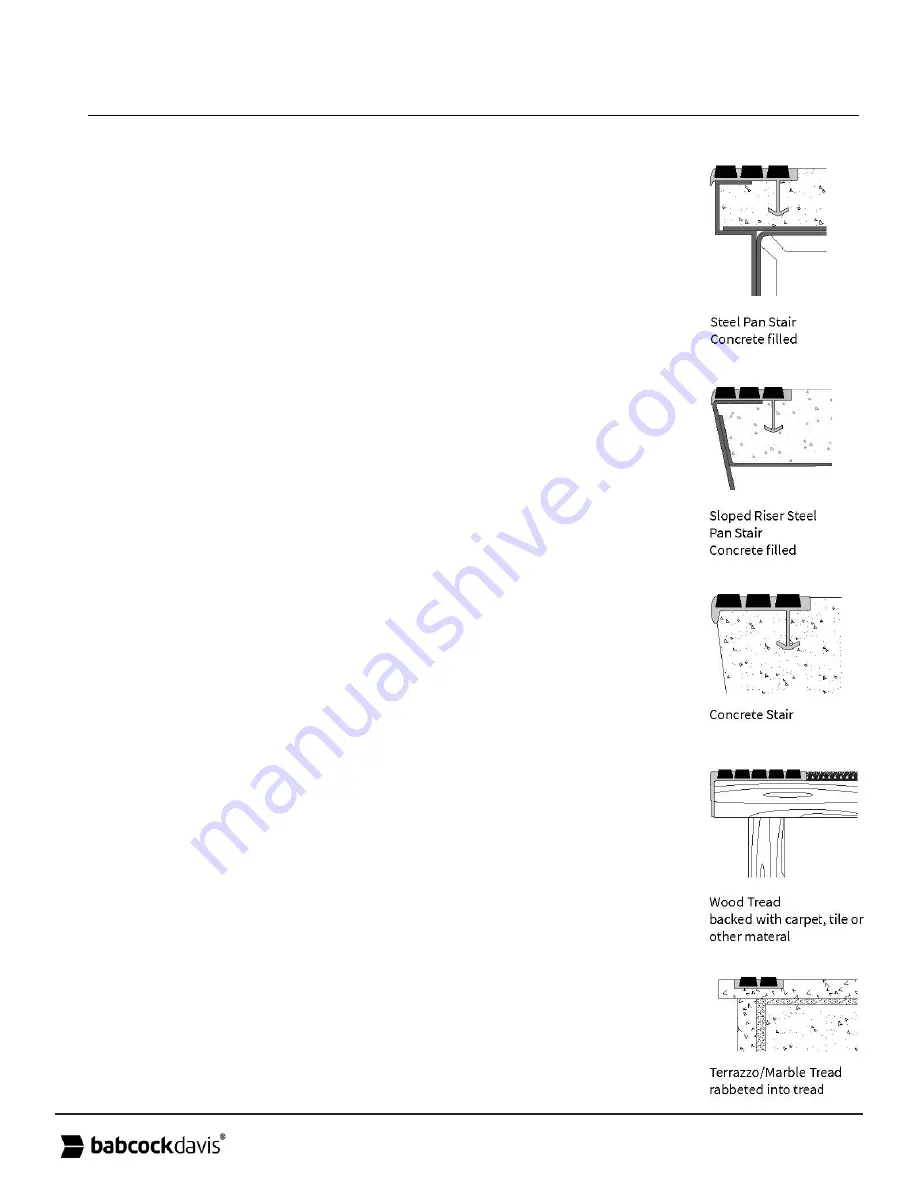
Slip-resistant metal stair nosings are designed to be fully embedded in the
substrate (most often concrete) which provides total support for the nosing.
Any voids left between the underside of the metal stair nosing and the substrate
will allow flexing of the stair nosing itself. It is vital that the installer tamp down
the stair nosings to totally seat into the substrate and fully rest upon any riser
return, such as in pan-filled steps. This action will prevent the occurrence of
hollows and voids, which can lead to flexing and cantilevering of the nosing.
Cast-In
(Steel Pan Stairs, Poured Concrete or Terrazzo):
1. Pour the concrete
2. Place the stair nosing into position in the concrete
3. Tamp the stair nosing to ensure proper concrete formation around the
anchors on the undersides
Mechanically Fastened
(Poured Concrete)
1. Block out the concrete on the front edge of the stair to the exact height
and width of the nosing.
2. Pour the concrete.
3. After concrete is set remove block-out and place the stair nosing into
position.
4. Secure nosing with expansion screws.
Mechanically Fastened Surface Mount
(Wood, Marble or Terrazzo Stairs)
1. Align nosing flush to end of wood tread.
2. Fasten with #10 wood screws in pre-drilled, countersunk holes.


